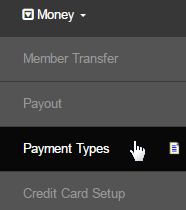
Go to Configuration > Money > Payment Types from the left hand menu or click on Payment Types under Configuration on the home page.
This will take you to the Payment Type Options page. Scroll down to the bottom of the page to find the ''Manual' section for adding new custom payment type. Type in the name of the new method in the Payment Type text-box, tick on the assignment options as required and then click on the Add button.

The page would refresh itself and the new payment type will be listed with the other options. It should have a Sort Order of -1 at default. Click on the Edit button corresponding to that payment type to open the editing pop-up window. Even if you have not set the Assigned options before, you change it here.

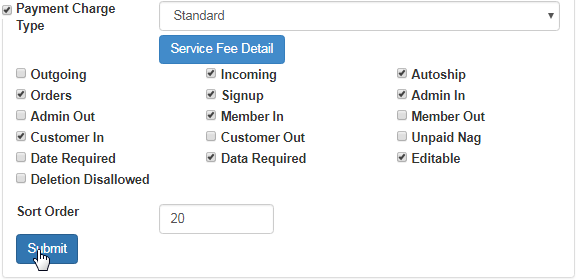
In the editing area, set all the required fields with your specifications (described below) and then click on the Submit button to commit to the changes.
- Currency: Check on the boxes corresponding to the currency types that you wish to allow for this new payment type.
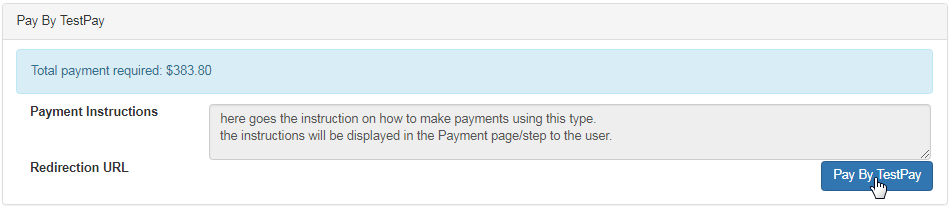
- Payment Instructions: Enter the instructions detailing the process of paying by using this type (will be displayed to the users).
- Redirection URL: Enter the link address for where you wish the users to be redirected to after completing the transaction.
- Payment Charge Type: Click to open the drop-list and then select your option. By default, this option is set to Standard.
- Service Fee Detail: Set the service fee for this payment type if required. Click on this button to open the window for the same.
- Assignment Options: These items control what is allowed to be paid by using this payment type. Check on the boxes to enable.
- Sort Order: The order of appearance or in which order the payment types will be displayed in the list. Set to an integer value.

The newly assigned payment type will now be available to the users. To learn more about the editing options in detail, check the Payment Types manual. Make sure you understand the risk of introducing a new manual payment type. You may wish to consult with INS before implementing the same.
The assignment of the Data Required option is an important aspect that you need to consider before making the payment type available, whether you want to confirm/approve the payment before releasing the order to shipping or let the system assume that the payment has been made manually.
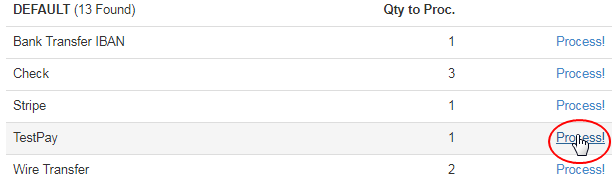
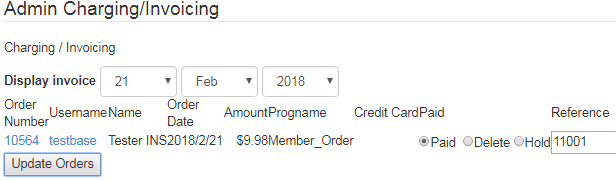
- If you have assigned Data Required to this payment type (i.e. checked this option), then on generation of the invoice, the order gets placed in the System > Charge/Invoice > Unpaid Orders page. The admin needs to approve the transaction before it goes for printing and then the shipping list.
- If the Data Required check-box is not ticked, then the order invoice goes to the Printing list. The system assumes that the payment for the order has been received by a certain manual method, such as by cash. Make sure that you prefer it this way, or else you could lose money for the orders.
In case you do not want to use this payment type for certain reasons, you can temporarily hide this (prevent it from being displayed on the payment page) from the users by simply setting the Sort Order of this method to 0 or a negative value (e.g. -1) in the editing area and saving your preference to apply the changes.
To completely remove the new payment type from the system, click on the Del button corresponding to that row. Be careful, as this process is irreversible.

The name of the payment types are based on our system defaults, although if you wish to change the names, you can achieve that through the Translation interface. Go to the Translation > Manage page from the left hand menu or click on the Manage link under the Translation section on the home page.

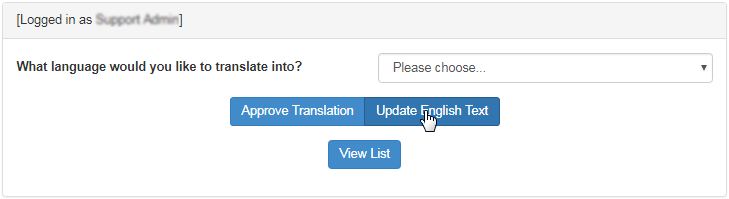
This will redirect you to the Translation Engine area. Click on the Update English Text button in the top section. It is VERY helpful to open the page you are trying to update the text for, and the page for the actual translation in separate browser tabs, so that you can locate the terms you are changing.
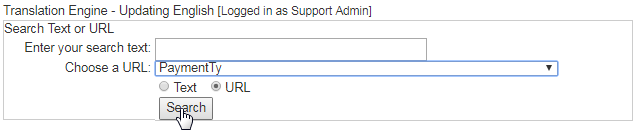
Now in the Translation Engine - Updating English box, open the Choose a URL drop-list and then select the PaymentTy URL option. The PaymentTy option should be located at the bottom of the list. Once you find that, select the URL radio-button and then click on the Search button to proceed.
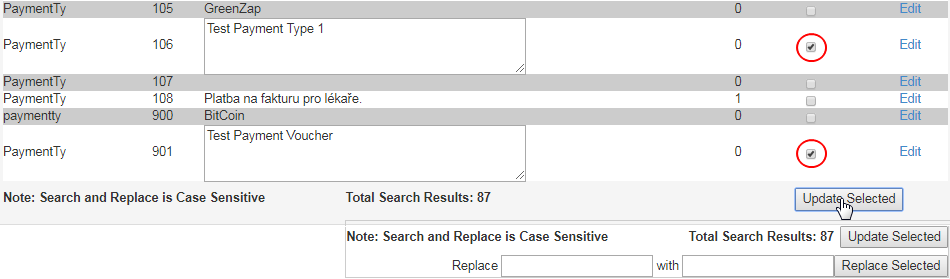
Below the search engine, the search results will be displayed with the page URL, line number, text content and the editable versions. Locate the text content you want to change or update, and then click on the Edit link corresponding to that line to bring up the text content in an editable format.

Now edit the text in the box and then click on the Update Selected button at the bottom of the page (or in the floating box). Make sure that the corresponding Select box is checked (automatically gets selected after clicking on the Edit link). You can edit multiple lines at once, before saving.
Once updated, the new name of the translated payment type will be available throughout the system. Alternatively, you can also use the Search Text or URL section on the Translation Engine page for quick actions. To learn more about the translation features in detail, refer to the Translation - Manage manual.