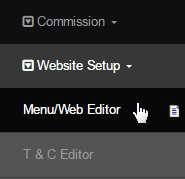
Go to Configuration > Website Setup > Menu/Web Editor from the left hand menu or click on Menu/Web Editor under Configuration on the home page.
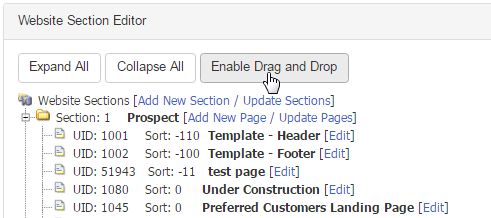
You will then be redirected to the Website Section Editor interface, which contains the list of all the pages of your website arranged in a tree structure.
- Expand All: Clicking on this button will expand all the sections and intermediate sub-sections, giving you a complete view of the tree.
- Collapse All: Clicking on this button will close all the sections and intermediate sub-sections, giving you a compact view of the tree.
- Enable Drag and Drop: Clicking on this button will trigger the system to activate the drag and drop feature (explained later in this tutorial.)
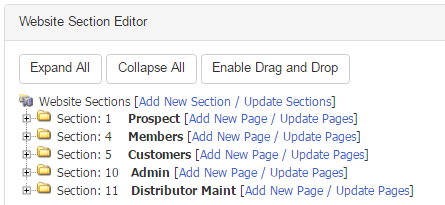
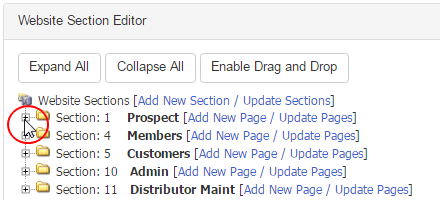
The yellow folders resembles each Section, used to group related pages for certain system modules. Click on the [+] icon preceding to the section name to expand the same. Alternatively, while expanded the icon will change to [-] sign, clicking on which should collapse or close the section.
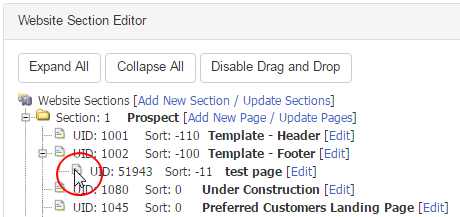
It is a simple Drag and Drop technique. To enable this feature for using, click on the Enable Drag and Drop button at the top of the page.
- Locate the page or the section you want to move and then either hold down the mouse button or just click on the file icon once. Then you move the mouse, dragging the chosen folder or file with it and when you have it over the folder you wish to move it to you release the mouse button.
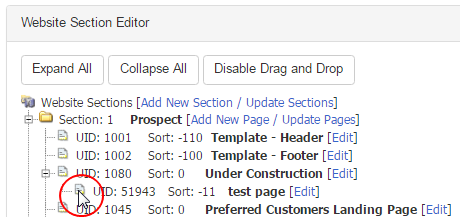
- If you move a section, then every pages under that section will be moved along with that section. Once done, click on the Save Moves button at the bottom of the page. Then to get out of this drag and drop feature click on the Disable Drag and Drop button at the top of the page


Before you make any changes to a page, it is good practice and bullet proof to save your own version of the page to your computer. The reason for this is if you are editing a page, and end up saving an unwanted change, this could take some time to get it back to the original. By having the backup version, you can easily copy and paste straight back into the webeditor with no time wasted, preventing putting unwanted changes on your LIVE site.
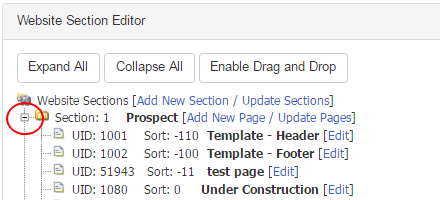
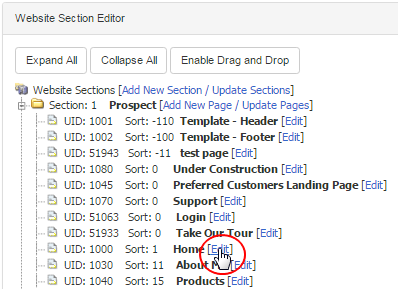
In the Website Section Editor, expand the section and then click on the Edit link next to the page name, for which you want to create a backup.
This should take you inside the Page Editor or the editing section of that page. Click on the Source tab (first button) in the toolbar of the web-editor.
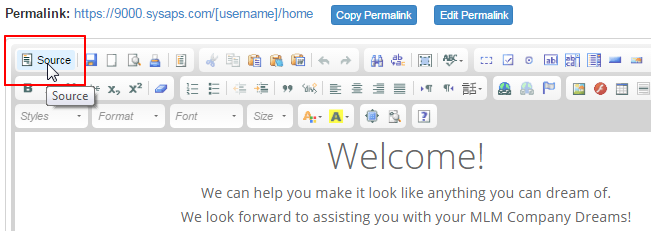
This will bring up the HTML or the raw content of the page in the web-editor. Copy (Ctrl + A) all the contents in the editor to your clipboard and paste (Ctrl + V) ) the content into a Notepad or equivalent and save it for your own backup of that page in your computer for future reference.
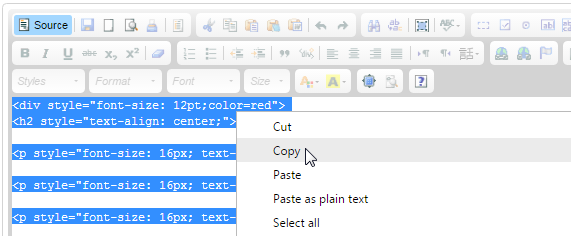
Now if you make an unwanted change to a page, you can easily restore the previous version by copying and pasting the old content from your back-ups. Note: When restoring from your backup, make sure you are pasting into the Source tab and not the Normal Tab, else it will not display properly.
In the next tutorials we have explained the process of adding a new section/page or update the existing ones. Click on the link to open the tutorial.