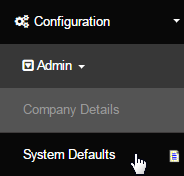
Go to Configuration > Admin > System Defaults from the left hand menu or click on System Defaults under Configuration on the home page.
This is where you should find the default setting of the system like compression type, cooling off period, etc. Once you have changed or edited the value of any item, remember to click on the Update button to save and apply the changes. Below are the descriptions of the default settings;
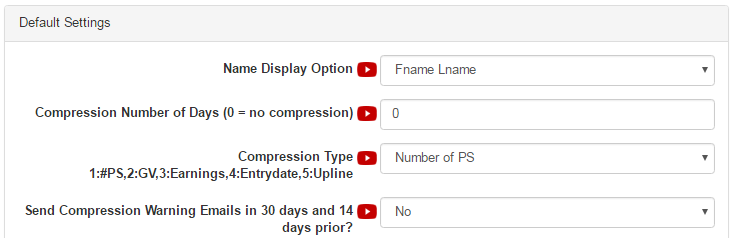
- Name Display Option Sponsor: Sets the format of the name of your members to be displayed throughout the system. Select from the following options and combinations to fit your country, language and level of formality. For example; 'Fname Lname' or 'Lname Fname'.
- Compression Number of Days: This deals with automatically compressing (removing inactive members from the placement tree). Enter the number of days a member has to not have made an order in the system before they get compressed out of the tree by the compression routine.
- Usually only relevant to a Matrix Commission plan, sometimes Unilevel plans. Make sure you let INS know if you want the member preserved, so they retain Wholesale purchase privileges after being removed from the tree! Note: Unpaid autoships still count as orders.
- Compression Type: This is where you set the compression rules for your Matrix or UniLevel (this is not normally used in a Binary plan). This deals with choosing a candidate to move into the empty tree position from available options. Select you option to suit your requirement.
- Send Compression Warning Emails in 30 days and 14 days prior?: This will enable auto sending of compression warning emails. You can configure the emails in the Email Engine. Remember reminding folks often just gets them to quit faster, they seldom have not ordered for 60 days by accident.
- Member's Ad Per Day feature:
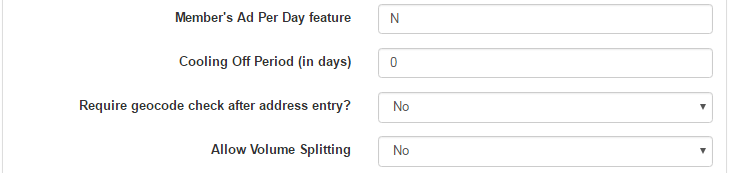
- Cooling Off Period (in days): This will prevent withdrawal of funds until the number of days specified from their signup. Money will still be put into the Personal Account; but withdrawal requests will be stopped until the number of days has passed. A value in days from signup date.
- If you choose not to use this function or disable the same, keep the value as 0 (zero), which is the default value itself.
- Require geocode check after address entry?: If enabled, the system forces the user to validate their entered Address, which in turn provides you with extra security; so that you can confirm that you are not shipping products to fake addresses. It is recommended to leave this feature on.
- Allow Volume Splitting: It allows a volume splitting capability on both members and admin orders, as well as signup, to make sure that the correct amount of volume is applied to each center to meet commission plan qualifications. Select Yes to enable this function in the system.
- Usually this feature is only used in a Multi-Center Binary or Multi-Center Matrix type commission plan.
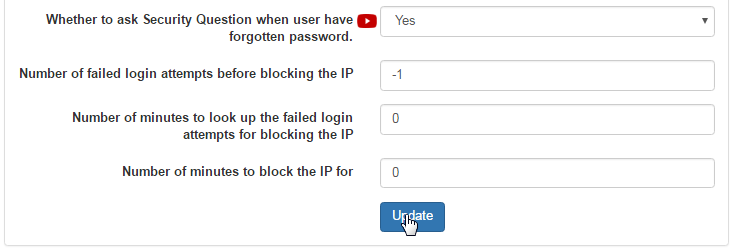
- Whether to ask Security Question when user have forgotten password: Enable or disable this feature based on your requirement. If enabled, the system ask the user to enter the answer to the security question (along with email address) on clicking the Forgotten your password? link.
- Number of failed login attempts before blocking the IP: The limit for letting the user to have the login access before the mentioned failed attempts. The system would block the IP address of the user after the crossing the said limit. By default it is set to -1, meaning disabled.
- Number of minutes to look up the failed login attempts for blocking the IP:
- Number of minutes to block the IP for: Sets the period of time (in minutes) for how long should the system block the IP address before letting go.
Below the default settings are the quick links to Other settings of the system, which includes as follows;
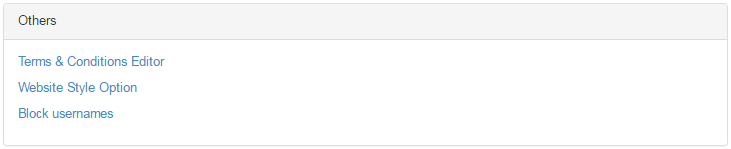
- Terms & Conditions Editor: Clicking on this link would take you to the T and C Editor configuration page. This is where you can edit the Terms and Conditions for both Distributor and Customer. See the the manual to learn more about how you set the T&C of your company/organization.
- Website Style Option: This would take you to the Update Website Style settings, where you can change/select the theme of your website. Simply, click on the radio-button preceding to the option you prefer and then click on the Update button below to save the changes.
- Before applying the changes, you can click on the Preview link to have a sneak peek of how the website would like.
- The users who have already logged into the system are required to re-login (or in next login) to view the changes (taking effect).

- Block usernames: Clicking on this link would take you to the Block Usernames configuration page. See the manual to learn more.