Go to Email Engine from the left hand menu or click on the Email Engine link under General section on the admin home page.

This is where you edit any System Emails, as well as you can add emails to blast to your entire database or send emails to specific users. All emails are set to be operational but vanilla. You may want to edit each of these emails to put your own company flair to it and to ensure maximum education.
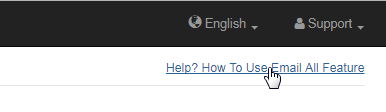
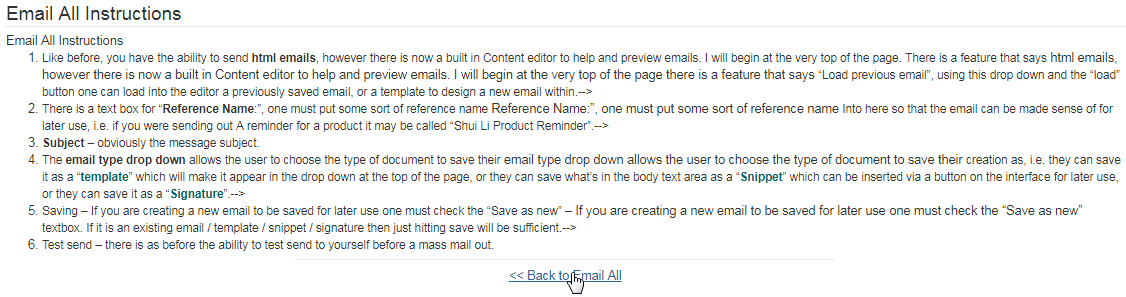
Before you do anything, please visit the Help? How To Use Email All Feature page by clicking on the link at the top right corner on the main page.
We suggest you to read the instructions carefully. Once done, click on the Back to Email All link to get back to the Email/Communicator Templates page.
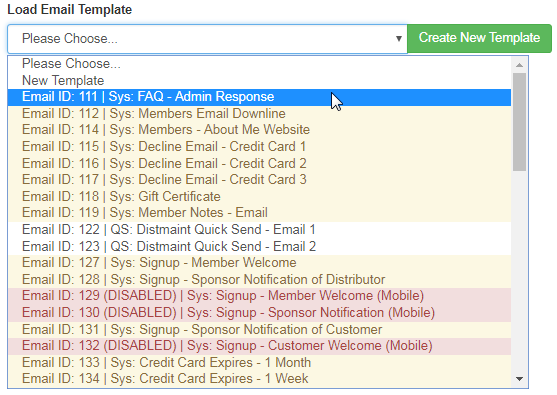
Now that you are ready, select the email template from the Load Email Template drop-list that you want to edit and let the system populate it for you.
- Sys: These are the System Use emails and are NOT to be changed to a different email type. They are there for you to update the content only.
- QS: These are quick send emails which reside inside Distributor Maint > Emails. Visit the Distmaint Quick Send Emails manual to learn more.
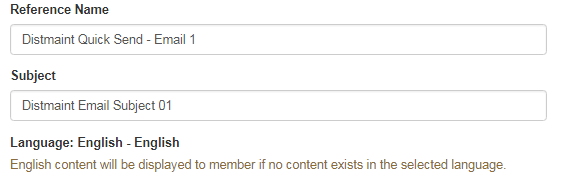
The complete template along with all the related functions will be displayed below the Load Email Template drop-list starting with the following fields;
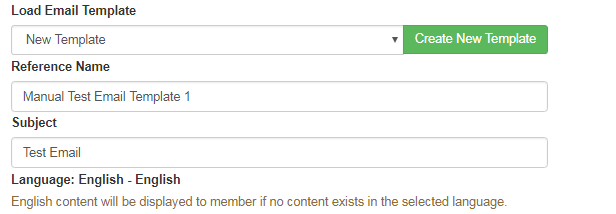
- Reference Name: The name of the email template as it would appear in the Load Email Template drop-down list.
- Subject: The subject of the email as it would appear in the email sent to the member/customer in their email address.
- Language: The language of the email. English content will be displayed to member if no content exists in the selected language.
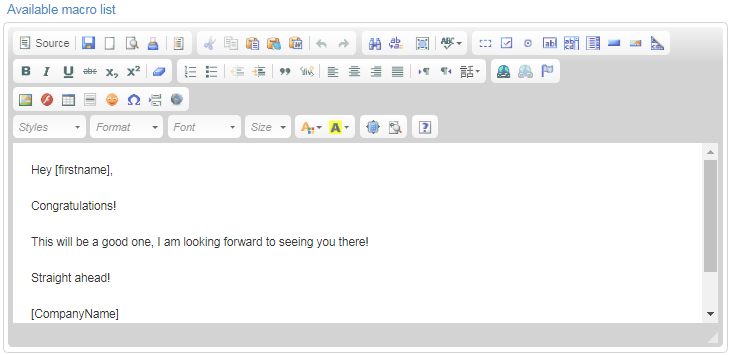
Below that is the web-editor where you can edit the content as per your requirement. Make useof the tools and macros to design your content. You can also design the content of the email using HTML codes, in the Source editor. Click on the Available macro list to check out the list of system macros.
- You can do the body in regular text or HTML. Our recommendation is if you are going to do HTML emails you make yourself a template to use.
- Check out the Webeditor Toolbar for description of the tools in the web-editor and the Macro List manual for your handy purpose.
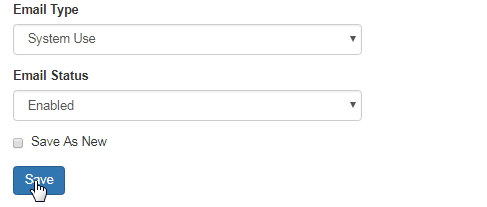
Next comes the fields to choose the type and status of the email. Once you set the options, click on the Save button below to commit to the changes.
- Email Type: For the System Use email templates (pre-defined templates), DO NOT change the status as it may hamper the system auto-emailing feature. For rest of the email templates you can change the status to fit your requirement. Open the drop-down list and select the one you prefer.
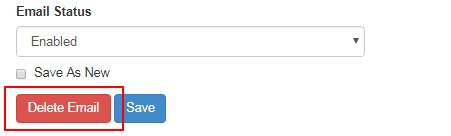
- Email Status: Here you can choose to enable or disable a email from being used. Disabled emails will turn red along with the status DISABLED.
- Save As New: If you want to create a new copy of the email template you are editing, then check on this box before saving the email content.
- If you want to save a System Use email as a new email to use manually with similar content, then please tick the Save as new check box.
- When sending out an email, the system will not send to the users who have status of Pending Cancel, Suspended or Terminated.
Assuming that you have completed designing the email content, set the preferences and saved the email template. Now let us look at the options to send the email to the users. There are multiple options for you to choose from as described below. Click on the respective radio-button to use that option.
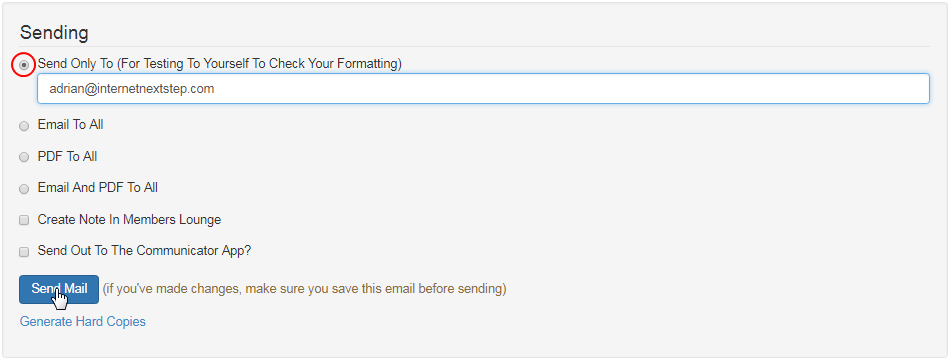
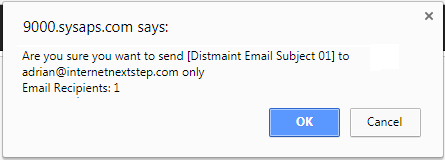
- Send Only To: This option lets you to send the email only to a single user and is mostly used for testing purpose. After you have saved the email template, you would like to send it your email address and check if the formatting is perfect, before sending the email to the users or group.
- Enter the email address in the text-box, click on the Send Mail button and then read and confirm your action in the message box by clicking OK.
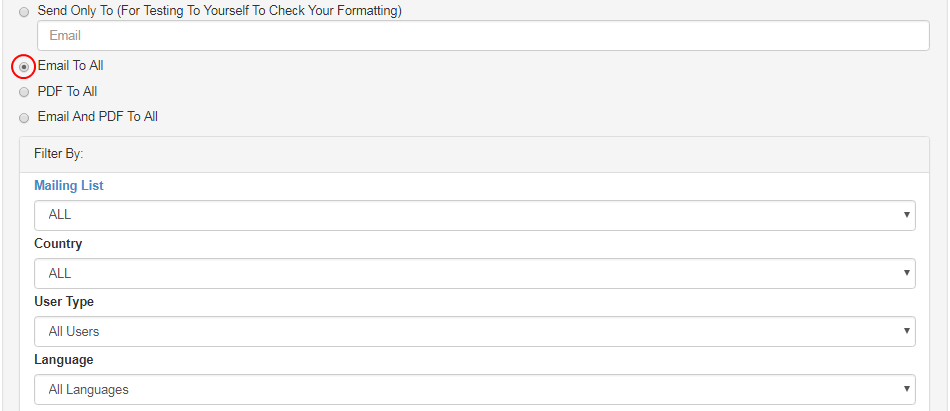
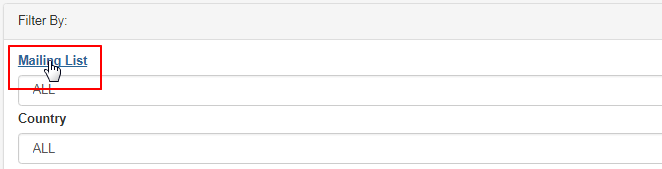
- Email To All: This option lets you to send the email in blast to all the users at once or to certain user group. You can filter you result as folows;
- Mailing List: You can either create a specific user group by clicking on the Mailing List link or select ALL the users from the drop-list.
- Country: You can group the user by country name. Only the countries where the users have signed up from, will be shown in the drop-list.
- State: On selection of a certain country, the state field will appear. You can be more specific about your choice by mentioning the state.
- City: On selection of a certain state, the city field will appear. You can be more specific about your choice by mentioning the city too.
- Note: The State and City fields will only be shown if any record exists, i.e. if any user has mentioned the state and city while signing up.
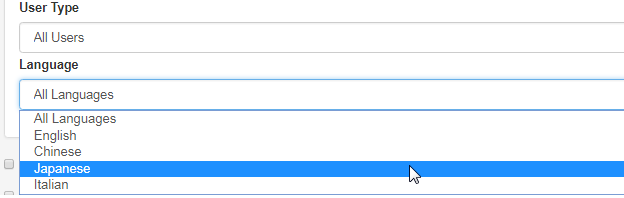
- User Type: You can filter the users by their user type, i.e. Distributor or Customer or both. Select the option from the drop-down list.
- Language: You can filter the users by the langauge of the system they have signed up to. Available languages will be displayed in the list.
- PDF To All: This triggers the system to create PDF of the email template and email it to the user-group in their registered email address.
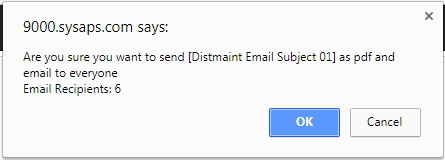
- Email And PDF To All: This option will send the message both as an email and will attache the PDF in the email to the user-group selected.
- For the both the above methods, you can filter the recipients as mentioned above. Check out below on how to create a custom mailing list.
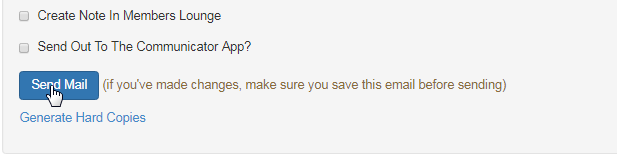
- Create Note In Members Lounge: Checking this option will stamp a note/message in the members lounge to notify the member about the email.
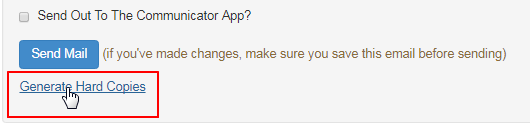
- Send Out To The Communicator App? Checking this option will notify the member about the email via communicator app in their cellphone. This feature is only in function if you are using the system Communicator App. If not then please ignore this check-box as it would serves no function.
- Once you have saved the content and set the filters and are ready to send the email to the target users, click on the Send Mail button below.
- A message box would appear on your screen. Read the message and confirm your action by clicking on OK. This is for every sending options. The message in the box would relate to the option you have chosen, i.e. Send Only To or Email To All, etc. Click Cancel to abort the sending process.
- Clicking on OK would trigger the system to send out the email to the target users and will display a message next to the Send Mail button.
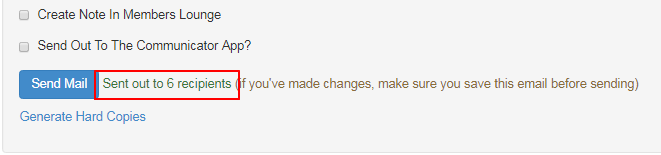
- Email blasts may take some time to arrive at their destination, this is based on how many emails the system has to process at the time.
- If you send emails to Members, you will not be able to see the messages if you enter the Members Lounge from Admin.
- If you wish to see the messages that you have posted/sent as an Admin you must login as if you are the Member.
- If you have asked us to enable your emails, you can do tests to yourself to see how the email looks and so forth.
System lets you to create a custom list of users to whom you want to send the emails. Select your sending option and then click on the Mailing List link.
You will then be redirected to the Email Groups page. Click on the Add New button on the right hand side to start creating a custom group of recipients.

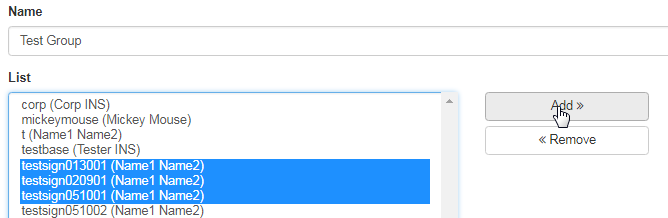
The fields for creating/editing the group will be displayed below. Type in a Name of the group, select the recipients from the List on the left hand side and then click on the Add button. The list displays the username and the name of all the members in your system. You can select multiple recipients at once.
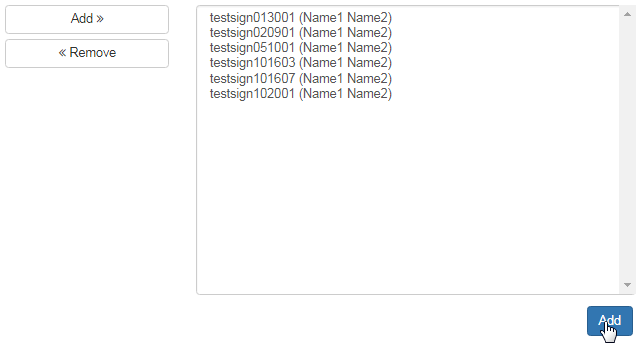
The the users you have added to the list will now be moved to the right hand side. You can add more in the similar way as mentioned above or remove the ones that are not required by selecting them and then clicking on the Remove button. The removed ones will get added to the List on the left.

Once you are satisfied with the list of selected recipients, click on the Add button at the right bottom corner of the page to commit to the changes.
The new mailing list would now be displayed along with the options to manage the same. In order to updated a list click on the corresponding Edit button.
- The fields for editing the options will be displayed (as shown above). You can change the name of the list or the recipients list on right hand side.
- After you are done with the editing, simply click on the Update button at the bottom right corner of the page to save and apply the changes.
- In order to remove a user group, simply click on the corresponding Delete button. Make sure you understand that the process is irreversible.

You can add as many custom mailing list as and when required. All the list would appear on the Email Groups main page. Edit or remove them as preferred. The users groups that you have created would appear by its Name in the Mailing List drop-down list. Return to that page to see the result.

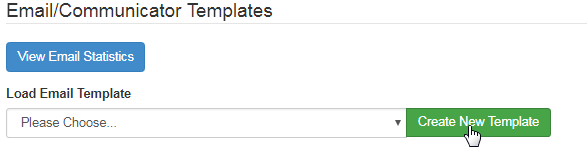
You can also create an email template and design the content as your prefer. In order to create a new template click on the Create New Template button on the Email/Communicator Templates page. Alternatively, you can select New Template option from the Load Email Template drop-list.
A blank template will be provided to you. Fill in the details, design the email body, set the preferences and then Save the email template. The fields are same as shown earlier. For a new email template the sending option will be available after you save the same. Here's the description of the fields.
- Reference Name: The name of the template as it would appear on the list. | Subject: The subject of the email as it would appear to the recipients.
- Language: The language in which the content of the email is in. English content will be displayed, if no content exists in the selected language.
- Available macro list: Click on this link to view the list of all system available macros. Email Body: The body of the email. Design as you prefer.

- Email Type: The type of the email. Select your option from the list. | Email Status: The option to enable or disable the template from being used.
- Save As New: The option to save a copy of email template. By default this check-box is ticked for creating a new template. Keep as it is.

Once you save the email template, the sending options will be available below - the functions are same as described in the Email Sending Options above in this manual. Notice that a Delete Email button appears below the template. Remember that the templates of the type System Use cannot be deleted.
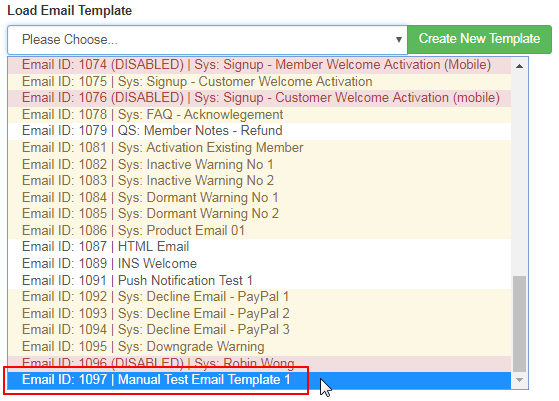
The new email template that you have just created will now appear in the Load Email Template drop-list. Select that option to manage the same in future.
If you are currently running multiple languages on your system then you will want to incorporate those languages when you send out email blasts.
- To do so you will have to manually re-write each email template into your specific language. Since our systems do not incorporate the Google or any other type of automatic translating tool - because they are still very inaccurate and certain key sentences can be lost in translation.
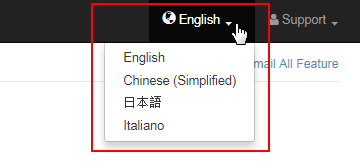
To change the language of the email you are sending you need to select a language from the drop-down box located at the top right hand corner of the page. The length of this list will vary depending on how many languages you currently have activated on your system. The page will refresh itself.
- Once you have selected the language that you wish to work in, you will see that the page has change into that language.
- This means that when you go to edit the email templates you will be editing those templates under the chosen Language.
- For example if you change the language to Japanese and then edit a email template and save it, then went back to English and clicked on the same template it would still be in English. So it's important to edit each email template in the correct language (as per your preference).
- You also have the ability to filter certain criteria when sending out a email blast. You can choose language, user type and country.
- This means that only people who meet the specific criteria will receive the email blast when you send the emails out.
You can also take print outs of the email to send out to their mailing address. To do so click on the Generate Hard Copies link at the bottom of the page.
You will be redirected to the Hard Copy Generator page. Check on the option you want to print and then click on the Generate Now button below.

Click on the link to download the PDF file in your local computer. Alternatively. similar printing option is available in Reporting > Misc > PDF Report.