Go to Recognition > Photo Approval from the left hand menu or click on Photo Approval under Recognition on the home page (bottom of the page).
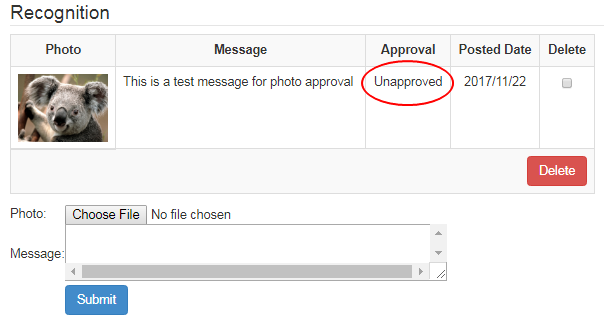
When members submit a new photo in their Member's Lounge via Tools & Settings > Recognition, for use with their profile, these details will automatically appear here for approval. The image and the message must be approved by admin before it takes effect. Here is an example.
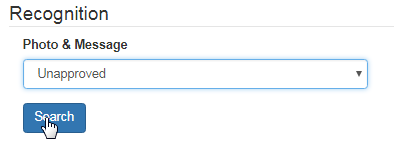
As an admin, you can control this request by approving or disapproving the same. This is to prevent the members from displaying any inappropriate image and message that could raise an issue. To start with, select a category from the Photo & Message drop-list and then click on the Search button below.
- Unapproved: Select this option to display the requests which are pending for approval by admin.
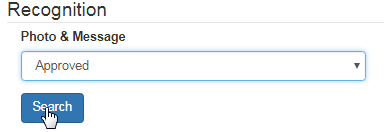
- Approved: Select this option to display the requests which have already been approved by admin.
- All: Select this option to display all the requests, i.e. both Approved and Unapproved recognitions.
Before taking your action, check all the details carefully, and if everything is OK, then select the Approved option from the drop-list under the Approval column and tick on the check box for the items that you want to process. Once done, click on the Update button below to save and apply the changes.
- Photo: The thumbnail of the image that has been uploaded by the member. | Title: The title or short name of the image uploaded, if any.
- Username:The username of the member who has uploaded the image. | Name: The name of the member who has uploaded the image.
- State: The system code for the geographical state of the member. | Country: The country code of the nation where the member belongs to.
- Message: The message attached with the image. | Posted Date: The date on which the member uploaded the image and posted the message.
- Approval: How you want to process the request, i.e. approve or disapprove it. Select the option from the drop-list as desired.

Once you update your preferences, the approved items will disappear from the list, and if there's no more items, you will be redirected to the main page. When set as Approved, the image/message will be visible to the new members who sign up under this member, and in the public pages of the member.
As mentioned, new requests are required to be approved to be displayed in the members lounge. In that case, all the new items will be queued up in the Unapproved list. However, you can also disapprove of a previously approved item later, as and when required. In this case, search for the Approved list.
The system will return all previously approved items (similar columns as above). This time, select the Unapproved option from the drop-list under the Approval column and tick on the check box for the items that you want to process. Once done, click on the Update button to save and apply the changes.

Now this action will prevent the image and the message from being displayed in the system. You can then contact the user to remove/change the content.
If you consider that the image and/or the message content is not suitable to your company, then you can choose to permanently delete the requests. To do that, search for the item you wish to remove, tick on the corresponding check-box and then click on the Delete button below.
