Click on the Distributor option in the left hand menu or under the General section of the home page to go to the Distributor Search interface. Then search for the member in your system by providing the Username, Name or any other relative criteria, and then by clicking on the Search button below.
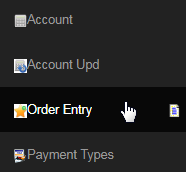
Once you are in the Distributor Maintenance area of the member, click on the Order Entry option in the left hand menu to go to that page.
This will redirect you to the Order Entry interface, where you as an admin can place any order on behalf of that member. This is an alternative way for the Order Entry menu in the admin section, just the step for providing the member's username is skipped as you are already inside the member's DistMaint.
The admin interface of the shopping cart differs from that of what the members see. The interface is designed to provide some privileges to the admin (discussed later). The list should be empty as no items were added into it. Start by clicking on the Add Item link to bring up the list of all the products.

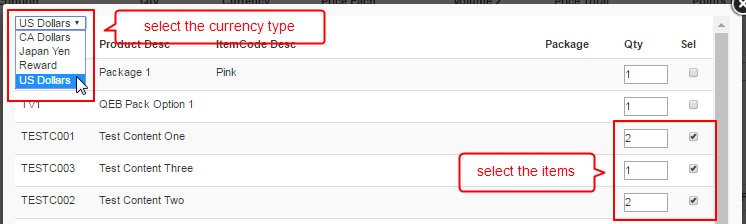
A window will pop-up, containing the list of all the products. You can choose from the list of what items to be ordered through the following process;
- First select the currency from the drop-list at the top left corner of the window, which the products will be displayed for.
- Go through the list and tick on the check-boxes under the Sel column for the products you want to add to the cart.
- Then edit the Qty of the product you want to order in the text-box provided. By default, the value is set to 1 (one).
- Once you have selected the items, click on the Submit button at the bottom of the page to place them into the cart.
Alternatively, once you are familiar with all your ItemCodes, you can directly add an item to the list without any need for opening the Product List. To do that, fill in the text box that says Item Code and set its quantity. Then click on the Add Item button next to that. You can add line after line items this way.

After you have added the items in the shopping cart, you also have the ability to edit the Description, Quantity, Price and Volume of the items to custom values. This won't change the original information of the product or the item in the system. To do that, click on the Edit button at the end of the row.

The above mentioned fields will now be enabled for editing purposes. Change the values of the required fields as you prefer. If you change your mind from editing the item values, simply click on the corresponding Cancel button to abort the changes you have made. The original values will be restored.

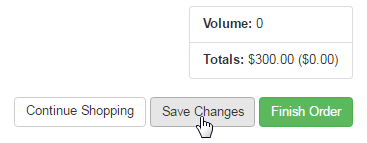
Once you are satisfied with the new values of the items, click on the Save Changes button at the bottom to save and apply the changes to the order list.
Once you have completed editing the values of the items and have saved the changes, click on the Re-Calculate button below to refresh the order.
- You can directly change the quantity of an item by editing the value in the Qty field and then by clicking on the Re-Calculate button.
- To remove an item from the order list, change the quantity of that item to the value 0 (zero) and then hit the Re-Calculate button.
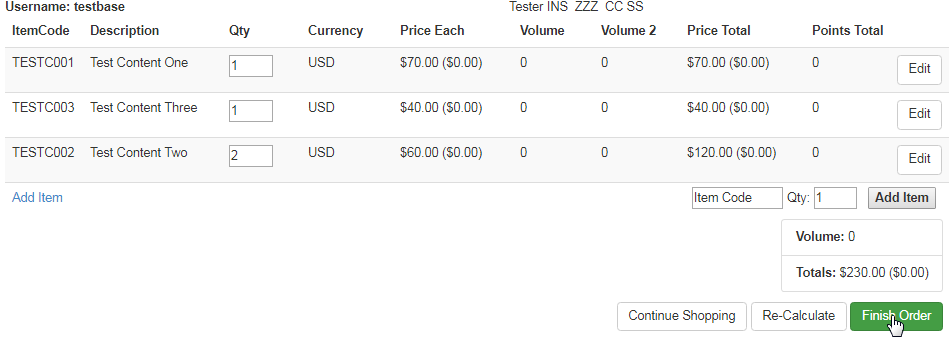
After you have completed setting up the order for the member (adding or editing), review the Volume and Total and then click on the Finish Order button at the bottom to save the order and proceed to the next step. Note that the Continue Shopping' button will take you to the admin Product Maint page.
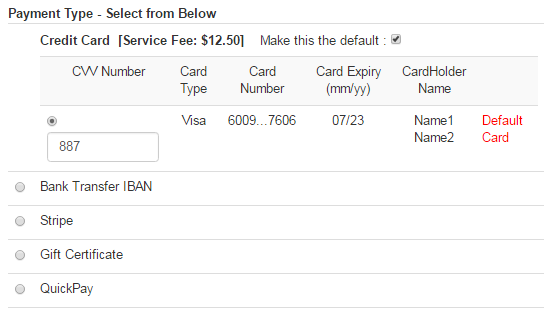
Select a payment type that the member would prefer to use for this purchase, by clicking on the radio-button preceding the payment type and entering the details (if required in this step). Check on the Make this the default box, to allow the chosen credit card to be remembered for future purchases.
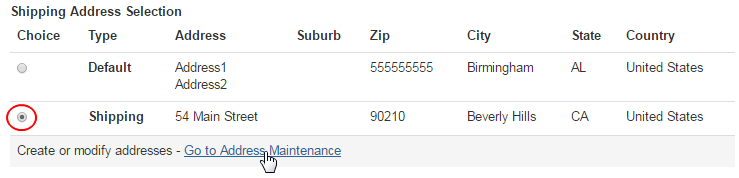
Select the shipping address of the order by clicking on the radio-button preceding the corresponding address. If you need to add a new address, you can do it by clicking on the Go to Address Maintenance link. You can also manage and swap between the existing addresses, click here to learn more.
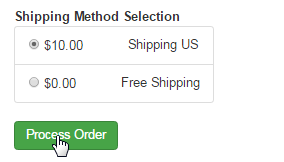
Now select the Shipping Method you prefer for this order, by clicking on the corresponding radio-button. You will be able to check the final order amount, i.e. along with the shipping, taxes, handling, etc. charges in the next step. To finalize the payment and shipping type, click on the Purchase Order button.
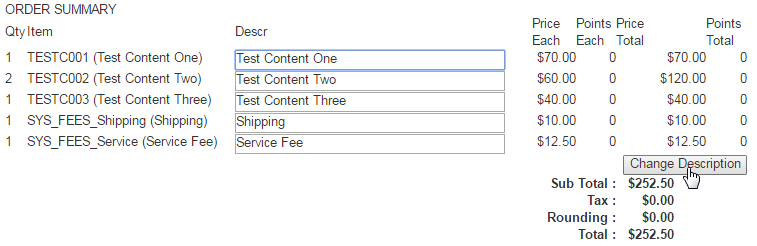
At the top, you should find the summary of the order, where you can change the Description of the items listed, by simply editing the values in the box and then by clicking on the Change Description button to save. You will also find that the Shipping, Handling and Service Fee charges are included.
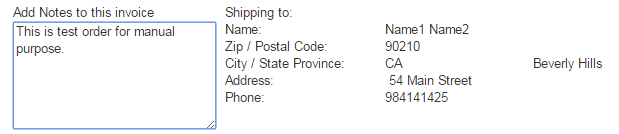
Next, you can type in a comment in the Add Notes to this invoice text-box regarding the order purchase for future reference. This note will be displayed on the order invoice. In advanced or higher systems, we can default this note for you, as well as to say something that you have always wanted to say to your customers.
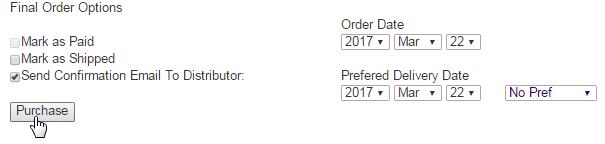
As an admin, you have the ability to skip the payment process and directly process the order purchase. You can mark the order as paid and/or as shipped. At the bottom of the Payment page, check on the respective box(es) to enable this feature, and then click Purchase to place the order.
- Mark as Paid is something you need to check if you have the money in your hand and want to show this order as paid. If you mark this here, the order will immediately be set as a printable invoice without you needing to confirm that money is received in the money handling area.
- Mark as Shipped is a critical function, if you are planning to print the invoice from the invoice page, instead of letting it go to the PDF printing engine to be printed in a batch. It is useful if the customer is right in front of you, handing you the money, while you are filling in the order.
- Send Confirmation Email to Distributor: Disabling this option will prevent the system from sending out the automated order confirmation email.
- Order Date: This will allow you to backdate or forward the order date. Be aware of changing the dates, since this can affect the commissions.
- Preferred Delivery Date You can set a different date and time of the delivery of the order according to the preference of the member (if any).
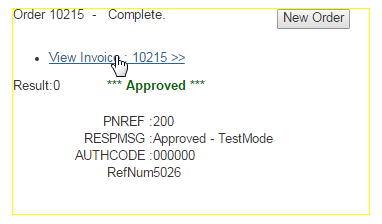
If everything goes well, then you would see the Success message as the image below. If you need to print the invoice right now, click the View invoice link in order to do so. This is a Great feature for will call or pickup orders, where the member is paying you right there and you wish to print the order.