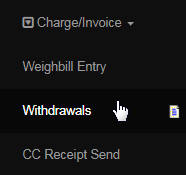
Go to System > Withdrawals from the left hand menu or click on Withdrawals under System on the home page.
This is where you can view and process the withdrawal requests made by the members. The payment methods listed here are determined in the Payment Types area, i.e. any method for which Outgoing is enabled, will display as an entry in this section. The general method for withdrawals is by Cheque.
The first section shows the Withdrawals - Pending requests for the enabled payment type. The withdrawal requests are classified based on currency types that are enabled in the system. Click on the Currency Code (e.g. CAD) tab for which you want to view and process the withdrawal requests.
- Let's say you're a Canadian company and you have members who have signed up from the USA. If they have requested for a withdrawal of funds, then that will be listed under the USD currency type. The system will calculate the equivalent amount in that currency (as defined).
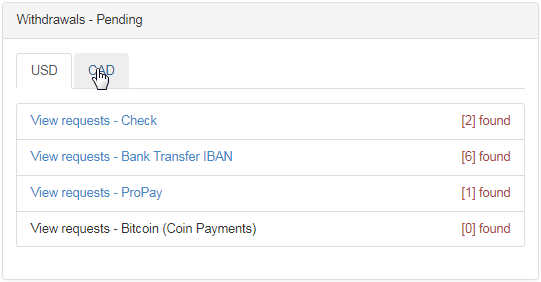
Dividing the requests based on currency types makes the system more flexible and avoids confusion in choosing the requests to process. The payment type that has one or more requests will appear as a link. Click on the View requests link for the payment type you want to process the withdrawals for.
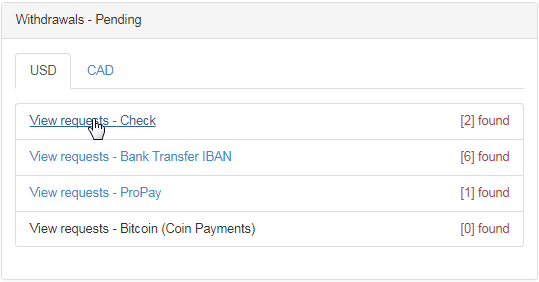
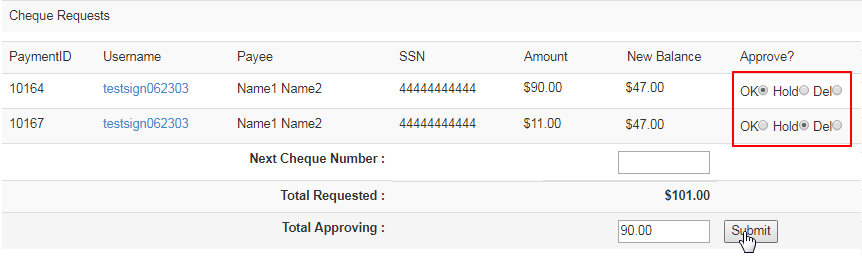
This will redirect you to the Withdrawals page for the payment type. Select your action under the Approve column and then click on the Submit button.
- PaymentID: The withdrawal request identification number. This is a system generated numeric code unique to the withdrawal request.
- Username: The username of the member who has requested the withdrawal. You can go to the member's DistMaint by clicking on this link.
- Payee: The name of the member who has requested the withdrawal. | SSN: The Social Security Number of the member. Mandatory for US citizens.
- Amount: The amount requested for withdrawal excluding the service fee. | New Balance: The balance in the member's account after the withdrawal.
- Approve: How would you like to process the request. Select the option by clicking on the appropriate radio-button. Here are your options;
- OK: Select this option if you wish to approve the withdrawal request and process the same.
- Hold: Select this option if you wish to hold the withdrawal request for a specific reason.
- Del: Select this option if you wish to decline the withdrawal request and remove it from the system.
- Next Cheque Number: This is where you enter the starting check number for the batch; the system does not print numbers onto the Cheques, but it will store the number for future reference. The number sequence initiated here will show as the RefNum to members.
- Total Requested: Shows the total amount the member has requested to withdraw. This does not include the service fee - this is deducted from the member's account when approving the withdrawal (if a fee has been set up in the system and is detailed to the member on the withdrawal interface).
- Total Approving: Shows the amount that is being approved for withdrawal. It changes based on your action under the Approve column.
The above example is shown in the context of processing a withdrawal request for the Cheque payment type. The Withdrawals page for other payment types, such as IBAN, Propay, etc. may contain different attributes in the table. However, the process for approving the request is similar for all payment types.
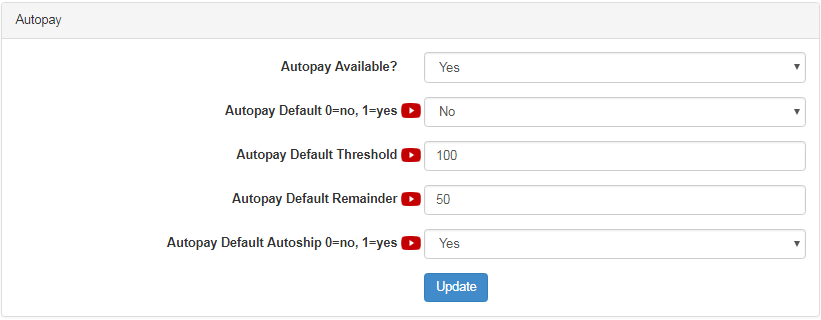
The members are authorized to set the parameters for automatic payment amounts, if automatic payment request is enabled and configured in the system. You can change the settings in the Configuration > Money > Payout page in the Autopay section. Check out the Payout manual to learn more.
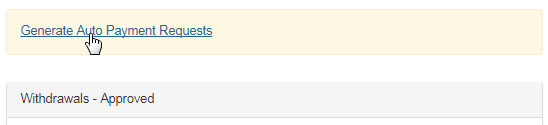
Clicking on the Generate Auto Payment Requests link should initiate the processing of the automatic withdrawal request, based on the set criteria (as above). A message will be displayed on the screen. It may take a few minutes to complete the processing. Follow the instruction as shown on the screen.
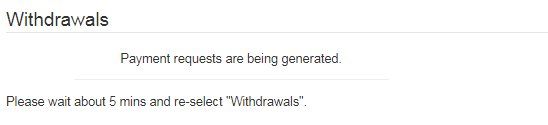
Once processed, the new requests that were automatically generated will appear in the Withdrawals - Pending section for the respective payment type.
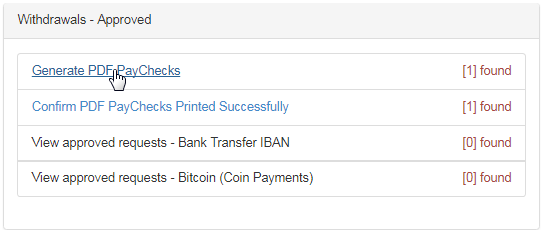
This is where you can confirm the payouts of the withdrawal requests that you have approved earlier. The payment type which has a record will appear as a link. For example, if there are paychecks to be generated, then click on the Generate PDF PayChecks link to create/print onto the pre-formatted checks.
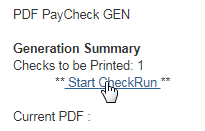
This will redirect you to the PDF PayCheck GEN page, where you can create and print the paycheck PDF files which are printed onto pre-formatted checks. Under the Generation Summary, check out the number of Checks to be Printed and then click on the Start CheckRun link to generate them.
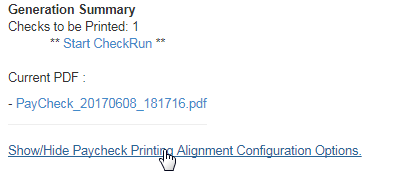
A success message will be displayed on the screen. Now that the PDF has been generated and can be used to print onto the pre-formatted checks provided by your bank, it will be listed under Current PDF. Click on the PayCheck_YYYYMMDD_HHMMSS.pdf link to view and save it to your computer.

The PDF will open in a new tab, showing the details to be printed onto the pre-formatted checks. This is where you proceed with printing the checks. If the Cheques are not printing with the correct alignment, then to fix it, click on the Show/Hide Paycheck Printing Alignment Configuration Options link.
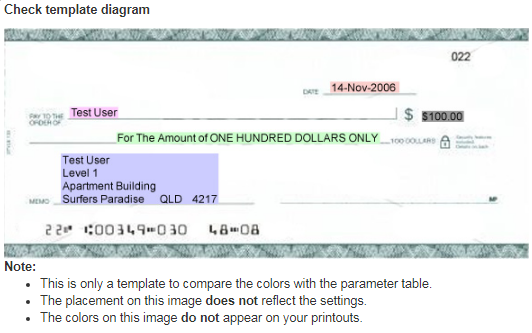
The Check Alignment section will expand below. This is where you can control how the check details are printed on the sheet. Read the instructions carefully before editing. Set the values in the Parameter Table and then click on the Save Settings button to save and apply the changes.
- When you start changing the parameters, it is important to save the default settings in a text document, in case something goes wrong when setting the new parameters. Each time you edit the values, we suggest that you print out the checks and test to see if the alignment is correct.
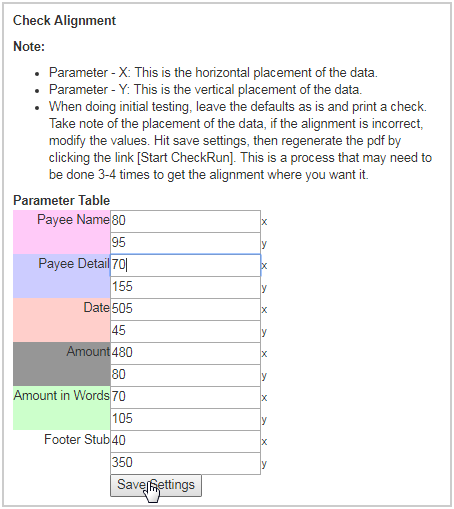
On the right hand side is the Check template diagram section which depicts an example check with the description of the content on the check. The control interface is self explanatory. It is best to try printing on blank sheets to inspect the results before using real cheques. You can reprint the PDFs.
Even after the checks have been printed, the system still holds the records for further use (if any) until you confirm the same. Next, you need to let the system know that printing the checks have been correctly done. Click on the Confirm PDF PayChecks Printed Successfully link to proceed.

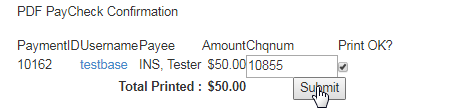
This will redirect you to the PDF PayCheck Confirmation page, which shows the PDF check print runs that have been printed and are awaiting confirmation. Select the ones that you want to confirm, and then click on the Submit button below to process the same.
- Ensure that the paycheck is printed correctly. Match the details in the list to ensure that you know which line the paycheck refers to.
- Type in the Cheque Number for your future reference in the Chqnum text-box and tick on the corresponding Printed OK? check-box.
- The check-box is ticked by default. Make sure that for any row that you do not want to confirm, the Printed OK? check-box is not ticked.
On confirmation, the approved records will be removed from the "Generate PDF PayChecks" and "Confirm PDF PayChecks Printed Successfully" areas.
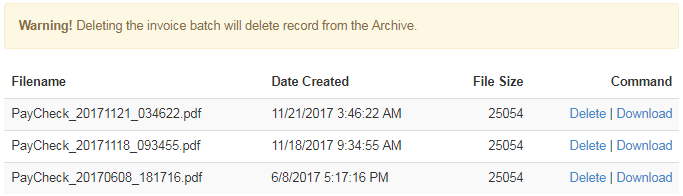
These links will display the historic reports for transfers already processed. You can download and reprint checks from this area (or delete the reports permanently from the database). Click on the respective link to view the report and take your action. Here's a description of the reports;
- View Historic Printed Checks: The PDF archive of the Pay checks that have been previously printed (listed newer-to-older).
- View Historic Withdrawals Reports: The CSV archive of the withdrawal requests that have been processed previously.