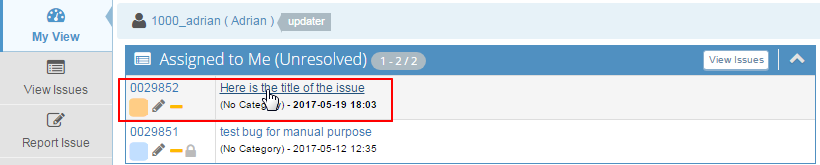
Once you have Reported a bug, you simply wait for it to come back to you. You will find it listed in the Assigned to Me section in the My View page. The date would appear in bold text, denoting the latest update of the issue. Click either on the issue ID or the summary link to open the detailed report.
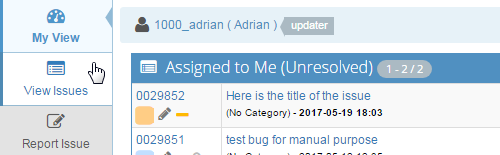
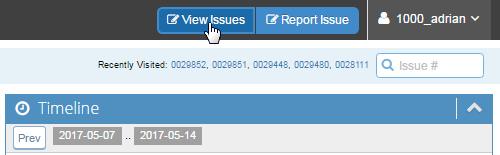
If not, you will always find it in the View Issues listings. Click on the View Issues option in the left hand menu or on the quick link at the top right corner.
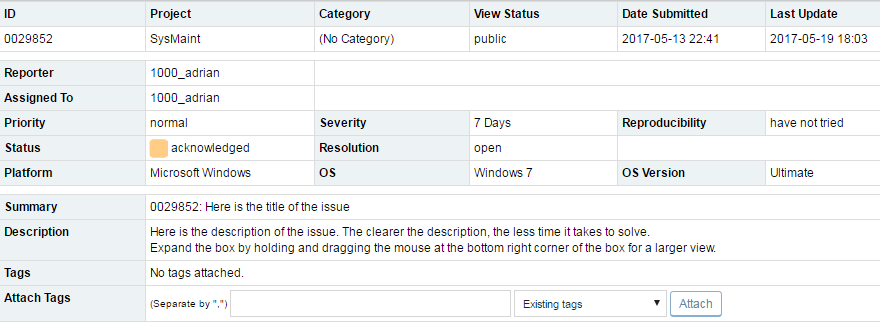
Here is the simple listing of the bug report . Most of the fields are self-explanatory. "Assigned To" will contain the developer assigned to handle the bug. Each (except for number of issue notes) can be clicked on to sort by that column. Clicking again will reverse the direction of the sort. The default is to sort by last modification time, where the last modified issue appears at the top. Click on the issue ID link to open the bug in full mode.

The detailed report of the issue will be displayed. Check if details entered here are correct. You will also have the ability to edit the fields later.
Below the bug report details is a set of buttons that a user can select to work on the issue. Here's the description of the functions you can perform;

- Edit: Clicking on this button should open the issue details in an editable format. Change the value of the fields as required and once done, click on the Update Information button at the bottom of that section to save the changes. Please ignore the Skip Slack notification check box.
- It will also take you to the same edit bug interface if you click on the pencil icon below the bug/issue number in My View page.
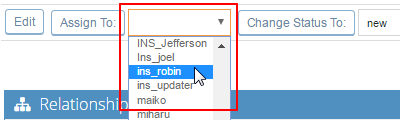
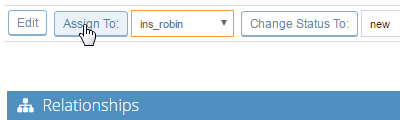
- Assign To: In conjunction with the drop-down list next to the button, this is a shortcut to change the assignment of an issue. To assign the bug to a user, select his/her mantis username from the respective drop-down list and then click on the Assign To button to apply the changes.
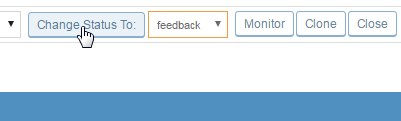
- Change Status To: In conjunction with the drop-down list next to the button, this is a shortcut to change the status of an issue. To change the status of the bug, select the option from the respective drop-down list and then click on the Change Status To button to proceed to next step.
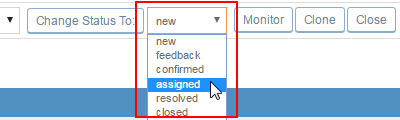
- New: It represents New bugs and that the bug is opened for the developers or support personnel to answer to.
- Feedback: Bug requires more information, the original posters should replay asap in order to keep the process moving quickly.
- Acknowledged: This option is for INS Internal Use Only. Although, if a bug is assigned to you with this status, please answer the question asked in the latest note(s) and assign back to dennis or to the INS user who has sent it to you as soon as possible.
- Confirmed: Do not use this option; ignore this option. This option is for INS Internal Use Only.
- Assigned: Assigned to a Developer (Please Assign to "Support" unless a developer has asked you a question directly in which case you can reply back to them directly. If you assign a new bug to a developer it will be ignored and considered an attempt at queue jumping).
- Resolved: Do not use this option; ignore this option. This option is for INS Internal Use Only.
- Closed: Bug is closed by INS. NEVER Close bugs please. This option is for INS Internal Use Only.
Note: It is VERY common with new users to think assigning is simply selecting the person you wish to assign to from the drop down list. Assigning is a 2 step process. First select the correct user (mantis username) from the drop-down list and then click on the Assign To button.
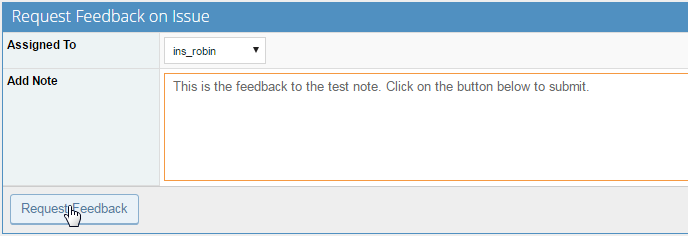
- Another page will be presented to allow the user to add notes or change relevant information. You will have the ability to change the assignment of the bug here. Type in your comment and then submit. The name of the button and the section depends on the status you choose.
- Monitor / Unmonitor Issue: Clicking on this button should allow the user to monitor any additions to the issue through their registered email
- Create Clone: This creates a copy of the current issue. This presents the user with a new issue reporting form with all of the data in the current issue filled in. Upon submission, a new issue, related to the current issue, will be created. It is an advanced option. Do not use unless required.
A panel is provided to view, delete and add relationships for an issue. Issues can have a parent/child relationship, where the user is warned about resolving a parent issue before all of the children are resolved. A peer relationship is also possible.
- Select your option form the drop-list, enter the concerned bug/issue number (For example, 0029851) and then click on the add button.

- The new row will be added up into the list holding the details of the bug in relation to the current bug. Click on the bin icon to remove the row.

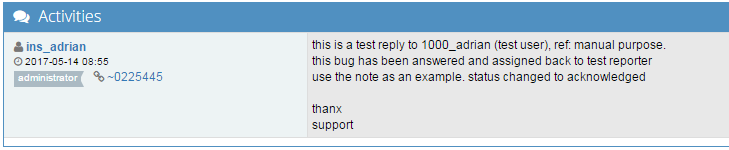
It is easier to communicate with the developers through bug notes regarding the issue. When the issue has been fixed or if more information is required, the bug will be assigned back to you with a note from the developer(s) stating the same. The notes would be listed in the Activities section.
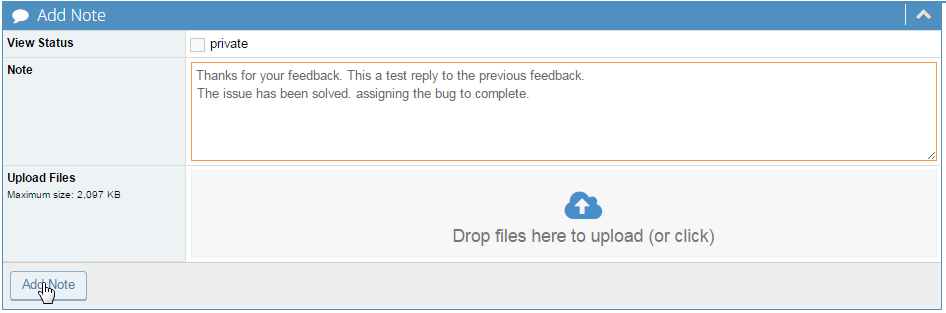
Should the bug not come back within a day or so, or in the case of a simple question by the next day, feel free to add a bug note asking for an update or expressing its urgency. In the Add Note section, type in your comments in the Note text-area and then click on the Add Note button.
- You can also use the Upload Files option to attach a file in support your issue, before submitting the note.
- Ignore the View Status option. It is not required to tick on the private check-box or to make the note private.
This will add your latest note in the Activities section, but it needs to be assigned properly to notify the INS staffs. Else, your bug will not be seen by us as it will stay assigned to yourself and OFF of all our Staffs List. REMEMBER that assigning a bug is a TWO step process. Probable scenarios;
- Once you are satisfied that your question is answered or your issue is fixed, please assign the bug to the user complete.
- You need to assign the bug to the USER who has responded, with your feedback or answer to previous questions.. ie, you MUST remember to assign this back to the correct person to make sure the conversation keeps flowing..

And now you are done! We will then assign our internal notes and times to the bug and close it off at months end so it leaves your list.