Note: The upload limit is 10 Mb per file. If your files are bigger than the limit, then please use a different file sharing service such as Amazon S3
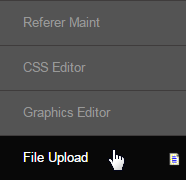
Go to Configuration > Website Setup > File Upload from the left hand menu or click on File Upload under Configuration on the home page.
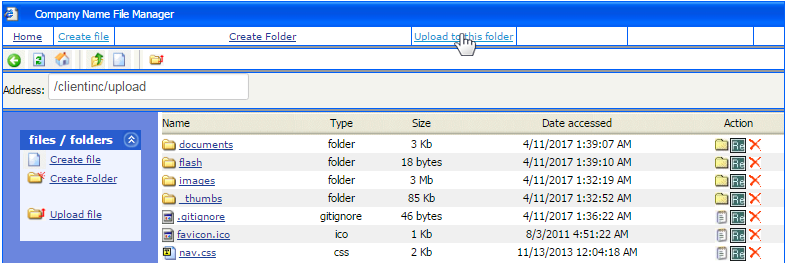
The File Manager will be opened in a new tab. This is where you can upload file to specific folders. Select the folder where you want to upload the files or create a new one by clicking on the Create Folder link at the top. Then click on the Upload to this folder link to upload files into that folder.
- Note: The same options are also available on the left hand menu. Click on either of the links to perform the respective functions.
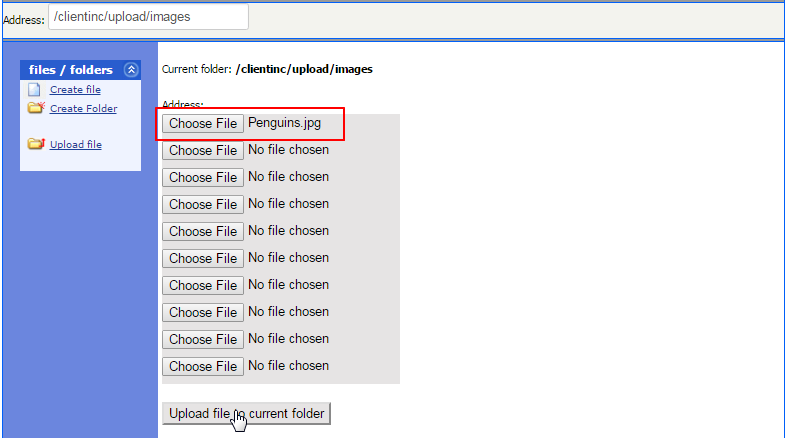
The path name of the folder will be displayed at the top. You can upload multiple files at a time (up to 10 files). Click on the Choose File button to search your local computer for the documents you want to upload. Once done, click on the Upload file to current folder button at the bottom.
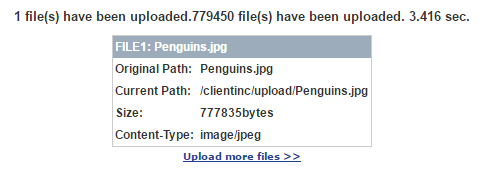
Once the file is uploaded, you will get a success message along with path name and content type. Copy the Current Path to your clipboard or take note on somewhere so you can reference it later. Click on the upload more files link to continue the uploading process or close the window.
Now that your file has been uploaded successfully in the file manager you need to link it to the page where you wish to display the same. Go to Configuration > Website Setup > Menu/Web Editor. In the Website Section Editor, locate the page and then click on the Edit link next to it.

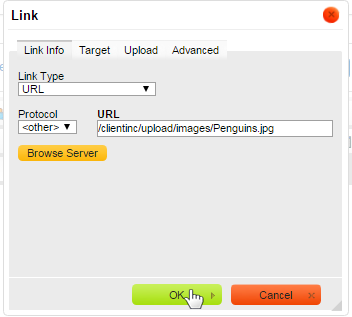
The link will also need a title; the title is the text link that you click on to redirect you to the document, so make it relevant. Type in the text content in the web-editor and highlight the same. Then click on the Link (globe) icon in the toolbar to open the respective configuration/properties panel.

In the control box, simply type in or paste the Current Path of the document and then click on the OK button below. To make it more easy, the system provides the Browse Server (button) function to search your uploaded file in the system server. Either of the options works perfectly.
The text content in the editor should now turn into a link which would redirect the user to the file specified, when clicked.. You have uploaded your document and made a link to that document that can be accessed from your website. Check the manual the page for more details regarding linking documents.
Related Links:
Creating a JOIN Link
Upload Your Own Favicon
