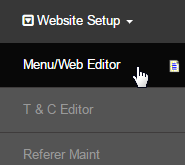
Go to Configuration > Website Setup > Menu/Web Editor from the left hand menu or click on the same under Configuration on the home page.
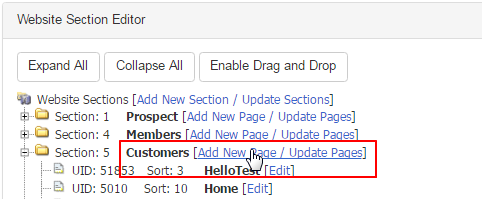
Step 1: In the Website Section Editor, click on the [Add New Page / Update Pages] list next to Customers, to create a page under this section.
Step 2: In the Create Page section, enter the page details as following and then click on the Add New>> button to proceed to the Page Editor.
- Page Name: Enter the name of the page for recognition. This title will be displayed in the list of the page under section.
- Sort Order: Enter the sort order or the order of appearance of the page in the list and the menu. Check the existing values used.
- UserTy: Make sure that you select the user type (access level) as Distributor (value by default) from the drop-down list.
- Client Custom Page: Un-tick this box (checked by default), since we are going to make the page editable or customizable.

Step 3: The Page Name will auto-populate from the previous step and in the Page Url text-box enter /members/IDPaymentTy_edit.asp path.

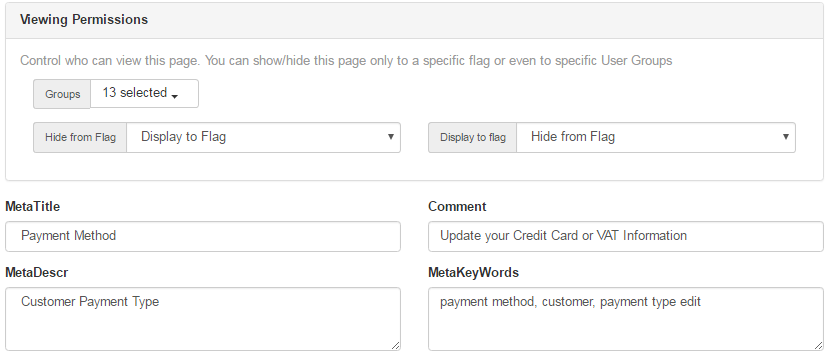
Step 4: Set the access permission in the Viewing Permissions. Open the Groups drop-down list to select till the Customer option. Rest of the fileds are optional and can be modified as per your preference. For e.g. the Comment can be Update your Credit Card or VAT Information, etc.
Step 5: Once done, click on the Save button in the Publishing section at the top right corner of the page to commit and apply the changes.
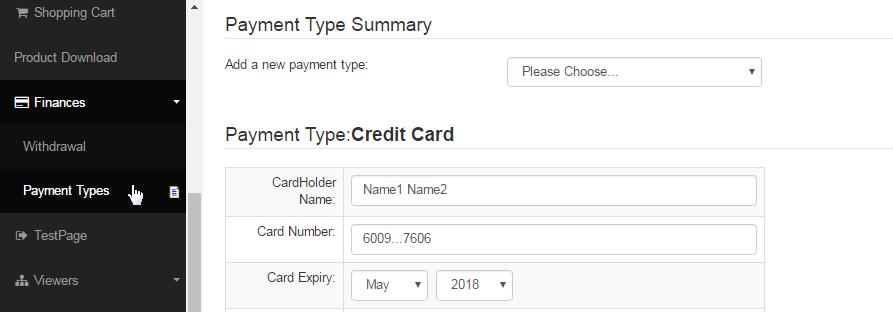
The Payment Types link will appear for the customers area under the Finance menu, where they can edit and save their payment preferences.
