The items in the 1st quadrant in the Members Lounge are about social connection and communication. This manual is splitted into tabs (as depicted in the Members Lounge) to make it compact and flexible. Navigate through the manual by clicking on the respective tab below. Here's a description of the tabs;
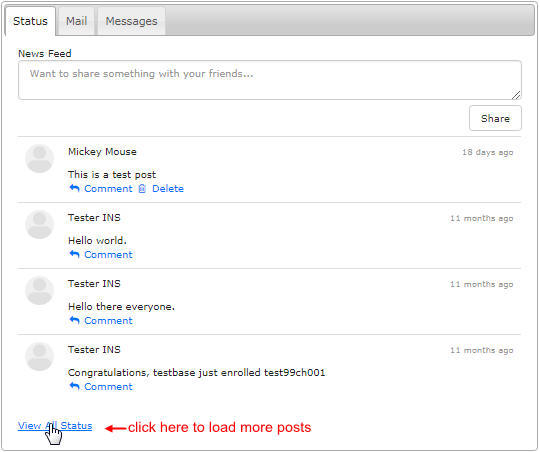
The content in this tab is fetched from the News Feed feature in the system. The News Feed is a Facebook-style events notifier which shows what the other members (which you have as friends) are up to. This will also detail events for yourself, such as enrolling new members, other system events, etc.
- Only the latest four posts are displayed here (in decreasing order of date posted). To load more, click on the View All Status link at the bottom.
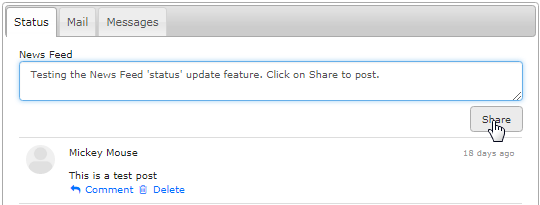
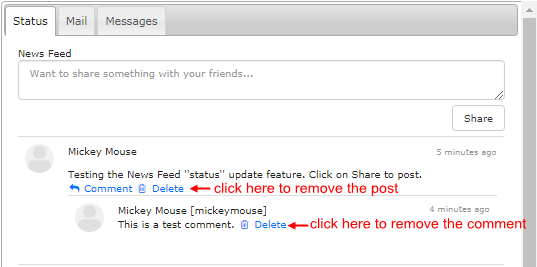
You can share something with your network/friends. Simply type the content in the News Feed box (at the top) and then click on the Share button to post.
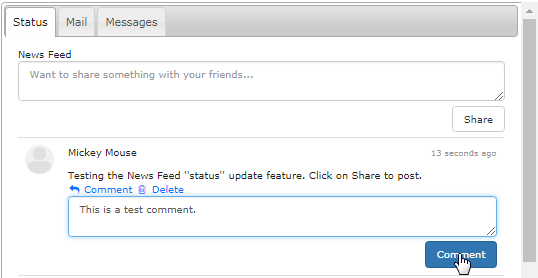
After you have shared something, it will appear in the News feed. It will be displayed in this order: Your Name, Username, what you are sharing, how long ago it was posted. You have the ability to comment on your own and other posts. You also have the ability to delete your own post if you wish.
- Click on the Comment link just below the post to expand the section. Then type in the text-box box and click on the Comment button.
- Your comment will appear below the post. Now if you want to remove a post or comment, then click on the corresponding Delete link.
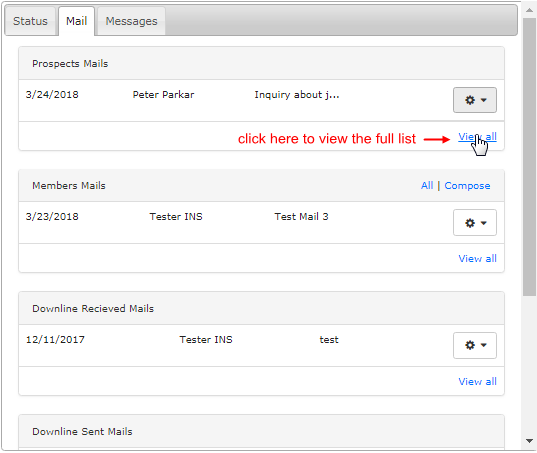
This tab displays all the emails in one place that were sent/received by the member within the system. The emails are arranged by descending order of date sent/received. The system displays the sender's username and subject of the email next to the date. The emails are grouped as described below.
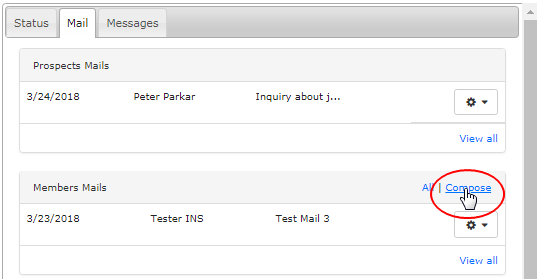
- Prospects Mails: The emails received from prospects as a result of submitting details in the contact form via the member's About Me page.
- Members Mails: The emails received from other members in the system (inter-member emailing feature). Displays the emails received only.
- Downline Recieved Mails: The emails that were received from the upline members in the placement tree (ref: Email Downline feature).
- Downline Sent Mails: The emails that the member had sent to his downline members (which were approved by admin before being sent).
- Admin Mails: The emails that admin had sent to this member or received as a result of any system event associated with the member's account.
- The system displays the five latest results initially. To load the complete list, click on the View all link corresponding to the preferred section.
The Mail tab provides all the functions that the member needs to handle the emails - viewing the email content, deleting or replying to an email. In order take action (described below), click on the gear icon on the right hand side of the corresponding email. This will open up the options you can choose from.
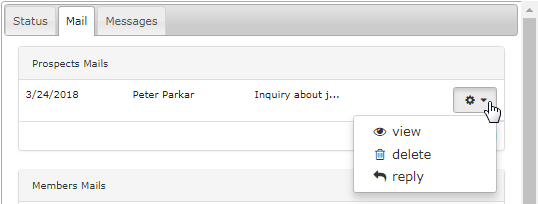
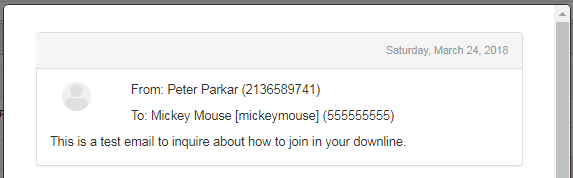
- View: Clicking on this option will bring up the complete email content. A floating window will pop-up containing the date and time when the email was received, the name and the contact information of the sender and receiver, and the message/body of the email. You can use the Print function to generate a hard copy of the same if and when required and/or close the window after viewing by clicking on the X (cross) icon at the bottom.
- Delete: This function triggers the system to remove the email from the database. Make sure of your action since this process is irreversible.
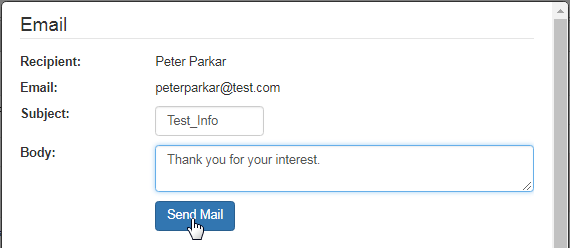
- Reply: Clicking on this option would bring up the window through which you can send feedback to the original email. Type in the feedback and then click on the Send Mail button. An Emailed successfully! message will be displayed to confirm your action. Here's a description of the fields;
- Recipient: The name of the person to whom you are replying to. | Email: The email address where your email will be sent.
- Subject: Type in a suitable subject of the feedback email. | Body: Type in the message/content of your feedback email.
A member can compose and send new emails to the other members in the network (if this feature is activated in the system). To send an email to a particular member (upline/downline), click on the Compose link on the top right hand corner in the Members Mails section to open up the interface.
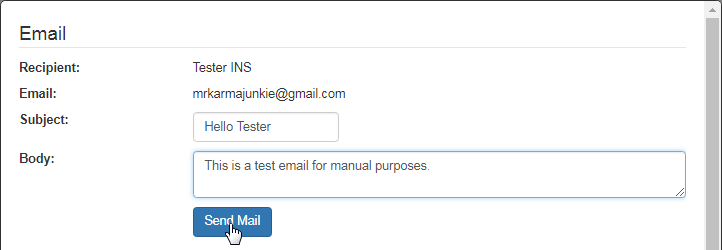
First off, you should know the username of the member to whom you want to send the email to. The system would identify the correctness of the member's username. Type in the username of the member in the Recipient's Handle text box (top), and then click on the Search button next to it.

If the username provided matches with the record, the system would display the name and the email address of the member in question. Acknowledge the details and then type in the Subject and Body (expand the box if needed) of the email. Once done, click on the Send Mail button to send the email.
- In case the username you have provided does not match with the record, then it will display a Sorry, this username does not exist message.
An Emailed successfully! message would display to confirm your action. On the other hand, clicking on the All link at the top right of the Members Mails section will bring up the Email Downline page in a pop-up window. The downline emails need to go through an admin approval before being sent out.
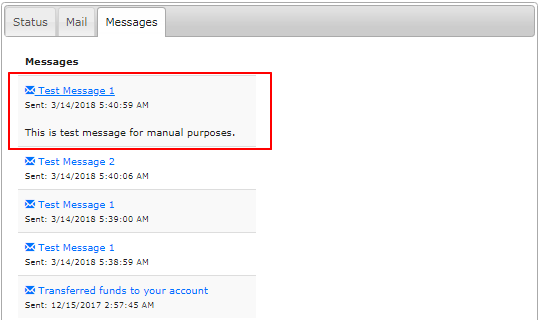
This area lists all the messages that were either sent by admin or triggered as a result of a certain system event. Generally, the messages are displayed on the home screen when a member logs into his account, and he is forced to acknowledge them before he can access the members lounge.
If the member wants to re-check the messages sent to him, he can find them listed here (based on the date and time the messages were sent, in a descending manner). To check the complete message, simply click on the Subject of the message (appearing as a link) or on the envelope icon.
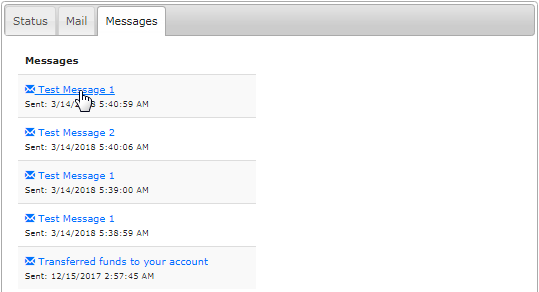
The section under that Subject you have clicked on would expand, displaying the message content. Open the other messages in a similar fashion.