Go to Tools & Settings > Email Downline from the left hand menu. Alternatively, the same page would pop-up on clicking the All link next to the Members Mails under the Mail tab. Note that system settings will apply to this functionality, and there are several ways that this could be configured.
The emailing feature may be set up as follows. Please check with your support if you are unsure which settings are in effect.
- Downline Emailing is not allowed in the system - the feature would not function, even if it is made available in the members lounge.
- Downline emailing allowed, but only to the people that the member had signed up in the system (personally sponsored).
- Downline emailing allowed in the system to every downline member (Distributor/Customer) under you in the placement tree.
- Downline emailing allowed without Admin authorisation. The email will be sent out to the receiver's ID with an immediate effect.
- Downline emailing allowed, but requires Admin authorization. The admin needs to approve the emails before they are sent out.
You will then be redirected to the page titled: Send E-Mail To Your List Of Recipients. Read the instructions as stated at the top of the page before continuing. Note: admin may add more information regarding the email downline feature, or the system may update the web-editor from time to time.

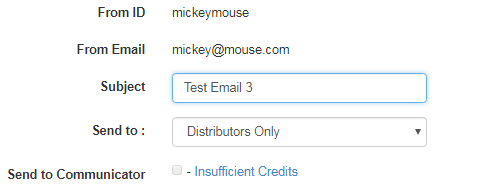
This is where you can create and send emails to your downline - either to Distributor, Customer or both. Check and enter the required details as follows;
- From ID | From Email: Displays the username and the email address of the member who is sending the email.
- Recipients will see this as the sender's name and the email address from which the email has been sent from.
- Subject: Type in a suitable subject for the email. | Send to: Select the target user (receiver) from the drop-list.
- Send to Communicator: This feature is only required if the system uses the mobile communicator app. Ignore if not in use.
Next, enter the content/message of the email in the advanced web-editor. Make use of the tools and macros to design the content. This uses HTML, so you can format the message with HTML styles if you wish to do so. You can switch to the HTML view and insert pre-formatted DIVs in the Source panel.
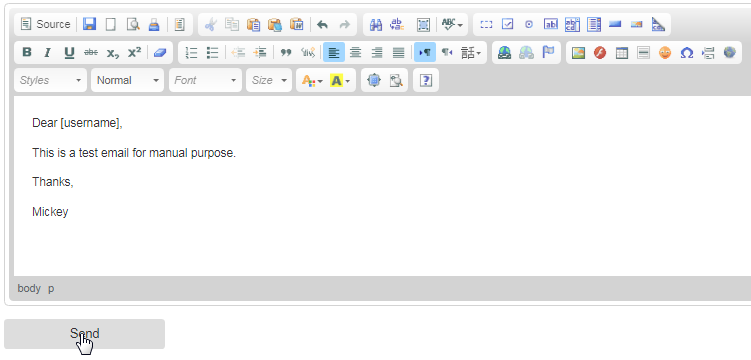
Before sending, make sure that you have chosen the target user type correctly. This is also restrained by whatever system settings Admin has placed into effect. If you are unsure, contact your support. Once you are happy with the message and settings, click on the Send button at the bottom to proceed.
If everything processes correctly, then a success message will display at the top of the page. The bulk emails are processed in batches and sometimes they may reach the destination address a little delayed. Note that admin needs to approve the emails before they are actually sent out. Contact the admin or support if any issues. The sent email will be listed in the Mail tab under the Downline Sent Mails list in the 1st quadrant on the home page.