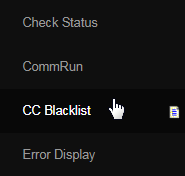
Go to System > CC Blacklist from the left hand menu or click on CC Blacklist under System on the home page.

This is the Credit Card Blacklist Admin area. Here is where you can prevent particular credit cards from being used at signup. In order to add a new credit card to the blacklist (i.e. prevent a credit card from being used in the system), simply click on the add new card link at the top of the page.

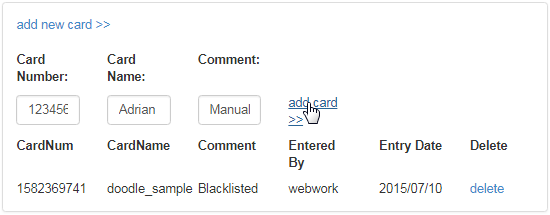
Now the fields for entering the card details will be available. Enter the correct values and then click on the add card to save and apply the changes.
- Card Number: The credit card number to be blocked. | Card Name: The name of the card holder. | Comment: Add a short note for your reference.

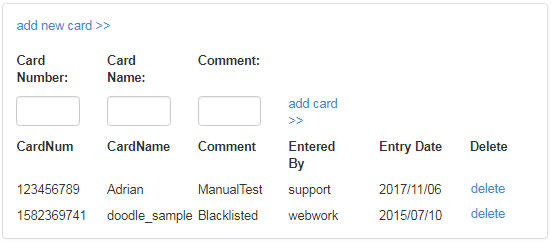
Notice that the new card gets added to the list below. To allow that credit card to be used in the system again, remove the same from the blacklist.
- Card Number: The credit card number as it appears on the card. | Card Name: The name of the person the card is registered under.
- Comment: Any comment entered about the credit card. | Entered by: The username of the admin user who entered the card to the CC Blacklist.
- Entry Date: The date on which the admin user blacklisted the credit card. | Delete: The option to remove the credit card from the blacklist.

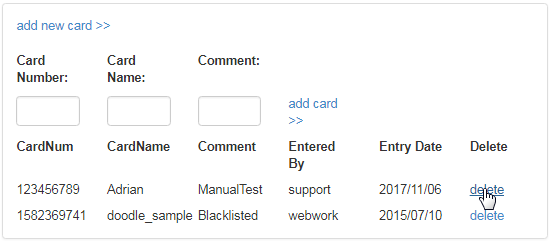
To remove a card from the CC Blacklist, click on the corresponding delete link, followed by confirming your action in the dialog box by clicking __OK.

Upon successful deletion, a message will be displayed at the top of the screen. Now this particular credit card will be available to be used in the system.

