There are two ways by which you can set the assignment preference of the user in the system. Let us have a look at the placement configuration.
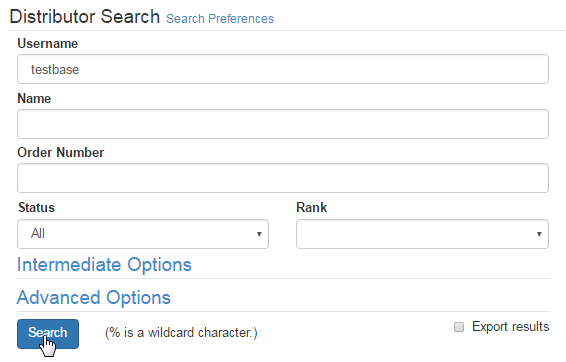
Step 1: Click on the Distributor option in the left hand menu or under the General section on the home page to go to the Distributor Search interface.

Step 2: Search the user by his username, name, etc. and click on the Search button. If you are not sure about the search criteria, then simply click on the Search button (without specifying any of the fields) to get the complete list of all the members in your system. And then click on the ID Number.
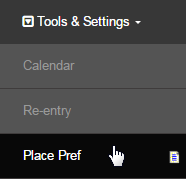
Step 3: While you are on the Distributor Maintenance page of that user, go to Members > Tools & Settings > Place Prefs from the left hand menu.
Step 4: You should be inside the placement setting page. The settings can be configured in two ways as described as follows:
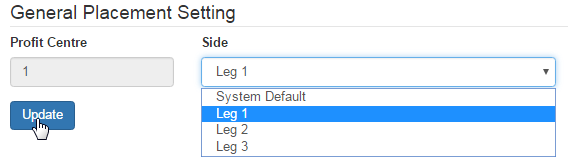
- General Placement Settings: This is where the members can choose which side or leg the next users are to placed under him. Select a Profit Center (only if your system has active multiple centers), select the Side from the drop-list and then click on the Update button to save.
- Specific Future Placement Settings: This is the infinite placement engine where the members can set the position of each incoming member and is typically used by advanced members, It allows the member to specify X amount of people to be placed under his downline sponsor.
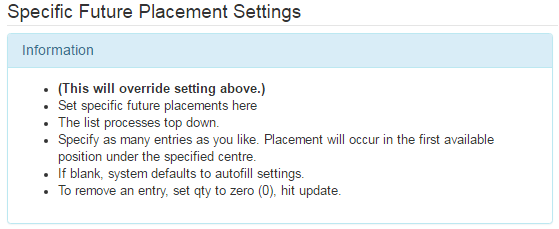
- Before you act, please read the instructions carefully as stated in the Information box. It is very important to learn all the effects before applying the parameters.
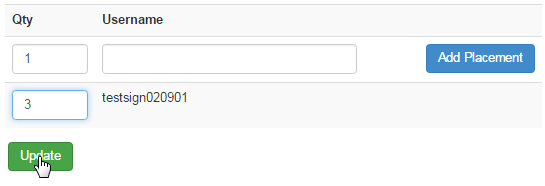
- Start by specifying the Quantity, i.e. the number of users and the Username of the sponsor under which you want to place them. Then click on the Add Placement button next to that. This will add the next 'X' number of prospects (signing up under this member) in the specified location.

- You can change or remove the placement anytime later, as and when required, by simply editing the Quantity and then clicking on the Update button below. In order to remove the placement setting from the list, change the the Quantity to 0 (zero) and then click on the Update button.
- For example, if you allow five people to be placed under the user JoeBloggs, the next five people that signup will be placed under JoeBloggs. After that, the placement will return to the normal rules as specified by the default settings or as specified in the General Placement settings.
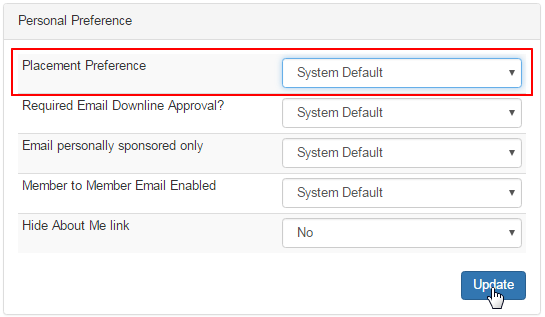
You can also set the general placement settings in the Distributor Maintenance area of a user. In the DistMaint area, scroll down to the Personal Preference box and select the Placement Preference from the adjacent drop-list, and then click on the Update button below to save the changes.