The fourth Quadrant holds the autoship functionalities and the record of the invoices of all the orders placed by the member. This manual is split into tabs to make it compact and flexible. Navigate through the manual by clicking on the respective tab below. Here's a description of the tabs;
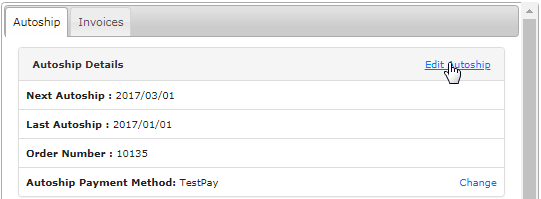
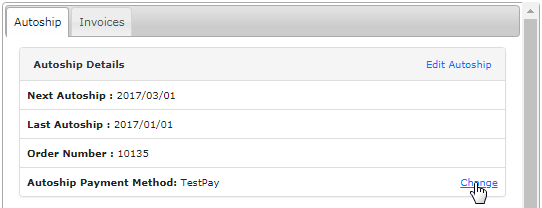
This is where the members can manage his autoship orders. The first section in this area displays the Autoship Details containing the following fields. In order to change the autoship details, i.e. payment method or autoship items, click on the Edit Autoship link at the top right corner of this section.
- Next Autoship: The date on which the next autoship is scheduled. | Last Autoship: The date on which the last autoship was processed.
- Order Number: The order number of the last processed autoship. | Autoship Payment Method: The default payment type of the autoship.
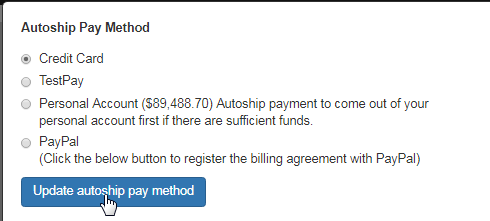
This will bring up a window containing the details of the current autoship setup for this member. At the top of the window, the member can change the Autoship Pay Method by clicking on the radio-button for the preferred one, and then by clicking on the Update autoship pay method button to save.
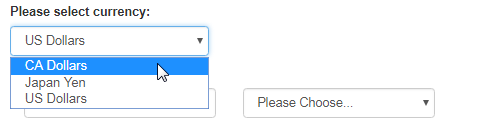
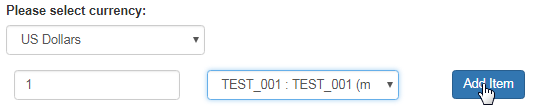
To choose a product listed in a different currency, simply select that currency type from the Please select currency drop-list, and the system will populate the autoship product list accordingly. But be careful in this regard; selecting a different currency type would abort the active autoship orders in process.
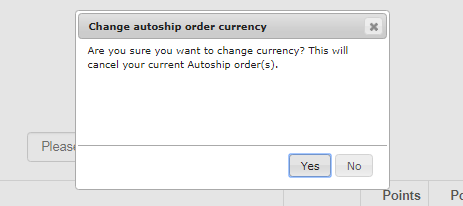
If you choose to load the autoship product list for a different currency type while having set an active autoship order, the system would display a warning message asking you to confirm your action before proceeding. If you are sure that you want to cancel the active autoship orders, click on the Yes button.
Next, to add a new item into the autoship order list, specify the quantity (number of that item) and then select the product chosen from the drop-list. Once selected, click on the Add Item button next to that. The list will display the autoship products for the currency type chosen in the above drop-list.
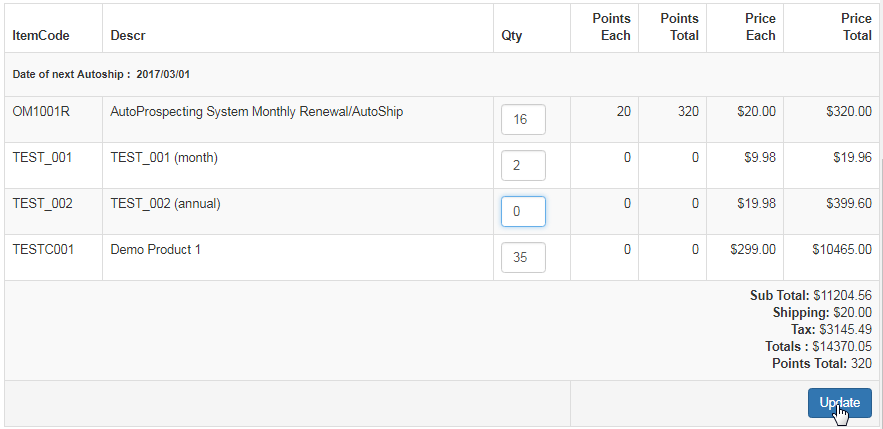
In this way, you can add several items into the autoship order list. The items you have added will appear in the list below with the following attributes. You can change the quantity of an item ordered. To remove an item from the list, simply change the Qty value to 0 (zero) and then click on the Update button.
- ItemCode: The unique item code of the autoship product. | Descr: The name or a short description of the product item.
- Qty: The number of that item placed as an autoship order. | Points Each: The points associated with each item of that product.
- Points Total: The sum of the points for each item of that product. | Price Each: How much each item of that product costs?
- Price Total: Number of items of that product X the price of each item. | Date of next Autoship: The next date of autoship processing.
An alternative way to edit the current payment method of the autoship order, is to simply click on the Change link corresponding to the Autoship Payment Method filed in the Autoship Details section. This would bring up the same editing window with similar ways to change the payment type.
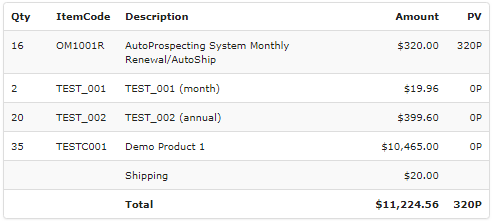
In the next section, the summary of the autoship order is displayed. The table contains similar columns similar to that in the autoship editing window.
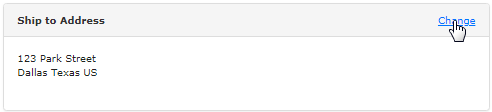
The bottom and the third section displays the complete address where the member's austoship order will be delivered to. The shipping address may be different than the mailing address. To change the shipping address, start by clicking on the Change link at the top right corner of the section header.
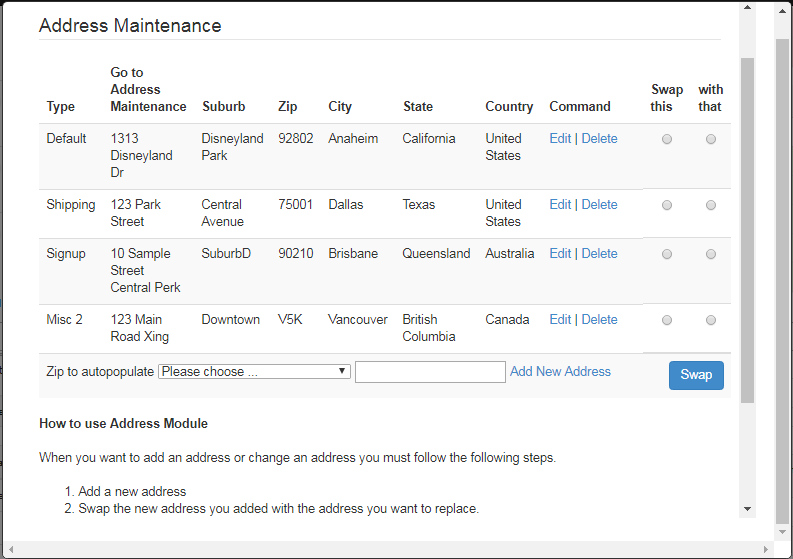
This will bring up the Address Maintenance window, where you can add a new shipping address, edit or swap between the existing ones, etc. Please read the How to use Address Module instruction before proceeding, or check out the Address Maintenance manual to learn more.
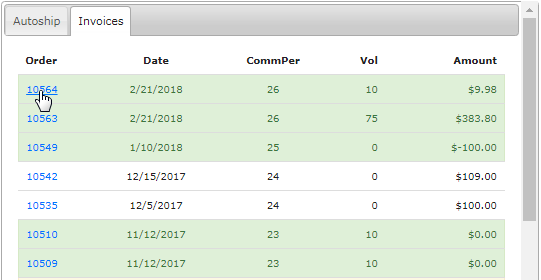
This is where a member can find the invoices of all the orders he placed since registration. The invoices are arranged in a decreasing order from the date of generation. Click on the Order number (link) to view the complete invoice. Or you can open the link in a new tab. Here's a description of the columns;
- Order: The order or the invoice number as generated by the system.
- Date: The date on which the invoice was generated (order placed).
- CommPer: The commission period during which the invoice was generated.
- Vol: Total volume associated with the product purchase or the order placed.
- Amount: The amount of the order placed or invoiced against the order.
A window will pop-up displaying the complete invoice. You may wish to have a hard copy by clicking on the Print link at the bottom right corner - this would trigger the print function on your local computer. In case of the logo or any data not being displayed correctly, inform support accordingly.
