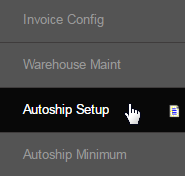
Go to Configuration > Shopping Cart > Autoship Setup from the left menu or click on Autoship Setup under Configuration on the home page.
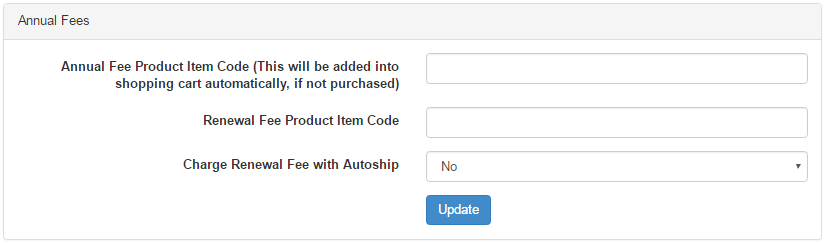
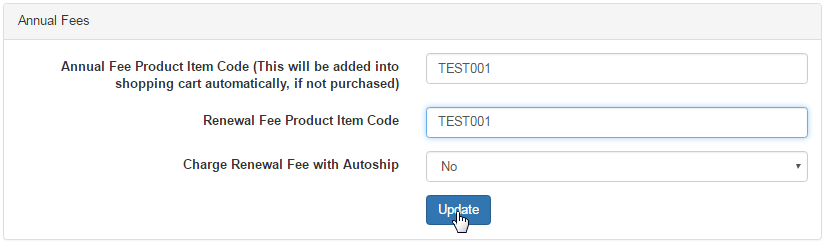
You will then be redirected to the system default area for autoship setup. Scroll down to the Annual Fees section at the bottom of the page. This is where you need to define the product package you will be using as an annual subscription option for the users to renew their membership subscription.
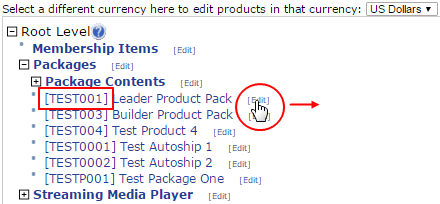
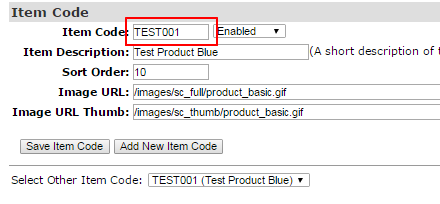
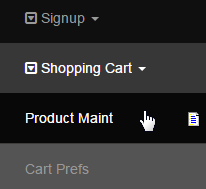
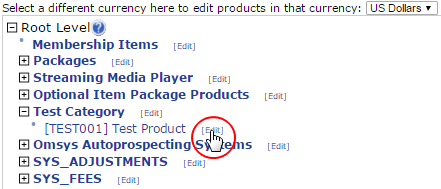
To get the item code of the product or package, go to the Configuration > Shopping Cart > Product Maint page. Then expand the category under which the product resides. You will find the item code preceding the name of the product in square brackets. Click on the Edit link for details.
Once the Annual Fee Product Item Code has been set up to the startup package, then the system will trigger the following functions;
- It will check to see if the member has bought the startup package. If not, then the system will automatically add the Startup fee at checkout.
- The Mandatory startup fee will be included in the Checkout and the member wont be able to go any further, unless they pay for the startup fee.
- For the users who have bypassed the start up package, the next time they purchase an item, the startup package will be added to the order.
- The annual fee will be taken from the personal account if funds are available, or else it will get added to the autoship order at the time of renewal.
As you now have the ItemCode for your Startup Package, you can come back to the Autoship Setup page and enter the same in the Annual Fee Product Item Code field text-box and then click on the Update button below to save. The system will save your preferences and act accordingly.
Here you can set the product for renewing the membership package. When their membership expires, by setting the Renewal Fee Product Item Code, the member will automatically have the Renewal Item added to their checkout. You must set the expiry period of the product to match with this function (see later note).
Fetch and enter the ItemCode of the product for the Renewal Fee, in the same manner, and then click on the Update button below to save the changes. In our example, we have used the same product for both the Annual and Renewal Fee. You can set different products as you prefer.
Go to Configuration > Shopping Cart > Product Maint from the left hand menu or click on Product Maint under Configuration on the home page.
This will take you to the Product Maintenance page, where you will find the list of products arranged in a tree structure. Select the Currency Type for the product you are looking for. Then choose the product you wish to set the expiry / renewal period for and then click on the Edit link next to that.
Now in the Product Edit area, scroll down to the Product Details section and click on the add new button to insert an empty row into the list.

In the new line, click to open the Description drop-list, select the Expiry (months) option and type in a value to that attribute. Let say you want the product to expire one year after the initial purchase. In that case, enter 12 into the the value field. Then click on the save product details button to save.

Note: Do Not use the Expiry Date (dd mon yyy) option in this context, as this will not repeat or trigger the function as expected.
The product will now be valid for 12 months from the date of purchase (or renewal). This ties in with the Autoship setup. When the expiry period for this product is up, the autoship settings will be triggered if this product's item code is used in the Annual Fee Product Item Code or Renewal Fee Product Item code fields.