First you need to refund the entire order into the members personal account. Then create a new order based on the users preference on his behalf.
Click on the Distributor option in the left hand menu or under the General section on the home page to go to the Distributor Search interface.

Search the member in your system by providing the Username, Name or any other relative criteria, and then by clicking on the Search button.
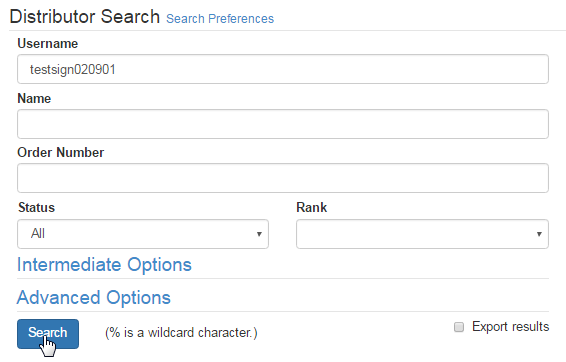
If you are not sure about the search criteria, i.e. username or name of the member, then simply click on the Search button without specifying any of the fields to get the complete list of all the members in your system. And then click on the ID Number for the user you want to change the order for.

Once you are in the Distributor Maintenance area of the member, click on the Invoices option in the left hand menu to go to the invoice listing page.
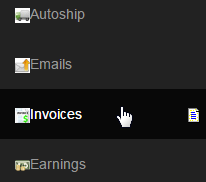
This will bring up the Distributor Invoices page. REMEMBER that the invoice must be for the current financial period. If comms have already run, then you cannot refund the invoice as comms have already paid the invoice. Once you have decided what you want to refund, click the Refund button.

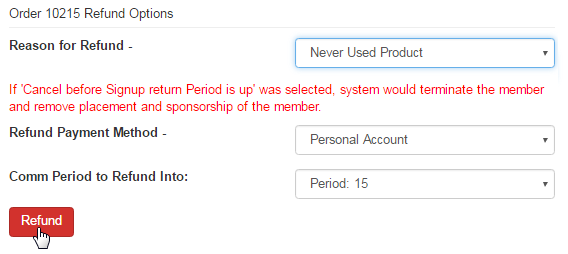
This will take you to the Distributor Refunds page. Please select which option best suits the situation and then click on the Refund button to continue.
- Reason for Refund: Select a reason for refunding the order from the available options in the drop-down list. If the Cancel before Signup return Period is up option is selected, the system would terminate the member and remove the placement and sponsorship of the member.
- Refund Payment Method Select a payment method from the available options in the drop-down list to where the refund money should flow.
- If you select refund by Check, it will put the refund request into your next check writing report.
- if you select Wire Transfer, it will add it to the batch of wire transfers that you are planning to send out.
- Credit Card will refund the order to the credit card on file, if you are hooked up to online processing.
- Comm Period to Refund Into: Select the appropriate commission period from the drop-down list for which the refund will be applied to.
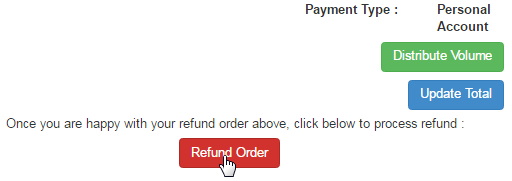
In the next step of Distributor Refunds, you will be shown the entire invoice in an editable format. Click on the Refund Order button at the bottom.
You will be shown a successful or unsuccessful message depending on how the users account is setup. Assuming everything went well, the order will now be successfully refunded. Now that the order is refunded to the user, you can create a new order for the product that was kept, as follows.
You should still be inside the Back-Office of that member. Click on the Order Entry option in the left hand menu. If you are not inside the DistMaint, then go to the admin Order Entry from the left hand menu and then specify the Username or the ID of the user you wish to add the order to.
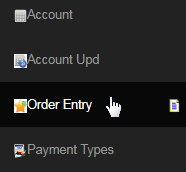
Then the rest of the information will be shown to you, such as name, shipping address, username and user identification number. Below that is the Order Entry engine, through which you can add items to the new order. Click on the Add Item link to bring up the list of all the products.

In the pop-up window, go through the product list and choose your option by checking on the box in the Sel column and set the quantity in the text-box in the Qty column. Once you have selected the items you want to add, click on the Submit button at the bottom of the page to place them in the cart.

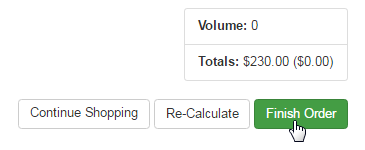
After you have completed setting up the signup order for the user, review the Volume and Total, and then click on the Finish Order button at the bottom to save the order and proceed to the next step. Note that the Continue Shopping button will take you to the admin Product Maint page.
Select a payment type that the user would prefer to use for this purchase, by clicking on the radio button preceding the payment type name. Next, select the shipping address of the order by clicking on the radio-button preceding the corresponding address. You can also manage the existing addresses.


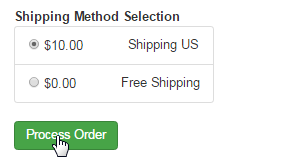
Then select the Shipping Method you prefer to use for this order, by clicking on the radio-button, and then clicking on the Purchase Order button.
At the top, you should find the summary of the order, where you can change the Description of the items listed, by simply editing the values in the box and then by clicking on the Change Description button to save. Also find that the Shipping, Handling and Service Fee charges are added to the order.

Next, you can type in a comment in the Add Notes to this invoice box. Also, you have the ability to skip the payment process and directly process the order purchase. At the bottom of the Payment page, check on the respective box(es) to enable this feature, and then click Purchase to place the order.
- You can choose to Mark as Paid (which you probably won't, as you want this to be paid out of the refund of the first order).
- The second option is Mark as Shipped, which you will tick as they already have the product. This ensures the item won't be sent to them twice.
- The last option is Send Confirmation Email to Distributor; it is up to you whether you wish an email to be sent to the Member or not.
- On the right, you can change the Order Date and Preferred Delivery Date and delivery preferences that suits your requirements.

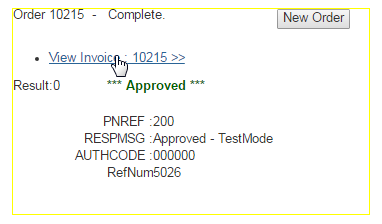
The final page in this process is now shown, detailing the invoice. For future reference, the invoice can be found in the Members Lounge of the user.
^
Question: When a refund is issued, does the volume get automatically adjusted or does it need to be manually removed from the system?
Answer: When a refund is issued through the system, it would create another order with the same details as the original order, but it would have negative prices and volume. So it would be adjusted automatically. However, if the refund is processed in the next commission period, the negative volume and amount would appear in the next commission period.
