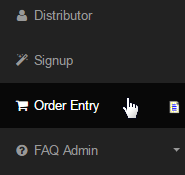
Click on the Order Entry option on the left hand menu bar or on the home page under the General section to start entering an order.
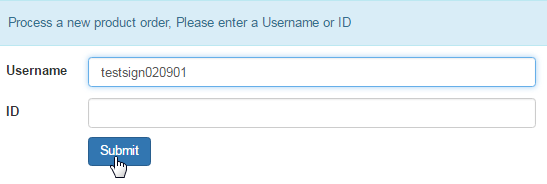
This is the Admin link to the order entry process on behalf of a user that is not a signup order or an autoship order. Enter either the Username or Identification Number (ID) of the member you wish to place an order for and then click on the Submit button to proceed to the next step.
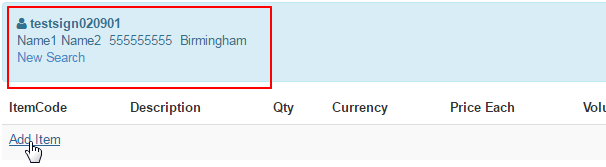
This is to verify the existing username and the address of the member. To change the user, click on the New Search Link on the blue bar at the top. If you are sure that this is the right person, start adding what you want in the order. Click on the Add Item link to bring up the list of all the products.
In the pop-up window, go through the product list and choose your option by checking on the box in the Sel column and setting the quantity in the text-box in the Qty column. Once you have selected the items you want to add, click on the Submit button at the bottom to place them in the cart.
- ItemCode: The unique identification code of the item or the product in the system.
- Product Desc: A short description or the name of the item or the product.
- ItemCode Desc: A short description of the product item to differentiate it from the others.
- Package: The name or the description of the package the item/product is included in.
- Qty: This is where you enter the quantity (numbers only) of that item you want to purchase.
- Sel: For the items you want to add to the cart, you need to tick on the check box to select them.
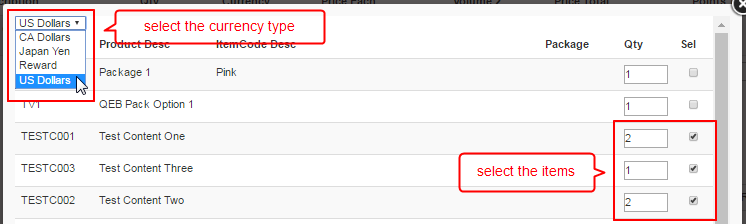
In order to view the products for different currency types, open the drop-down list at the top of the product list and select your option. The list will then be refreshed with all the items defined to the selected currency type. Here are the common issues, which prevents the products from being displayed in the list.
- You have not selected the appropriate currency type to which the product is defined (the product you are looking for).
- You may not have enabled the Category to be visible, or you may have forgotten to configure it to display for admin signups.
- You do not have a retail, wholesale and point value for EVERY item defined accurately for the items (not in display).
Note: If an item is missing any component, it will not accurately display or possibly not display at all. If there are no points for commissions, then set that to 0. If retail and wholesale prices are the same, you still need to enter both values in order to make the display option available for the items.
Once you are familiar with all your ItemCodes, you can directly add an item to the list without any need for opening the Product List. To do that, fill in the text box that says Item Code and set its quantity; Then click on the Add item button next to that. You can add line after line items this way.

You also have the ability to edit the Description, Quantity, Price and Volume of the items, To do that, click on the Edit button at the end of the row.

The fields will now be enabled for editing purposes. Change the values of the required fields as you prefer. This change will not affect the original content. If you change your mind from editing the item values, simply click on the corresponding Cancel button to abort the changes you have made.

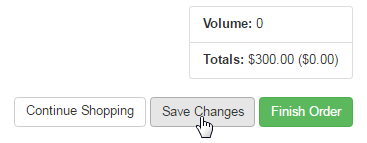
Once you are satisfied with the new values of the items, click on the Save Changes button at the bottom to apply the changes to the order list.
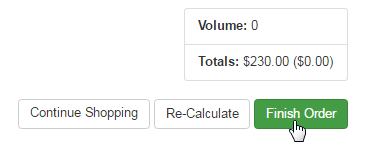
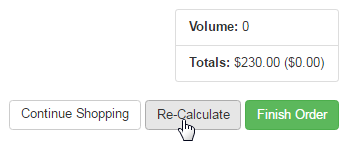
Once you have completed editing the values of the items and have saved the changes, click on the Re-Calculate button below to refresh the order.
- You can directly change the quantity of an item by editing the value in the Qty field and then by clicking on the Re-Calculate button.
- To remove an item from the order list, change the quantity of that item to the value 0 (zero) and then hit the Re-Calculate button.
After you have completed setting up the signup order for the user, review the Volume and Total and then click on the Finish Order button at the bottom to save the order and proceed to the next step. Note that the Continue Shopping button will take you to the admin Product Maint page.