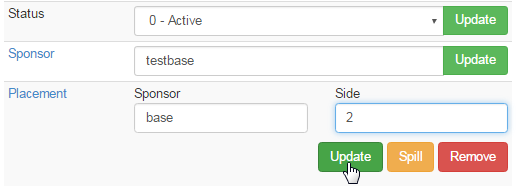
In the INS MLM system, you have the ability to change the placement of a person in the Distributor Downline Tree. We will start with the description on how to move a member. Here are the important steps you need to follow. Make sure you don't skip any of the steps below;
Step 1. Find out the following details of the person you wish to move. You will get this information in the DistMaint area.
- Username: The unique username of the Member by how they are recognized in the system.
- Center Number: This is the Profit Center number. It is required if you have a multiple center commission plan.
- Leg/Side: The position or side where the Member is in the downline tree. For example, Side: 2.
- It is a very good business practice to have a binder with a move form filled in correctly to keep all move records in one place for future reference.
- Enforcing the use of a move form with administrator approval required before the move can be done in the system is also a good practice.
- This ensures a written record exists to fall back on. It will always be a friend to you in times of future reference.
- It is recommended to hand sketch the tree BEFORE moving, accompanied by a sketch of how the tree is intended to look AFTER the move.
Step 2: Check whether the person you wish to move has a downline. Please Keep in mind you will be moving the Entire Downline.
Step 3: IF there is someone already at the position you wish to move the target member into, you must first move them out of the way. There is no way to insert a member into an occupied spot. If the spot you want to move someone to is taken, move the offending member or downline out of the way to a temporary (but documented) location, so you can find them and know how to put them back easily!
- If the member's center and side legs are free from anybody else's downline, you are ready to do the move.
Important: Should you wish to not take the member's downline with them, perform the following procedure for members directly under them to relocate the existing downline (before moving the member). When you relocate members, any existing downline will be moved along with them.
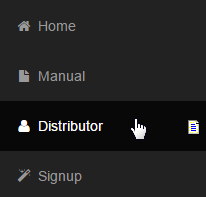
Step 1: After signing in as Admin, click on the Distributor option on the left hand menu to go to the Distributor Search interface.
- Ensure that you know the usernames of all members involved, i.e. the username and other details (as mentioned above) of the Member being moved, the Member you wish them to be placed under and the downline members you wish to relocate. Keep a note of these details.
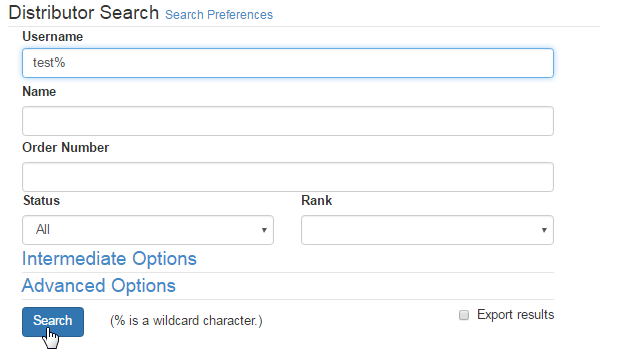
Step 2: Search the user by his username, name or you many use any other filter as required, and then click on the Search button below to proceed.
- You can also use the system's wild card character (%) to search for the user with the mentioned common string (if you are uncertain about the username). For example: test%. This will give the results containing all the users who have the userins string in their username or name.
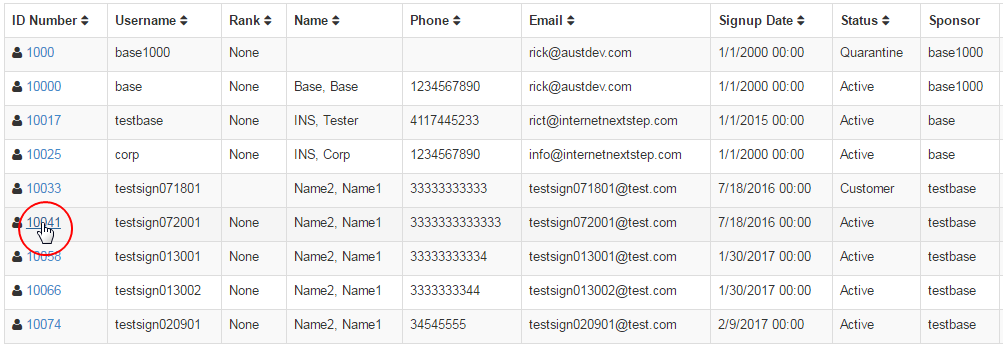
If you are unsure about the search preferences/criteria, simply click on the Search button, keeping all the fields blank, or the default values. This will bring up the list of all the users in the system. Go through the list and once you have located the user, click on the corresponding username link.
Step 3: You will be redirected to the Distributor Maintenance area of that user. Now, scroll down to the Status section and do the following;
- Take note of the values in the Placement field. This details the username of the person the member is currently under.
- Write down or keep a note of the username in the Sponsor field, in case you need to undo the changes.
Note: Clicking on the underlined Placement link will bring up the details page for the member's sponsor. Be careful not to get confused between the member detail pages if you click this (use "back" in your browser to go back to the member you are moving if you view the sponsor details page).
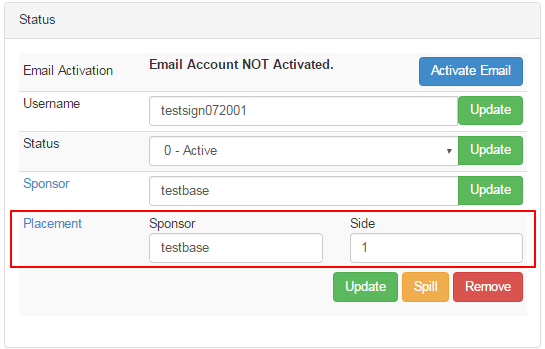
Once you are done with taking notes of the above mentioned details, perform the actions as described in the following steps:
- Change the username of the Sponsor in the Placement field to the username of the person you wish to move this member under.
- Set the Profit Center to your preferred value. This field will only show up if you have a multiple center commission plan.
- Set the value of the Side (also called Leg) that you wish the person to be placed on. In this example, we will be using the value: 2.
- Check and confirm the details you have entered. Then to save/apply the changes, click on the Update button.
