Go to Configuration > Website Setup > Graphics Editor from the left hand menu or click on Graphics Editor under Configuration on the home page.
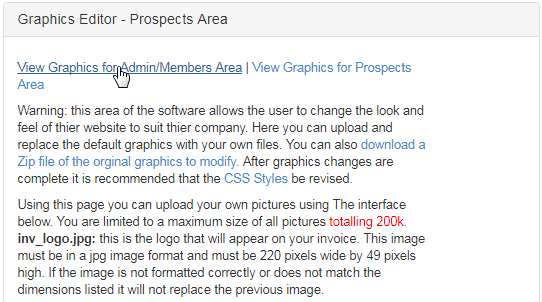
This is where you can change a certain set of graphics for your system. To start with, select the link of which user interface you want to change the graphics for. Before you start with your action, please read the instructions carefully. The contents for following sections auto-populate once chosen.
- View Graphics for Admin/Members Area: Contains the basic graphical content which appear in the Admin and Members account.
- View Graphics for Prospect Area: Contains the basic graphical content which appear in the Prospects or general area.
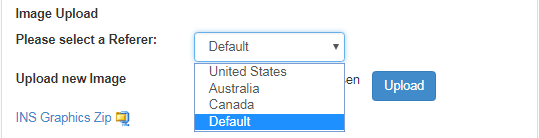
Next comes the Image Upload section, where you can upload a new image for a referer type. If a file with similar name and extension already exist, then it will over-write with the latest upload. First, you need to select the correct Referer from the drop-list. It is very important to learn that for every Referrer type, there is a different set of graphics. Once you have changed to the new referer, the system will create the folder for that type, if it doesn't exist.
For example, If you want to change the invoice logo, then you must change it for every Referrer type made available in your system to reflect this change. If you would like to break the constraints and do your own thing, please contact INS Support for advice and quotation for customizing your look and feel.
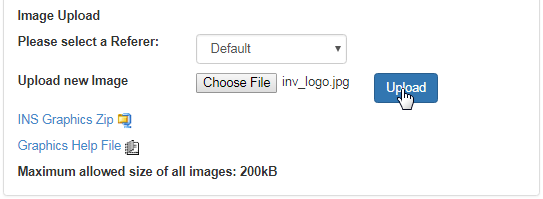
To upload a new file, click on the Choose File button (assuming that you have selected the correct Referer), which will let you browse and open the file in your local computer and then click on Upload button to proceed. Make sure that you have not exceeded the limit of the size of the file (as specified).
Then click on the Refresh Images button to refresh the list (folder for that refer type) and find that the newly uploaded file now being included in the list below along with other graphics content, where you can manage the same. This table gets refreshed on selecting a refer type. Description of fields;
- Delete: In order to remove an item(s) from the list, tick on the respective check-box and then click on the Delete Selected button at the bottom.
- Name: Complete name of the image file along with its file type represented as a link. Clicking on it will open the file in a new tab.
- Size: It represents the size of the graphics file in bytes. You are limited to a maximum size of all pictures totaling to 200 Kb.
- Type | Date Uploaded: The file type or the extension of the file. | The time and date on which the file was uploaded or managed by latest.
- Next come the option to Upload and over-write a new image and preview the existing or newly uploaded image in a new browser tab.

- Using Graphics Editor, CSS Editor and WebEditor, you can revamp your look and feel within our standard size constraints at any time.
- This is where you upload the images which appear as the main graphics on your site. All images must be matched exactly by the specifications provided on the website. To upload an image simply click the browse button next to image desire to replace, and click upload.
- Once uploaded, press Ctrl & F5 to clear the cache and completely refresh the page and update the graphics. By default when clicking on the graphics editor in the menu you will be taken to the Prospect area image upload section. Select the correct one at the top of the page.
- To learn more about how to change the invoice log of your company, click here. Contact INS Support for query.
All dimensions uploaded must match what your system currently uses (in Pixels). The following dimensions are only a guide as they are the default values - if there has been customization to your system, the dimensions may have been altered. You can check image dimensions by right-clicking the image on your webpage and saving it to your computer, your OS should show the image dimensions when you inspect the saved file.
- To learn more about the description of the file types and their specified dimensions, please visit the Image Upload Descriptions manual.