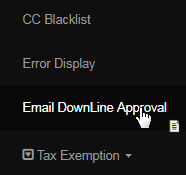
Go to System > Email Downline Approval from the left hand menu or click on Email Downline Approval under System on the home page.
This section lets you control the downline emails that the member sends out from his members lounge. The emails sent to the downlines by the members will be queued in the Email Downline Approval page, where you can manage the same. The emails will not be sent unless the admin approves them.

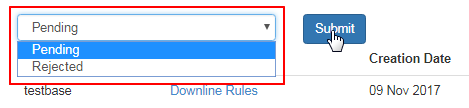
By default, the system would display the downline emails with Pending status. You can filter the result from the drop-list above and then click on Submit.
- Pending: The emails which are pending approval by admin. | Rejected: The emails which were previously rejected by the admin and can still be sent out with the admins approval.
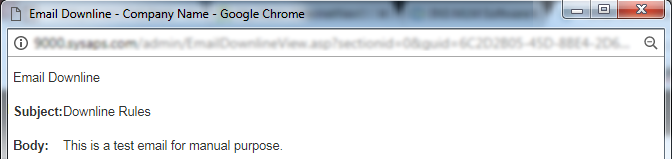
As an admin, you can approve or reject the sending of the emails. Before you take any action, view the email content by clicking on the Subject link.

The content of the email will be displayed in a new window. Preview the message carefully and then close the window to get back to the main page.
When you have decided how you would like to process the messages that are waiting for approval (after checking the content), set the status for each message from the Status drop-list. If you find that the content is all OK, then change the corresponding Status to Approved and click on the Update button.
- Username: The username of the member who is sending out the emails to his downline members.
- Subject: The subject of the email. Click on this link to view the email content. It will open in a new window.
- Creation Date: The date on which the email has been created by the member who has sent out the same.
- Send To: The user type (recipients) to whom the email is meant for, i.e. it can be Distributor, Customer or both.
- Status: The current status of the email. Select an option from the drop-list to confirm the fate of the email blast.
- Pending: This means that the email is awaiting for admin approval. You can select another option from the list and confirm your action.
- Rejected: This would prevent the email from sending. The emails marked as status Rejected are parked in the system. They can be set to a different status later if desired. You can check out the rejected email list by selecting the Rejected option from the drop-down list above.
- Approved: This means that the email has been approved by the admin for sending out to the downline members (will automatically be sent).
- Deleted: This means that the email will be permanently deleted from the system. It is suggested that you reject the email vs. just deleting it.

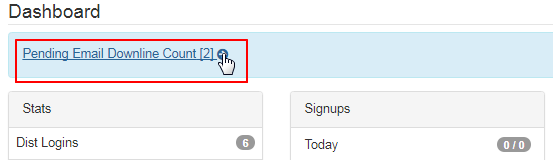
As an admin, you will be notified about the Downline Email messages that are waiting for you to process. On the home page, you will see a Pending Email Downline Count link displayed in the Dashboard at the top. Click on this link to directly go the Email Downline Approval page to take your action.
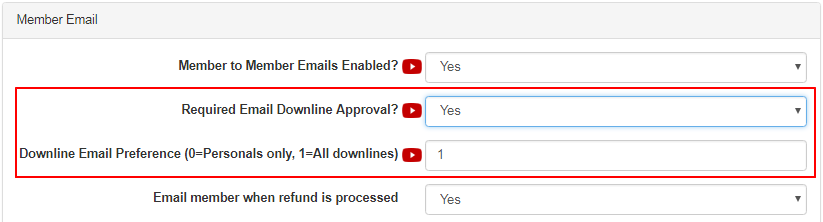
You can manage the authorization of downline email settings in the Configuration > Distributor > Members Conf. page. Scroll down to the Member Email section and find the switches. Select your options and then click on the Update button to save the changes. Here's a description of the fields;
- Required Email Downline Approval: You can enable or disable the need for approving the downline emails before they are sent through to the members. We recommend that you keep this feature ON. Select Yes to require admin approval before downline emails are sent to the members.
- Downline Email Preference: You can specify to whom the members can send the emails to in their downline. Select from the following options.
- Personals Only: If selected, the members can send emails only to the members (in their downline) that are signed up by the sender.
- All Downlines: If selected, the members can send emails to all the members in the commission structure underneath the sender.