Click on the Distributor option in the left hand menu or under the General section of the home page to go to the Distributor Search interface. Then search for the member in your system by providing the Username, Name or any other relative criteria, and then by clicking on the Search button below.
Once you are in the Distributor Maintenance area of the member, click on Viewers > Viewer Binary in the left hand menu to go to that page.

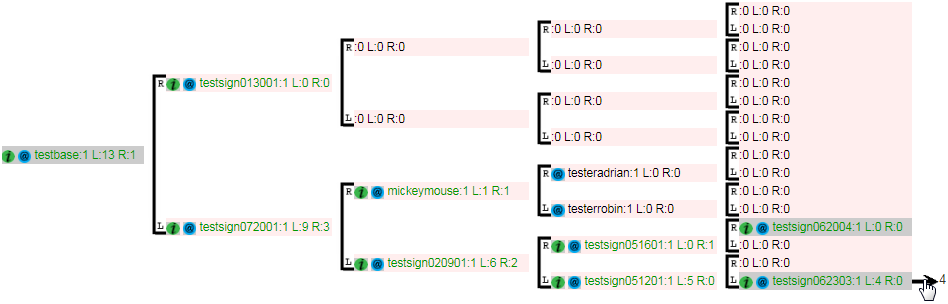
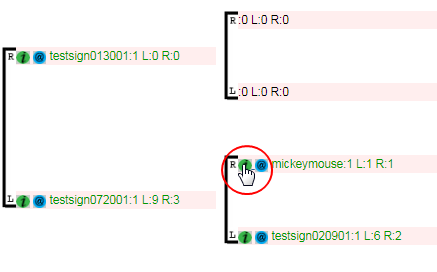
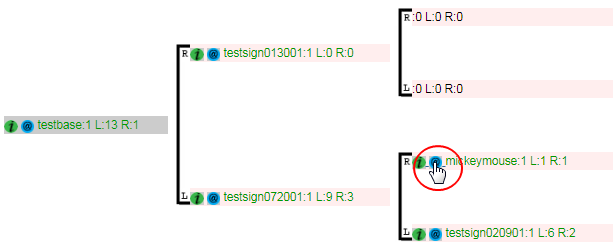
This will take you to the Downline Viewer of the member and will be opened in a new browser tab. Note that this report is available only in systems with a Binary commission plan type. It is simply a left to right graphical representation of the downline tree of the member (starting with the member himself).
- It shows 5 levels of the tree per page. A right arrow would appear at the bottom right corner of the graph when there's more levels to show. Click on that arrow to go to the next page. To go back to the previous by one level, click on the <<<<Up link at the top of the graph.
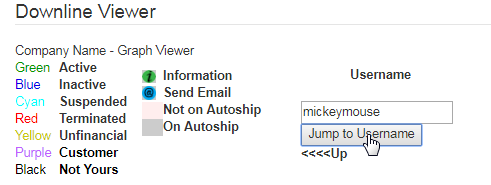
The legends, icons and color schemes are explained at the top left corner of the page. These are self-explanatory and easy to understand. You can also jump to the graph of a downline viewer by entering the Username at the top of the page, and then by clicking on the Jump to Username button.
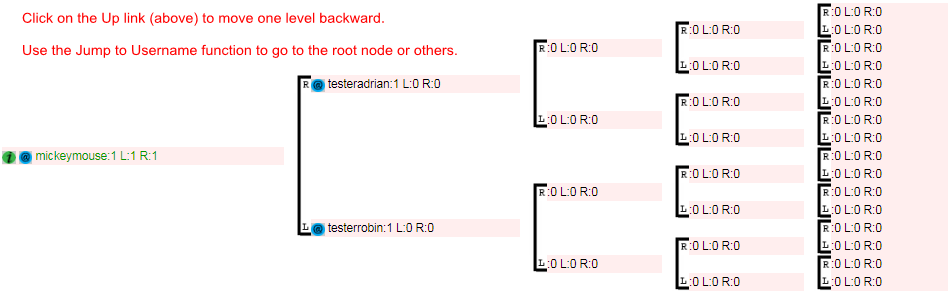
The system would jump to the username of the member. When you have jumped to a downline member and you want to get back to the start node, click on the <<<<Up link at the top. This would go back by one level. Or you can simply jump into your username as mentioned above to save time.
Clicking on the green icon (labeled as i) preceding the username of the member should bring up that member's information in a new window. The display of data in this window is managed by the admin. After reading the information, remember to click on the close window link.

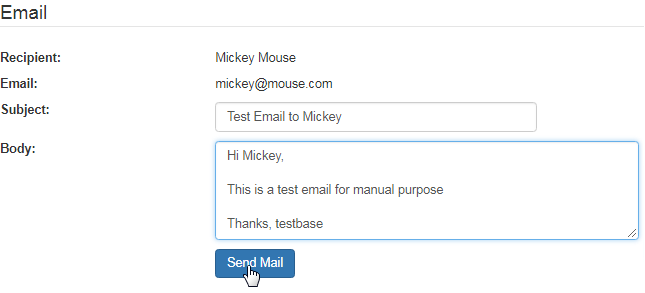
You can also send a custom email to a downline member by clicking on the corresponding Send Email icon preceding the username of the member.
This will take you to a new browser tab. The name of the Recipient and his Email address will automatically be populated. Type in a suitable Subject and the message of the email in the Body. Once done, click on the Send Mail button to send. An Emailed successfully! message will appear at the top.