After confirming the order statement and setting up the autoship, we have now reached the Payment page. This is the the last and final step of the signup process, where you need to select the mode of payment for the signup order and enter the details to complete the process.
Note: On this page, you can view only the payment types which are enabled in the system. You need to collect the details (from the person you are enrolling) of the payment type you will be using to confirm and place the order. Make sure you have the correct details with you before you apply.
Locate the payment method you want to use, enter the details of that type (provided by the user) and then click on the respective Pay By button to confirm the transaction. If you don't find the payment type you are looking for, you can enable it in Configuration > Money > Payment Types.

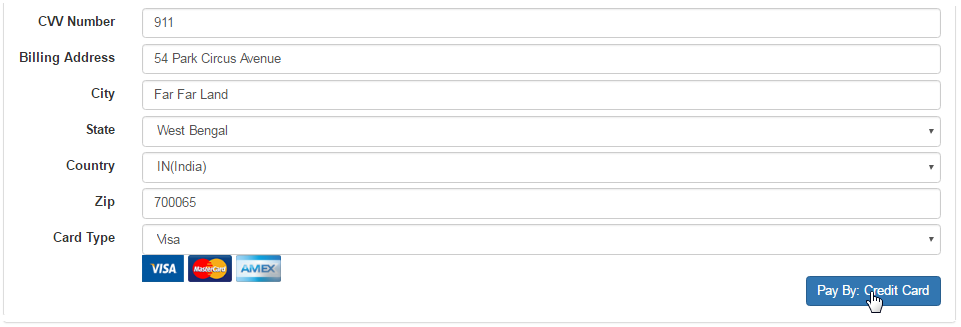
Lets say you want to pay by using the user's Credit Card. The system auto-populates the contact details (from the Details page) of the user, such as, Card Holders Name, Billing Address, etc. You can either edit them or just fill in the other mandatory fields and click on the Pay By: Credit Card button.

One can also use a Gift Certificate to pay for the signup order. In that case, simply enter the Password and then click on the Pay By: Gift Certificate button.

- The person should receive the details of the gift certificate via email. You also need to ask him to provide you with the Password of the certificate.
- The amount in the gift certificate should be enough to cover the order. You can verify the Password in System > Gift Certificate > Summary.
- Cash: Never set this for use in the members signup; use it for admin signup only. Usually only for a will call or pickup type scenario.
- Check: Need to confirm manually, when the check is received before any product will be released, or any points will flow into the tree.
- Wire Transfer: Need to confirm manually, when the transfer is received before releasing any product, or any points will flow into the tree.
- Paypal: User BEWARE. Paypal prohibits MLM companies from using it. Because we have it, some people like to roll the dice. If they find out you are more than a single level affiliate program, they will shut down your account and keep all the money in it for 6 months for Charge-back protection.
As an admin, you have the ability to skip the payment process and directly register the person. You can mark the order as paid and/or as shipped. At the bottom of the Payment page, check on the respective box(es) to enable this feature and then click Submit to commit to the changes.

This flexibility is provided for the basic situations as described below.
- If the person pays for the order amount by Cash or Cheque (in hand), or you do not want to charge for it, etc.
- If the settlement of the order is already made and the order has been shipped to or received by the person.
- The user paid and/or received the order, but is unable to register in the system due to certain reasons, etc.
- As an admin, you want to do a test signup to check or to learn the process, or for miscellaneous reasons, etc.
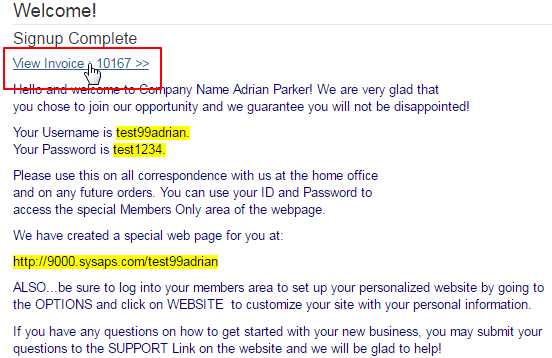
If everything goes well, you will see the Welcome! message, along with the user details. You can copy/paste the information and send it to the user. If not, no worries; the same copy will be sent to the user via email. You can change the content of the welcome email in the Email Engine.
You can choose to get a copy of the invoice and send it to the user. In that case, click on the View Invoice link to open the same in a printable format.

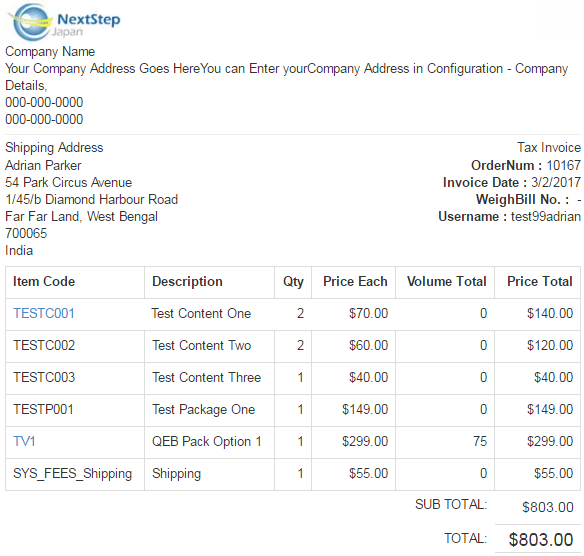
The invoice will open in a new tab. You can either make a print-out (hard copy) of the invoice or save the file on your computer and send it to the user via an email attachment. Here's a sample of the invoice to support your knowledge. In case of any query, please contact INS Support.

