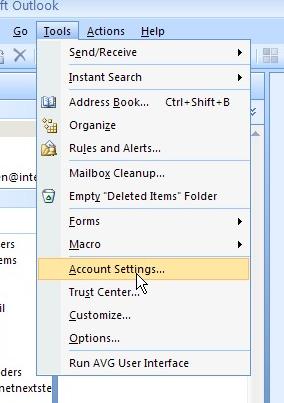
Step 1. Open the Microsoft Outlook application and the click on the Tools menu and then select Account Settings option in the top menu bar.
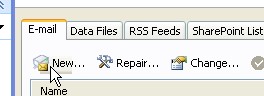
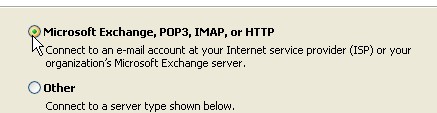
Step 2. Next click New... > Microsoft Exchange, POP3, IMAP or HTTP and then click on the Next button.
Step 3. Tick the box that says Manually configure server settings or additional server types and then click on the Next

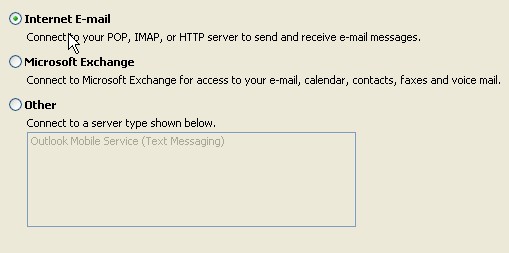
Step 4: Now click on the Internet E-mail radio-button and then click on the Next button below.
Step 5: Now enter the user information as described below. This step is simple.
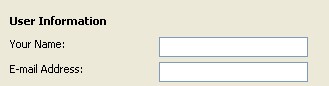
User Information:
Your Name: This is the name that will appear when you send emails to people.
E-mail address: Enter the email address for registration, eg: someone@internetnextstep.com
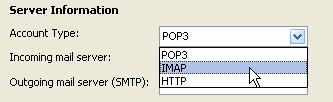
Server Information:
Account Type: Select either POP3 or IMAP option from the drop-list. See the Note 1 below for more information.
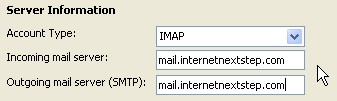
Incoming mail server: This can be 'mail.yourdomain'. See the Note 2 below for more information.
Outgoing mail server (SMTP): This can be 'mail.yourdomain'. See the Note 2 below for more information.
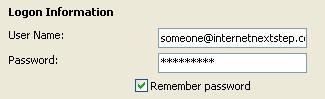
Logon Information:
User Name: either the email address or username. However 'someone@internetnextstep.com' is best.
Password: Type in a password as you prefer.
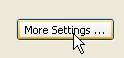
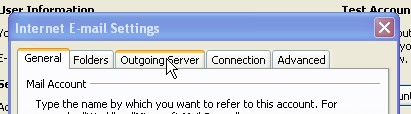
Step 5. Now, click on More Settings button followed by clicking on the Outgoing Server tab.
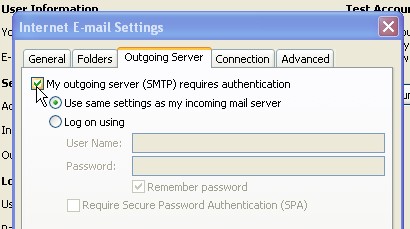
Step 6: Then tick box that says My outgoing server (SMTP) requires authentication and Click on OK. Then test settings.

Step 6. Test should work fine. If test fails review settings, if cannot find anything wrong contact INS Support. Click on Next > Finish.
1. You can either choose either POP3 or IMAP from the drop-list for your Incoming Mail Server. Please note that once you set this (saved the preference), it cannot be changed and have to redo entire setup if type in incorrect settings and finish setup.
- POP3 means that all emails will mean that once the email(s) have been downloaded from the server, the server copy will be erased.
- There can only ever be one copy of email. For example if setup someone@internetnextstep.com on two computers and download them from computer1 you cannot go to computer2 and re-download them.
- However with IMAP you can. Download on to both computers and when you are ready - purge all (this is a delete command - so cannot download again to either computer). You do this by clicking on the messages you want to delete then select Delete from the toolbar.
- Go to Edit > Purge Deleted Messages. Note that once this is done messages cannot be recovered.
2. Set the Incoming Mail Server and the Outgoing Mail Server as the same - mail.yourdomain.
- if I am someone@internetnextstep.com, I would type in mail.internetnextstep.com for the Incoming and Outgoing Mail Server).