Calendar
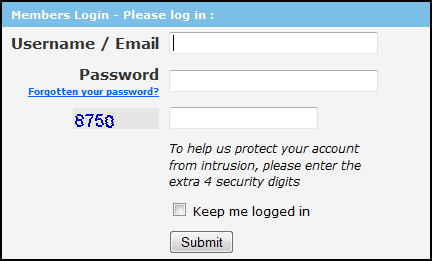
First you login with your login information, from the Members login page. You enter your Username or Email, Password and the 4-Digit code displayed and click 'Submit'.
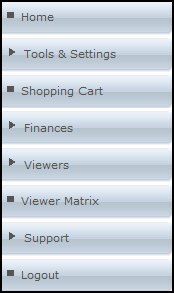
Click on Tools & Settings in the left hand menu.
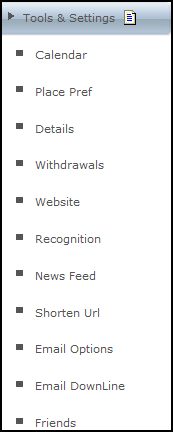
Then click on Calendar
Creating an Event
You will then arrive at "My Calendar". To create a new event simply click on the New event button at the top of the Calendar.

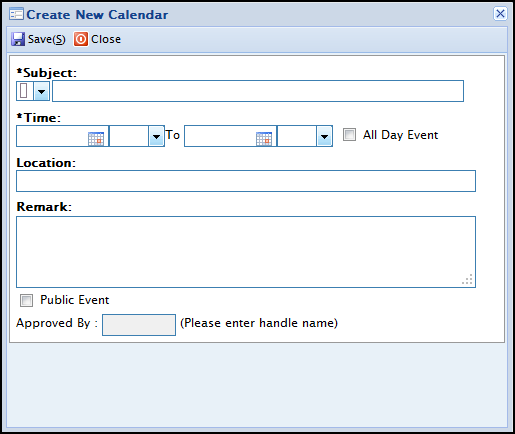
When creating a new event a small pop up box will be displayed where you can enter information regarding the new event.
| Title | Description |
|---|---|
| Subject: | The title of the event. |
| Time/Date: | The time and date in which the event will run to. |
| Location: | Where the event will be held. |
| Remark: | Description of the item. |
| Public Event: | Allow everyone to this event. |
| All Day Event: | This will change the time settings so that only the dates are required. Because it assumes this event will run non-stop over that period of time. |
Once you have created your new event it will either be approved or disapproved. If you decide to make the event public you will have to wait for approval before others can see it, if you wish to leave it private leave the public box unticked.

By default all events created by admins will be approved automatically. However events created to be public by users will remain pending until an admin approves the event. Below the calender it will display all the events approved/unapproved. The admins then have control to whether allow or disallow certain events.
