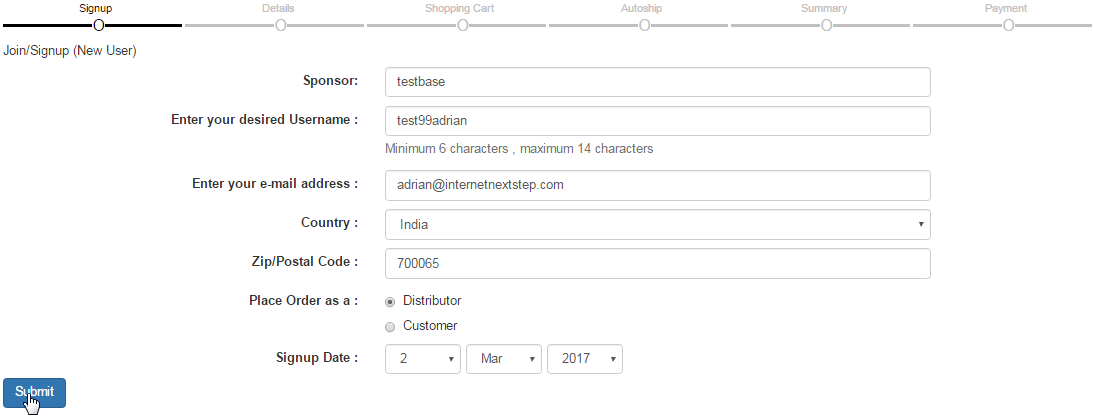
You will then be redirected to the Join New User page. This is the admin interface for signing up a new Member into the system, which starts with the first step of the Signup. Enter the authentication details of the user by which he will be identified to/in the system. Once done, click on the Submit button to proceed.
- Sponsor: Enter the username of the person who has sponsored the Member. The Sponsor user must be active in the system.
- Enter your desired Username: Enter the preferred username to be used to identify the Member in the system. It should be Unique.
- Enter your e-mail address: Enter a valid email address of the Member to be registered (where the verification email will be sent).
- Country: Open the drop-down list and select the country to where the user belongs (to identify the geographical area of the user).
- Zip/Postal Code: Enter the ZIP/Postal (Zone Improvement Plan) code to specify which region of the country the user belongs to.
- Place order as: Click on the radio-button preceding the label of the User Type to select one, i.e. Distributor or Customer.
- Signup Date: The date on which the user has signed up in the system. By default, It takes up the values from the computer in use.
Notice that the bar below Signup (top of the page) turns green to signify that the step is complete. The Next step is to enter the user info. in the Signup form. This page consists of four sections as described below. Once you have entered the values, click on the Continue button below to proceed.
- Signing Up As: This is not an editable field, which populates the area with the username assigned to the person signing up.
- Company Name: If the person wants to use a company name as the legal enrolled entity, enter the company name here.
- First Name: Enter the first name of the user. This field should not be left blank, even if it is not marked as mandatory.
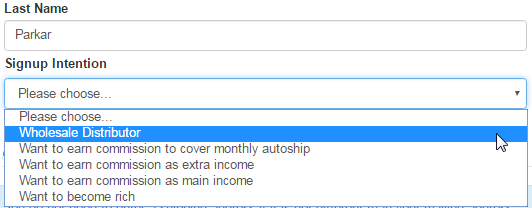
- Last Name: Enter the surname of the user. This field should not be left blank, even if it is not marked as mandatory.

As an advanced option, you can collect the intention for the signup from the user. You can activate this option in the Signup Configuration.
- If you enter a company name, the system will set all the settings of display to use the company name instead of the personal name.
- Even if a personal name is entered in the following blanks. This can be changed in the admin section if you choose.
- Even if you have someone enroll in a company name, you need to enter a first name for contact purposes.
- If you enter a first and last name, but no company name, the system will use the first and last name for all communications.
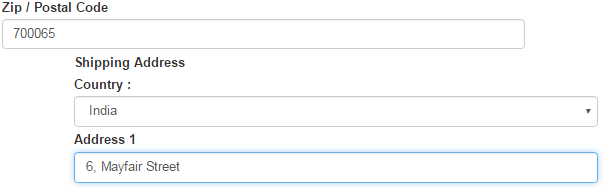
- Country: Select the country name from the drop-list to where the user belongs. This field is auto-populated from the previous step.
- Address 1: Enter the primary address of the user. This is usually the street name or the house/block number.
- Address 2: Enter the primary address of the user. This is used for more information.
- City/Suburb: Enter the name of the city or suburb where the person is enrolling. Make sure you have entered a valid city name.
- State/Province: This value of this field auto-generates based on the country chosen. Select the state or province from the drop-list.
- Other State/County: If you could not find the state or province you are looking for in the above field, then specify the name here.
- Zip/Postal Code: The postal code of the region the user is in. This field is auto-populated from the previous step (if any was entered).
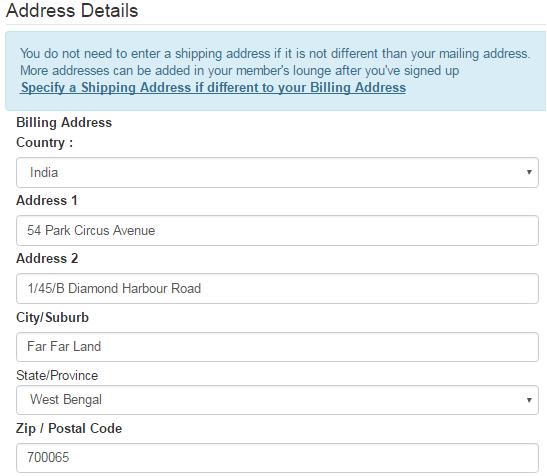
This section collects the data of your Billing Address. If you want to have a different Shipping address, then click on the Specify a Shipping Address if different to your Billing Address link on the blue bar. This will enable the fields to enter a different address meant for shipping purposes.
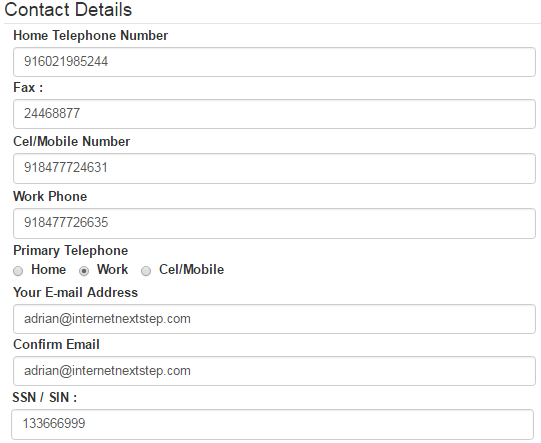
- Home Telephone Number: Enter the home telephone number of the person enrolling.
- Fax: Enter the fax (facsimile) number of the person enrolling, if he has/prefers one.
- Cell/Mobile Number: Enter the cell/mobile phone number of the person (for direct contact).
- Work Phone: Enter the work cell phone/telephone number of the person enrolling.
- Primary Telephone: Click on the radio-button for the option to mark that contact type as primary.
- Your E-mail Address: This field is auto-populated from the previous step. You can edit as required.
- Confirm Email: Re-enter the email address to make sure that there are no errors while typing.
- SSN/SIN: Enter the SSN (social security number) of the person. Recommended for users from USA.
- This is a Tax file number that is used. SSN can be switched off in the Signup Configuration section.
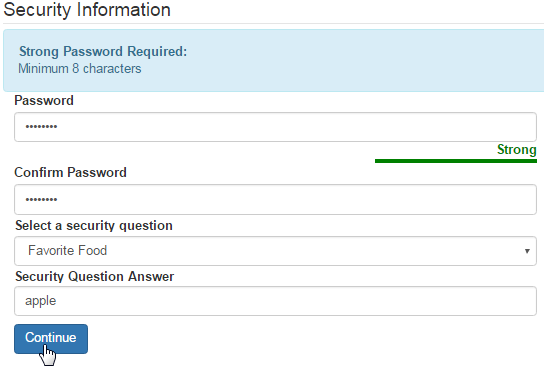
- Password: Enter a password that will be required by the member to access their members lounge or back office.
- Confirm Password: Re-enter the password just to make sure that you have entered it correctly.
- Select a Security Question: Select a security question from the drop-down list, as preferred by the user.
- Security Question Answer: Type in the answer for the security question mentioned above, as preferred by the user.
- This is used to allow you to more easily verify the identity of this member, should they ask for sensitive information or a password reset.
- The fields marked with * (asterisk) indicates the mandatory fields. The system will not let you proceed if those fields are left blank.
- The Username and the Email address should be unique to the system. In case of redundant data, the signup process will not proceed.
- If the system recognizes another member with a similar First Name, Last Name and ZIP, you will see a duplicate member warning.
- This is where you can decide to continue or abort the signup process. To confirm your action, click on the respective button to proceed.
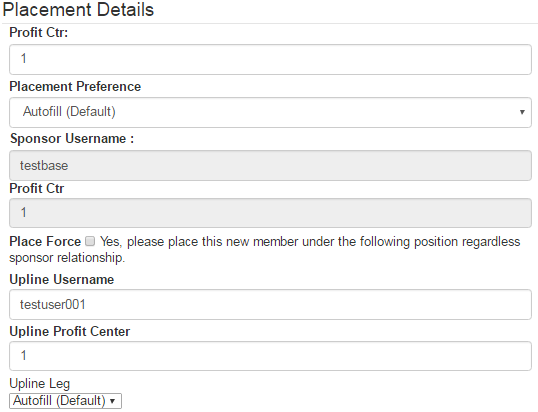
This section is not included in the simple signup process and can be enabled in Configuration > Signup > Signup Config > Show Placement Details during Signup?. It gives the ability to select and define the custom placement of the user that is enrolling, right at this point while signing up into the system.
- Profit Ctr: Enter a valid Profit Center number. It is required if you have a multiple center commission plan.
- Placement Preference: Select your preferred side/leg option from the drop-list. The Default value is Autofill.
- Sponsor Username: Displays the username of the sponsor you have entered in the previous step.
- Place Force: Check on this box if you want to force the placement regardless of the sponsor relationship.
- Upline Username: Enter the username of the upline member under whom you want to place the user that is enrolling.
- Upline Profit Center: Enter the profit center number of the upline member (in case of a multiple center commission plan)
- Upline Leg: Specify the side/leg of the upline member (mentioned above) by selecting the option from the drop-list.
- Please make sure that you are aware of the risk to enable the Placement Details options in the signup process itself.
- You can change the Placement Details of the user anytime in the future in the Distributor Maintenance area of the Member.
- In case of any emergency or query regarding the use of this section, please contact INS Support (SkypeID: ins-support).
- There is no requirement for accepting the Terms & Conditions and going through other authentications or verification processes on signup.
- As an admin, you can edit the Signup Date according to your preference to fit the requirements. For example, the user has already paid for the order in cash and you still have not signed him up into the system. In that case, you can use a previous date to match with the order purchase.
- If you want to do test signup, then we recommend to start the username with test99, followed by your choices. For example, test99adrian or test99robin. The accounts with usernames starting with test99 will be removed from the system automatically during housekeeping every night at midnight.