After completing the setting up of the Shopping Cart page, next comes the Product Order area where you can view the summary of the order as well as edit the same, set up monthly autoships and add a comment or note regarding the order purchase. Lets have a look at how this setup works.
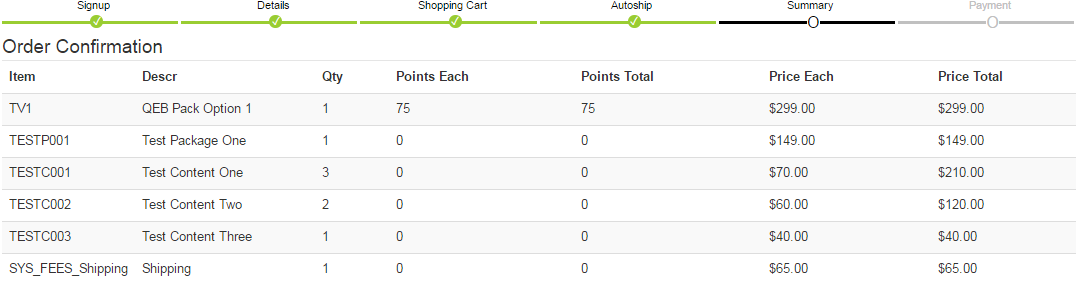
This section displays the summary of the order you have setup in the previous step in a summarized format, with the option to edit the same before you check-out to the payment options. Should you find any mistake in the order, you can change it without having to go back to the previous step.
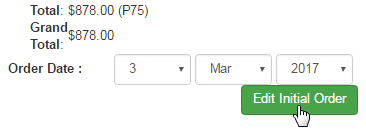
If you are required to make changes to the initial order, click on the Edit Initial Order button below in this section to enable the editing options.
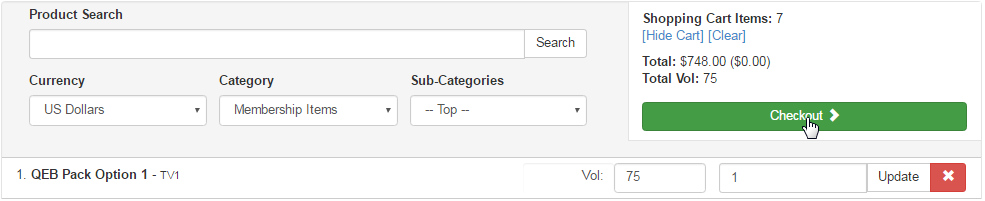
For the existing items, You can change only the Volume and Quantity for the same. If you change the value of any field for an item, click on the Update button corresponding to that row to apply the changes. To remove an item entirely from the list, click on the corresponding X icon.
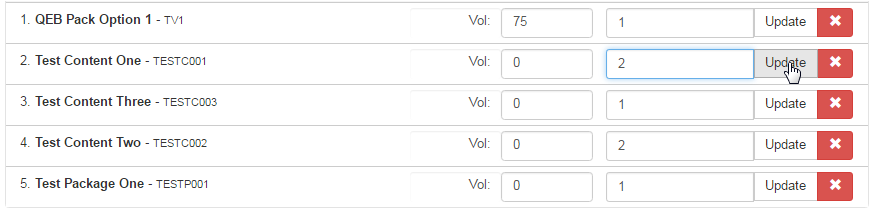
The edit page is designed in a Members-view-of-Shopping-Cart format, which gives you the ability to search and add more items to the list, via the Product Search engine. When satisfied with your changes, click on the Checkout button on the Shopping Cart widget (top right corner) to proceed.
Notice that the default shipping charge has been added to the order as defined in your system. You can change the option from the drop-list below. Also, you may wish to change the date of the order before confirming the order placement. To do that, edit the date fields in the Order Date option.

Note: Make sure you have saved the changes. Give a thorough look at the Order Confirmation section before you proceed to the next step.
In this section, you can add or manage the autoship items for the person you are signing up into the system. If you have any mandatory autoship items set up on signup, it will show in the Autoship list. In order to add a new item for autoship, click on the Add an item to Autoship? link.

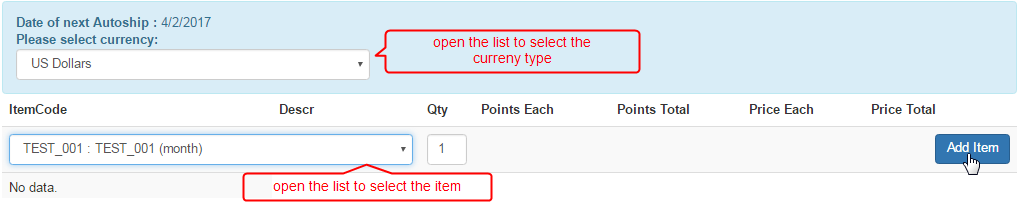
A new window should pop-up, where you can select the autoship item. The system auto-generates the Date of next Autoship (one month from the date of signup). You also need to select the currency type you want to display the product in. Open the Please select currency drop-list to choose.
The system will refresh the item drop-list based on the currency type you have selected. Select the item you want to add as autoship, set the quantity, and then click on the Add Item button on the left hand side of that row. Note: If you do not find the item you are looking for, then probably that item is not set as an autoship item in the Product Details page, or you may have selected a different currency type. For any query, contact INS Support.
You can add more items to the list in a similar way. In order to edit the quantity of an item, edit the value for it, and then click on the Recalculate / Update Optional Items button below in the section to refresh the order. You can also change the Preferred Delivery Date and Time for that item.
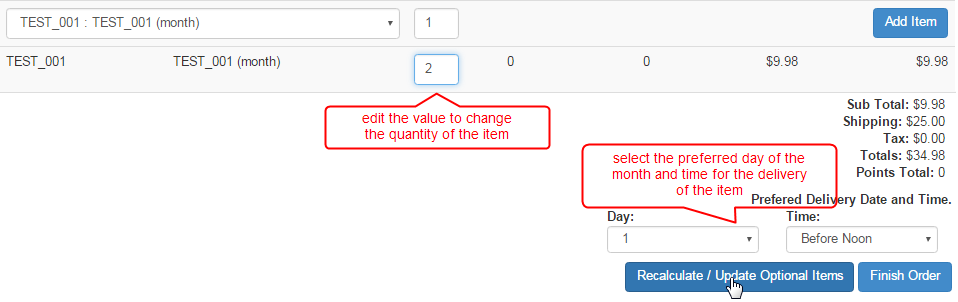
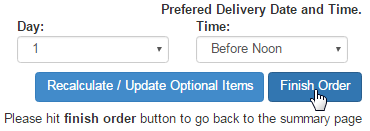
When done setting up the autoship recurring order, click on the Finish Order button to save the changes and to get back to the Summary page.
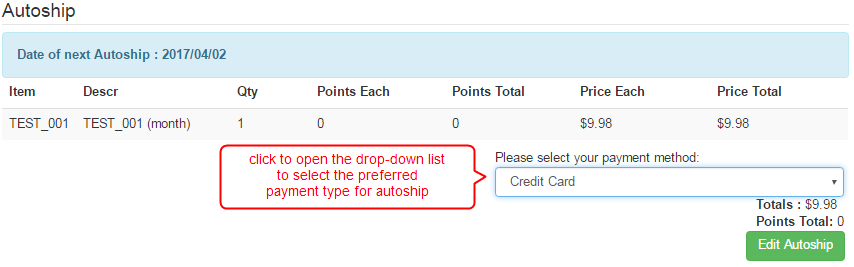
You will see that the item you have added gets listed in the Autoship section. To add more items or manage the existing ones, click on the Edit Autoship button below and follow the similar steps as mentioned above. You can also change the default payment method from the drop-down list.
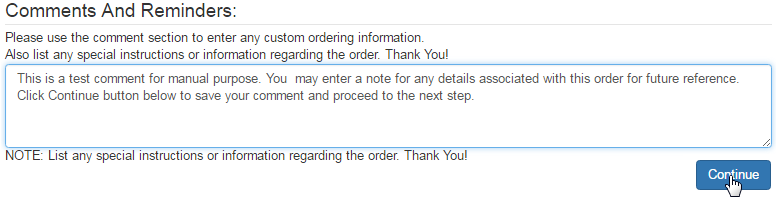
In this area, you can add a comment or a reminder related to the order purchase or the signup for future reference. This is an optional feature, but very useful in terms of keeping a record. Type in your content in the box and click on the Continue button to save and proceed to the next step.