Add a Product
Now lets Add a Product.
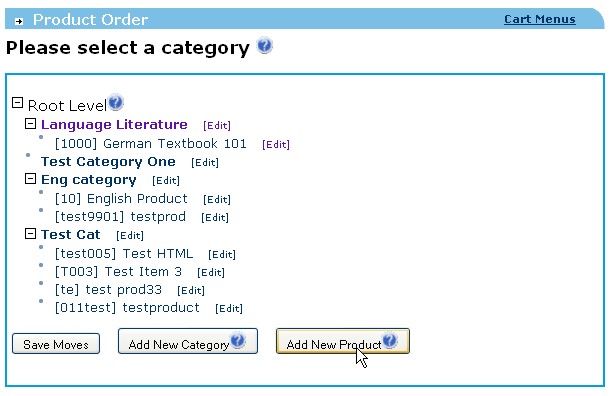
Admin Main > System > Product Maint > Click "Add New Product"
Category
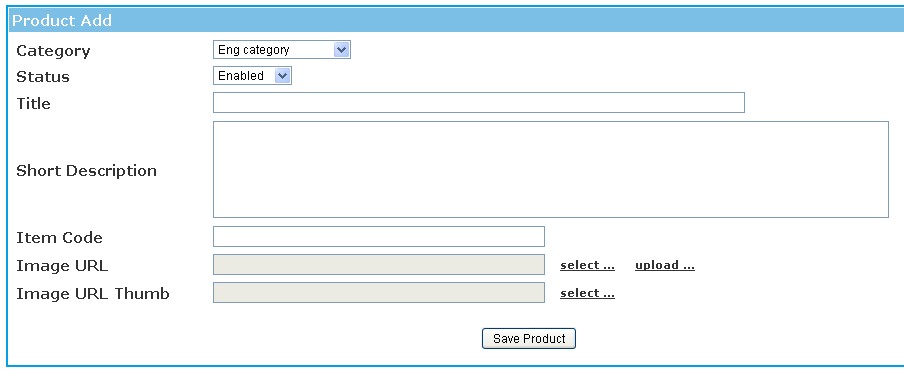
Select the category from the drop down that you would like this product to exist in.
Status
- Deleted – product is completely disabled from the system and will be deleted, you can never restore this product.
- Disabled – Set product to Disabled will, members and prospects cannot see this product, however is still visable from admin. Product will appear with a line through it to let you know disabled from member's view.
- Enabled (default) – Will enable to product in all views.
- Read Only – If set to this will only admin admin with full access can edit the product, product will also be enabled.
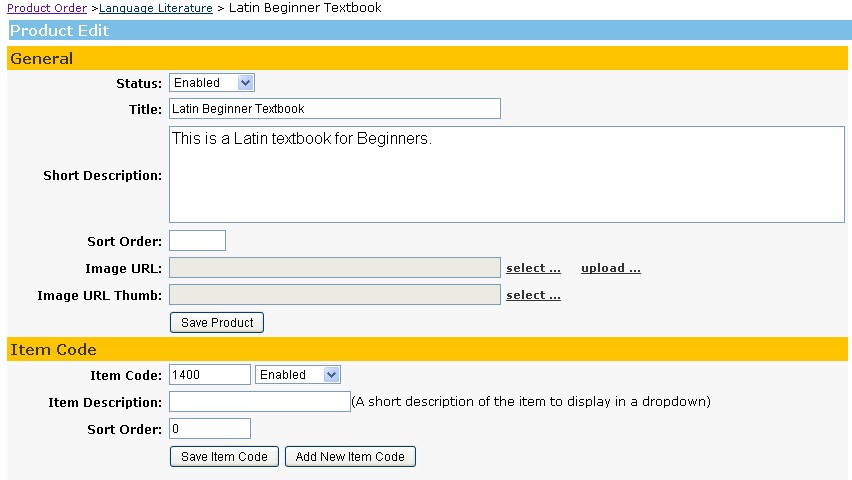
Title
Enter a title for this product.
Short Description
The short description is just a paragraph or few sentences, you will have a place in step 2 to put a full description into the system. The Short Description is the description that will show up beside the product in the Shopping Cart view, and the Full Description that you will be able to enter in a little bit will show when they click on the More Info link in the Shopping Cart.
Item Code
Enter the Item Code that you want to use for this product. This can be letters or numbers or a combination of both.
Image URL – Image URL is the image you want to appear with the full view of the product. This is where you can upload a picture that corresponds to your product you are entering, alternatively click select to select an existing image.
- No Image – Make sure you check this box if you do not intend to upload a picture or you will see the little missing picture x in your browser.
Image URL Thumb – Image URL Thumb goes along side the Short Description in the category view. Click Select to select an existing image, alternatively click Upload next accross from Image URL to upload a new image. An image thumb is a small image of the product used as a display picture.
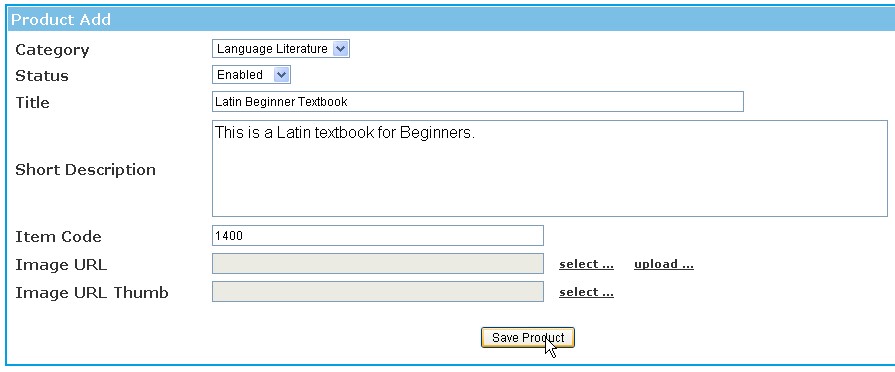
Upload or select an image if you want one for this product. "Hit Save Product".
If all went well, you will see a "Success" message. Click OK.
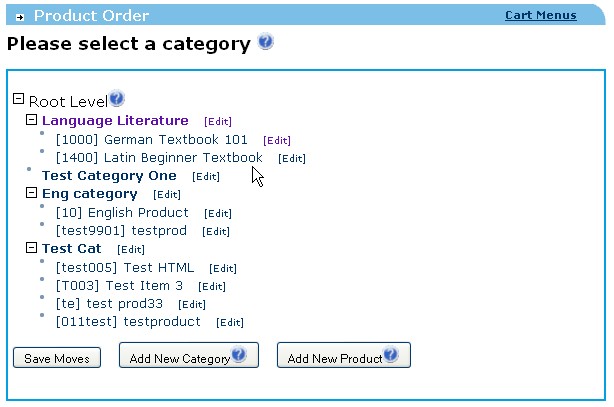
You are brought back to the Product Entry/Edit page.
Step 2 of Product Entry
Now step two of a product setup needs you to select "Edit" beside the product you just entered.
You will be brought to a page that the top looks just like step 1 and all the information you entered is there for you to see. You will also see a lot more interesting information that needs to be entered.
-------------
- Shopping Cart Overview
Cart Prefs
- Add a Category
- Add a Product & Step 2 of Product Entry
- Item Code, Item Description, and Other Item Code
- Product Price & Volume
- Product Details
- Product Stock, Package Contents & Product Properties
- Full Description
-------------
If you came here from Tutorials, click here to go back there.
If you came here from Cart Menus in the Admin Manual, click here to go back there.