Webeditor
WebEditor Video Tutorial Collection
WebEditor
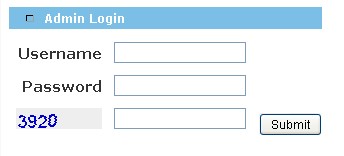
First you login as Admin, from the Admin login page. You enter your Username, Password and the 4-Digit code displayed and click 'Submit'.
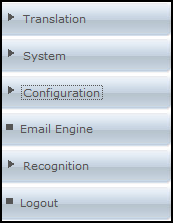
Click on Configuration in the left hand menu.
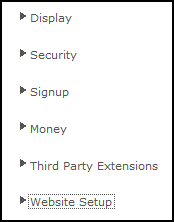
Then you will click on Website Setup
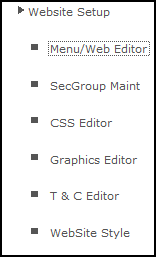
You will then click on Menu/Web Editor
Drag and Drop Interface
The Drag and Drop interface is very easy to use. It is a simple drag and drop technique. You click on what you wish to move and either hold down the mouse button or just click on the file once. Then you move the mouse, dragging the chosen folder or file with it and when you have it over the folder you wish to move it to you release the mouse button.
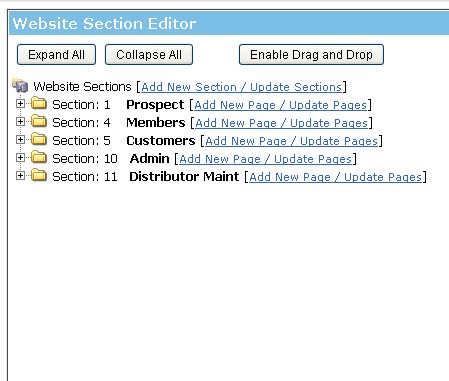
To start using Drag and Drop you need to enable it. To do this you click on the 'Enable Drag and Drop' button on the top of the page.

We created a new page in Prospect (which you will see in the following sections of this tutorial) and we want to move it into Members because we realized that we created it in the wrong section. First of all you have to find the file you wish to move. The file we will be using is called 'Test'.
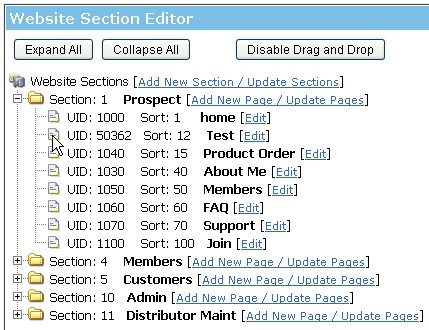
Once you have found the file that you wish to move, you can click on the small file icon to select it and then you can start to move it.
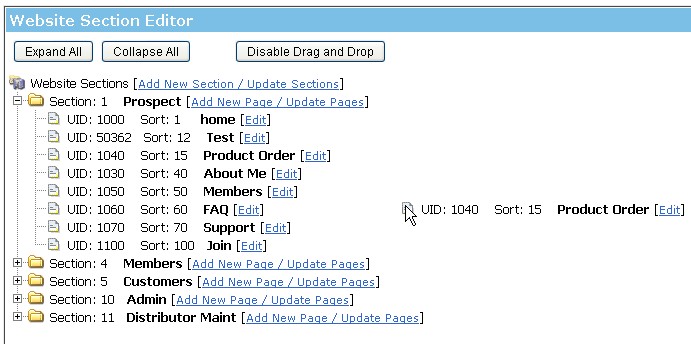
We have decided that it needs to be moved into the Members section so we hold it over the Members folder and then click or let go.
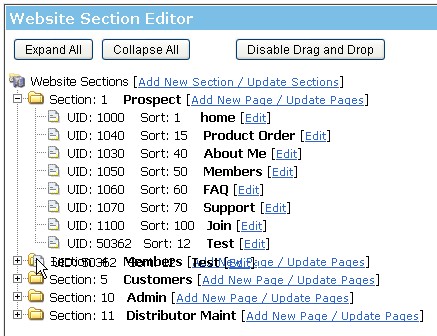
After that it is now in the Members section. This Drag and Drop technique can be used for folders, sub-folders and individual webpages.
Add or Edit a Custom Page
To Add or Edit or Delete a custom page, first you need to navigate to where it lives.
Members would be where you navigate to if you are looking for a page to put in the area where only members can view it after you log into the members lounge.
Prospect would be where you go to add a page that would be viewable in the public viewing area.
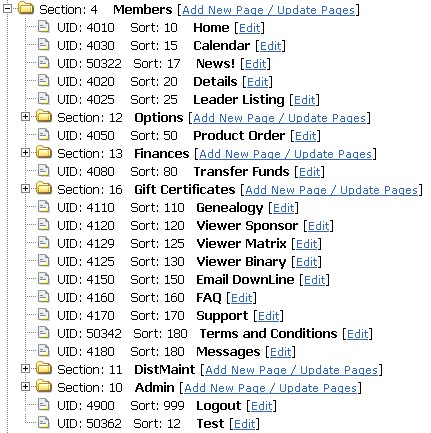
When you arrive at the Website Editor Page all of the folders are 'collapsed' which is when the folders are closed and you are unable to see all of the subfolders and files inside. You have the option of expanding the folders to show all of the subfolders and files inside on one page if you wish. There are two buttons at the top of the page to do this. 'Expand All' will expand all of the folders so you can see all available files and 'Collapse All' will collapse all of the folders so only the main folders are shown.
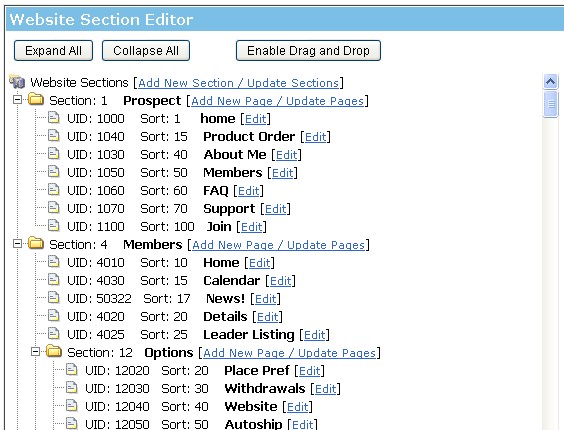
Here is what the expanded folders would look like:
Create New Page
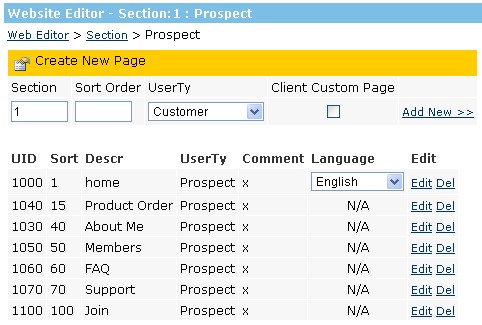
To Create New Page you need to enter the Section it is to belong in (should use the default of the section that shows up as you have navigated to where you want to put it already). You need to enter the Sort Order. The Sort Order is where you decide where in the list of other menu items it will show. The list will end up in numerical order so select your number as to where you want the page to go. Some pages are system pages so you can only turn them on or off (set Sort Order to 0 to turn page off), then there are the custom pages you make that you can control. Put your desired sort order into the box.
The UserTy is what level of system user you want to have access to this page. Public viewing pages would be customer, prospect. Only use customer if you have the special customer only feature turned on. It is not standard so unless it was discussed with you, you will not have it. Most pages you will set as Prospect in a standard system.
If you set it as distributor, it would only show up if you are logged in as a distributor. For this to happen, not only would it need to be set as distributor, but you would need to place it in the members section.
So, usually unless you have the customer option installed, you will use Prospect here.
Be sure to Click the Client Custom Page button to add as a client custom page. Then hit Add New.

Now you are brought to the Editing a new page interface.
Website Page Editing
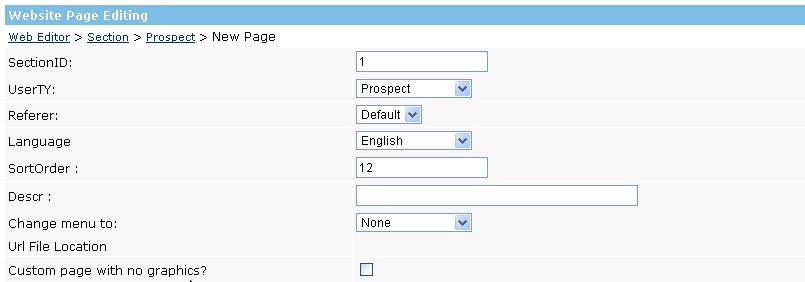
First you will set the language you want this page to be in. It is important to do this right so the appropriate encoding set will be used. Be sure you only use languages we have set the system up for you to use.
Next add a description for this page, this is not a meta tag description for search engine purposes, that comes later in MetaDescr, this description is what the link will ultimately be called in the menu.
Where the title "change menu to:" appears please set this to none. This is the key to creating a Tree Menu. More information later in this tutorial.
Note: If your INS MLM system is multi-lingual, and you are adding in Javascript or any other includes, remember to check its contents for charsets. Some Javascripts cause the system to break as it sets a different charset to the Systems charset which will display odd characters.
Before you edit the content in the webeditor it is good practice to backup what is initially there.
Read our Webeditor Backup tutorial to find out how.
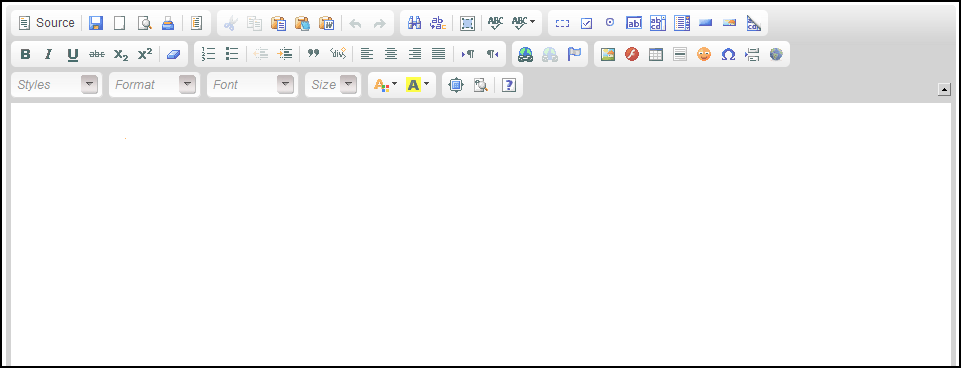
Next you can add the content of your page. If you have your page created in another HTML editor, you can just click the source tab and paste the code in. If you want you can also build the page piece by piece here in this editor.
You need to be sure to upload any particular graphics you intend to use in order for them to work.
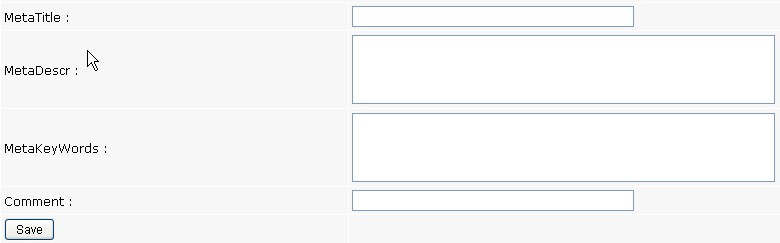
Once you have entered the page, you can fill in the MetaTitle, which is the title of your page that will show up in the browser top blue bar, and is important for search engine placements.
MetaDescr and MetaKeyWords are also search engine optimization fields that the scope of how to use is out of this tutorial. Basically describe your page in MetaDesrc in a way that if that is all a user saw, they would know what this page is about and want to see it.
With MetaKeyWords, enter separated by commas words that are important to this page to convey the key point, and are used multiple times in the page. Preferably some of your keywords will also be in the MetaDescr.
To copy and work on a page in a separate language is very simple. Bring up the english version, then change the language setting and the Desc to the language you want to use, and hit save. this will save you a copy of the english page to work on in the other language preserving any formatting and pictures you have done. Then you can just change the text to the appropriate language, and change pictures as well if desired.
Again, be sure you have notified us as to what languages you wish to use the system in so we can set it up appropriately.
That is it, you have now learned how to add pages.
- Add or Edit a Custom Page & Adding a New Page
- Edit a Page, Add a Language Version & Add Links From One Page to Another
- How to create a Tree Menu in your system: Page 1 Create the Section First - Also called a Drop Down Menu
- How to create a Tree Menu in your system: Page 2 Call the Section you created in Part 5 - Also called a Drop Down Menu
- Explanation of the tools in the WebEditor.
If you came here from Tutorials, click here to go back there.