This is a tutorial on how to create a Tree Menu (or drop menu) in your system
Now you’ve made the contents of the tree menu. What you just created is going to become the second level of the tree menu.
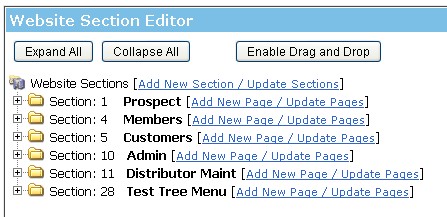
As you can see in this example, Configuration menu is a two levels deep tree menu. Configuration being the top level and the white items underneath that being the second level items.
Like the Configuration menu, the three menu items under the newly created section will become the contents of the menu, the white links.
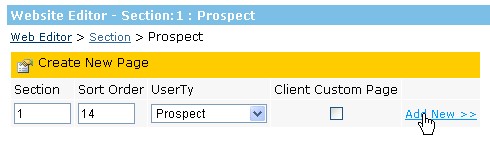
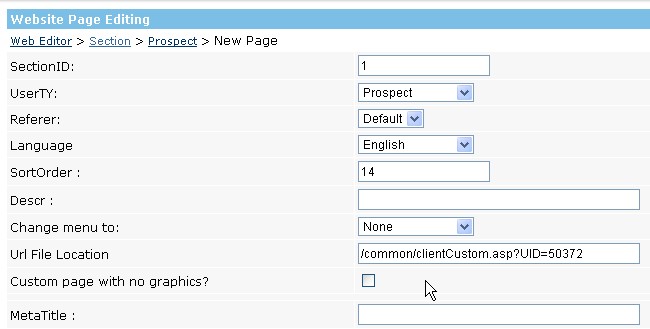
Now what we are going to do is create a new menu item in the prospect area that the tree menu will come drop down from. Go to Configuration > WebEditor > Prospect > Edit. Once in the prospect area Create a new page, however do NOT tick the Client Custom Page box, please leave it blank.
The reason why we do this is because people sometimes tend to get confused and might not realise that the root of the drop menu can be click on as well (they think only the + next to the menu item can be click on), but just incase they do we will link the menu item to a page, I recommend that you link it to the top item in your tree menu, instead of having two Custom Client pages that we need to update, we have this page reference the Test Page 001 page so that if clicked on this link or the test page 001, they get taken to the same place. Clearly you dont have to, you can have a complete Custom Client Page, then a tree menu coming from that. Though that is up to you. Anyway, unlike the complete Custom Client Pages these pages do not have a place to insert content, only a place to link to another page (URL File Location).
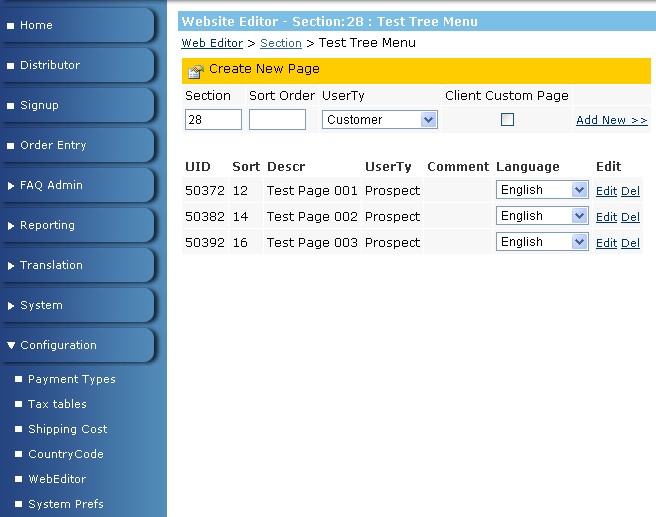
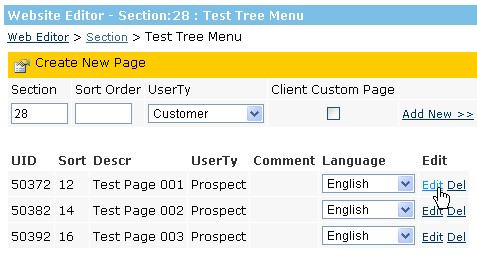
First step is to grab the link from the page you want this page to mirror. Open up a new tab on your browser then copy the URL from the previous and paste it into the new. Go to Configuration > WebEditor and go to the newly created section (Test Tree Menu).
Click Edit next to the top tree menu item once you are viewing the page:
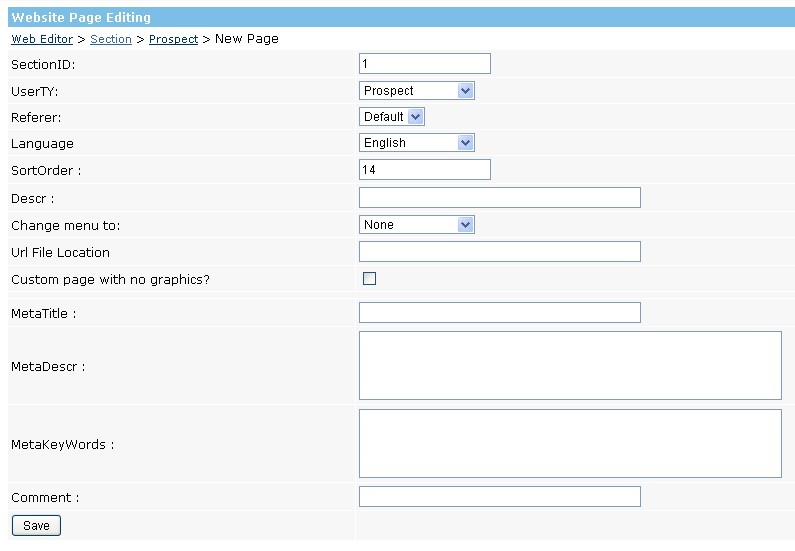
Then copy the text across from the line that says URL file location, ie the text will say something like: /common/clientCustom.asp?UID=50402 accept it will have a different UID number at the end.
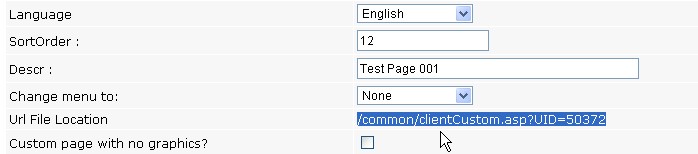
Copy this and go back to the previous tab and paste it into where also says URL File Location, also add in a description in the Descr box and Meta content as nessessary.
----------------------------
Now go to the prospect section on your website and can see the menu for yourself and how it works. At the moment you have created a two level tree menu system.
Remember that the menu item “test drop†and “Test Page 001†reference the same page (as mentioned above).
Remember you can add up to three level deep tree menu, so coming off Test page 001 we could have another drop down menu. Also when you are creating a custom client page to make sure that “Change URL to:†is set to none otherwise there will be a menu appearing under the item you just created. Be very careful with this as you could very easily give the prosects access to certain areas that you do not want to by selecting the wrong menu item.
An example where a three level tree menu is used in the your system is, Admin > Configuration > Comms Setup. It has two expandable menu items and can have up to a three level deep menu.
This is the end of this tutorial.
--------------------
- Add or Edit a Custom Page & Adding a New Page
- Edit a Page, Add a Language Version & Add Links From One Page to Another
- How to create a Tree Menu in your system: Page 1
- How to create a Tree Menu in your system: Page 2
-------------
If you came here from Tutorials, click here to go back there.