This tutorial will take you through the steps on setting up sections, and having those sections display submenus in the navigation.
1.) Login as Admin
2.)Navigate to Configuration -> WebEditor or Menu/Web Editor
3.)Click the Add New Section / Update Sections button (see fig.1)
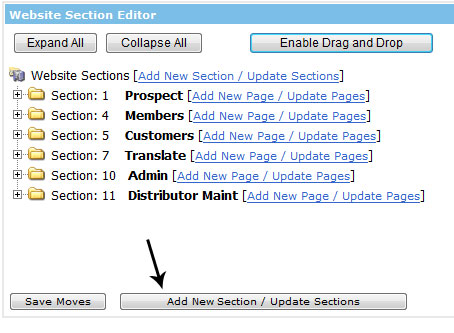
(fig 1)
4.)
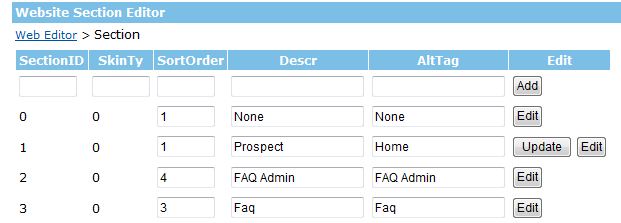
(fig 2)
This is where you will create your section, you will notice 5 fields for you to fill out.
SectionID: This is the ID for the Section you will create, It is best if you set this to the next available number, so scroll down to the bottom of the page and see what the last entrys SectionID is.
SkinTy: Set this to 0
Sort Order: Set this the same as your Section ID
Note: To hide sections, simply set the Sort Order = 0.
Descr: This is the name of your Section so name appropriately.
AltTag: This is basically like a comment field, so you can add in anything or the same as your Descr:
Once you have set those fields, hit the Add Button.
5.)Your section will be added, now you can Add/Edit the pages in that section by hitting the Edit Button that corresponds to the Section you added. (see fig.3)

(fig 3)
6.)Feel free to add pages into your new section.
If you are adding this section with the purpose of creating a drop down Menu, please now go to the next step on how to make a Drop Down or Tree Menu at the following tutorial:
- How to create a Tree Menu, Drop Down Menu, or Sub Menu in your Navigation: Step 2