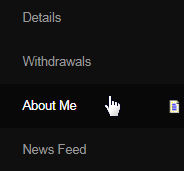
Click on Tools & Settings on the left hand side to expand the menu structure, and then click on the About Me sub-menu to go to that page.
This will take you to the Website Maintenance page for setting up your About Me page - the info. that will display on your personal website. You can either choose to Hide About Me Link or display it by simply switching to Yes or No. Note that the admin manages the default display setting of this link.

A message will be displayed at the top of the page confirming your action. Now, let's move on to setting up your About Me page in detail as follows;
To add/edit your display picture on your personal website, click the change or view your current photo here link at the top of the page in the blue strip.

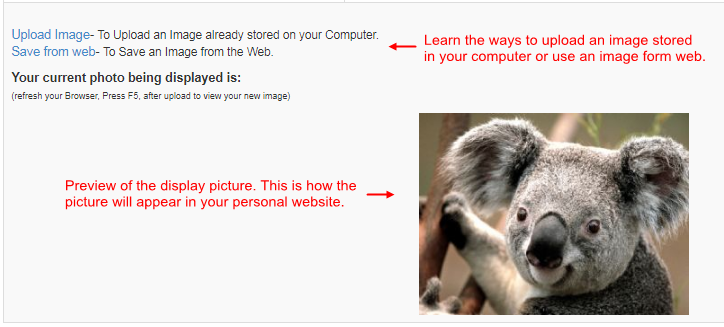
This will redirect you to the Website Image Maintenance page where you can see the image you have currently uploaded, and you are also able to upload a new image. Click on the Choose File button and then Select a file to upload from your computer. Read the upload instruction above before you start.
- Note: The filetype of the image file to be uploaded must be a .jpg and the size of the file should not exceed 4.7 Mb (maximum).

Once selected, you will notice that the name of the picture (as saved on your computer) would appear along with the extension name next to the Choose File button. Click on the Upload Now button below to proceed. Note that the time for uploading the image onto the system server depends of the filesize.

The recent image would be set as your current display picture on your personal website. Preview the picture at the bottom. Refresh your website to view the recent upload. The Upload Image and Save from web links explain how to upload or save an image from your computer and web, respectively.
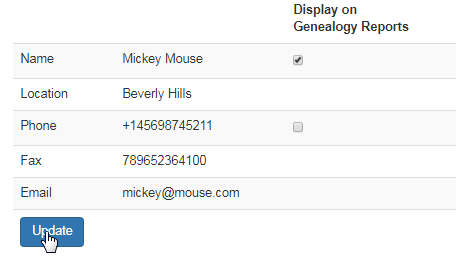
The member can choose not to show his Name and/or Phone number in the Genealogy report. Simply un-check the box for the information you want to hide in that report and then click on the Update button to save the changes. Check out the other information - you can change them in the Details page.
The quick action buttons at the top of the details form is very handy when you want to fill in the details that are already recorded in the system.
- Auto Populate: Clicking on this button will automatically populate the Custom Settings with all of the information the site has available.
- Minimum Populate: Clicking on this button will automatically populate the Custom Settings with only your most basic details as recorded.
- You can of course fill it out yourself, but by clicking the buttons to populate it, there is much less risk of accidentally mistyping something.

Under the custom settings, you will notice several personal and contact information fields which you can specify to be displayed on your personal website. Simply type in the data for the fields and tick on the corresponding Display check-boxes that you wish to make available on your website (to prospects).
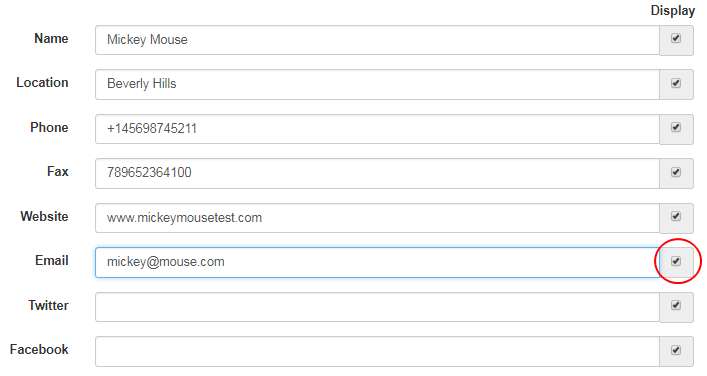
Note that the fields for which the Display boxes are not checked will not be shown on the website (even if the data is filled in). This way, you can turn ON/OFF the display of certain data to the public without having to delete the information on this form. The Display boxes are checked "for all" by default.
- The final field in the form is to select the Default Language in which your personal website should display. Usually it is preferred by the members to keep the default language as English - you can opt for a different language that is available in the system, from the drop-down list.

Once done entering the details, and selecting what information to show and in what language, click on the Submit button to commit to the changes.

On the second half of the page, the system provides the member with a web-editor, where he can enter the content to be displayed below the display picture. My Story is basically about presenting detailed information of who you are and your innovative story of success with the company.
- If you already have the content ready in HTML format, enter it in the Source editor. Switch views. Make use of the tools in the editor.

You can open your personalized About Me page in a different browser tab and preview the changes while editing the content. Once done and happy with the content, remember to save your content before leaving this page by clicking on the Submit button at the bottom of the page, or else it will be lost.

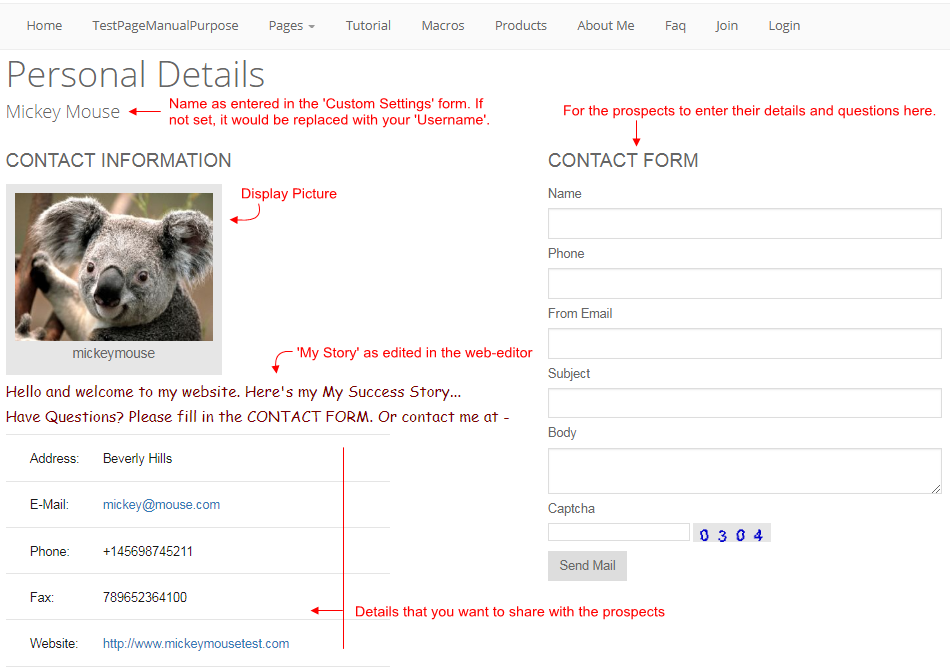
Congrats! you have just learned how to design your About Me page all by yourself. Now let's check out how the page looks on your personal website.
