Check Alignment
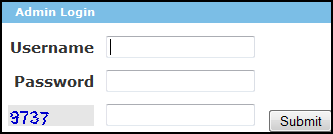
First you login as Admin, from the Admin login page. You enter your Username, Password and the 4-Digit code displayed and click 'Submit'.
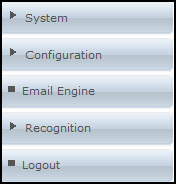
Click on System in the left hand menu.
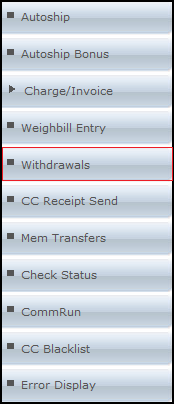
Then you click on Withdrawals.
Once you are on the withdrawals page you will be displayed with two sub headings "Withdrawals - Pending" and "Withdrawals - Approved"

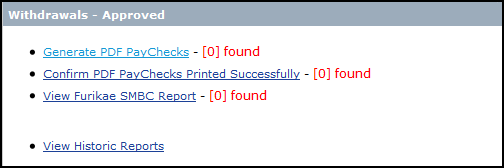
Within these two subheadings will be a list of all checks whether they are pending checks waiting for approval or Approved checks waiting to be printed. If there are checks in your system they will be shown at the end of PDF reports.
They will be displayed by a [0] or if there are x amount of checks to be processed they will be shown [4].

If you still have checks in the pending stage you can click on the " View Check requests" and process those checks.

Once you have submitted those checks they should then display in the next subheading.
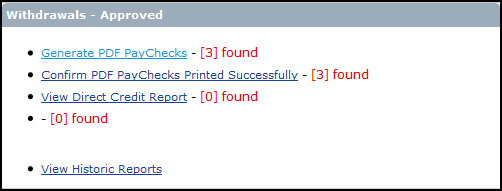
You will then want to select the PDF file "Generate PDF PayChecks"

You will be redirected to the PDF PayCheck GEN page, on this page you will be able to start your check run which will generate the PDF file containing the checks. However before you do this you will want to scroll down the page and select "Show/Hide Paycheck Printing Alignment Configuration Options."

This will then expand into the Check Alignment settings area. Notes are displayed at the top of the settings area which explain what changes what in the Parameter Table.
Note:
- Parameter - X: This is the horizontal placement of the data.
- Parameter - Y: This is the vertical placement of the data.
- When doing initial testing, leave the defaults as is and print a check. Take note of the placement of the data, if the alignment is incorrect, modify the values. Hit save settings, then regenerate the pdf by clicking the link Start CheckRun. This is a process that may need to be done 3-4 times to get the alignment where you want it.
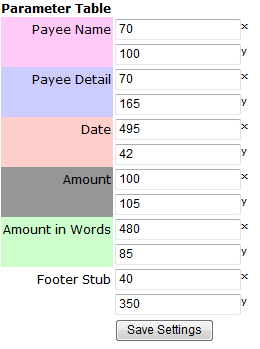
When you start changing the parameters of your check it is important to save the default settings in a text document incase something goes wrong when setting the new parameters. Each time you change the parameters we recommend that you print out the checks and test to see if the alignment is the way you want.
At the bottom of the page is a preview of the default check alignment and how the current parameters look on a check.
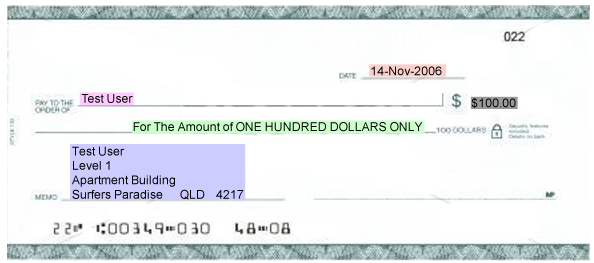
Note:
- This is only a template to compare the colors with the parameter table.
- The placement on this image does not reflect the settings.
- The colors on this image do not appear on your printouts.
